
An easy 30-minute recipe starting with searing the chicken breasts on the stovetop, then oven-baked to a final temperature of 165° for a great tasting, moist, and tender weeknight dinner.

Introduction
This is how we cooked for many years. We had a freezer in the garage fridge for meat only. I would take out a couple of chicken breasts, a pork tenderloin, and some steaks, let them thaw in the refrigerator for a few days and work our way through them.
I would get home late from work. But we want a nice dinner on a short timeline. I spend 5-10 minutes of preparation time and usually finish in the oven as I'm unwinding, and in 15-20 minutes, dinner was ready.
Faster than ordering pizza and so much better, healthier, and cheaper if you're cheap.
👨🍳How to make this recipe
- Preheat the oven to 375° convection or 400° conventional.
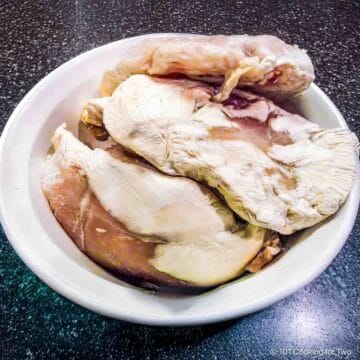
- Trim and pat dry the chicken. If the chicken breast is over ¾ inches thick, flatten it with a meat mallet or the bottom of a heavy pan.
- Heat oil in an oven-safe pan (cast iron preferred) over medium-high heat.
- Sprinkle lightly with salt and pepper or the seasoning of your choice.
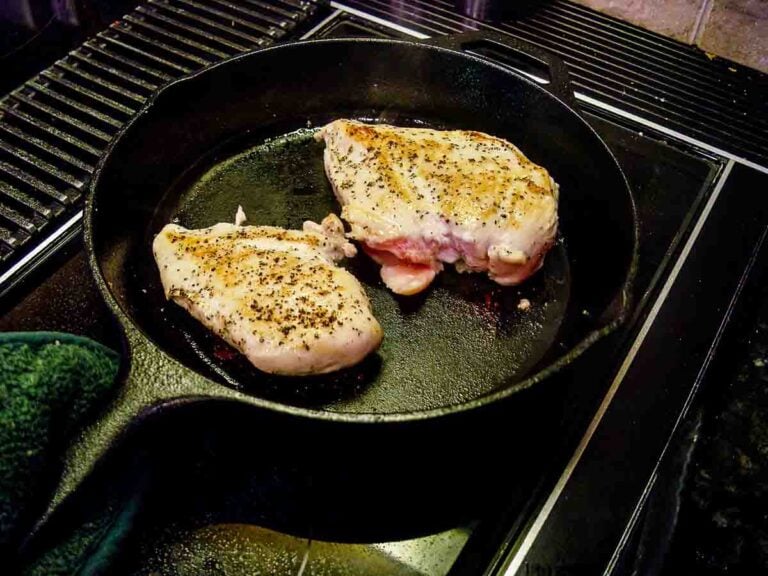
- When the oil is hot and shimmering, carefully lay the chicken breasts in the hot pan. Brown both sides for 3-4 minutes each—to almost the color you want when eating.
- Bake for 15-20 minutes until an internal temperature of 165°. The thinner breast will be for 15 minutes, and the bigger ones for about 20 minutes.
- Let rest for 5 minutes before serving.
⏰Oven baking time
In an oven temperature of 375° convection or 400° conventional, the most common size breasts (10-12 oz.) will take about 15 minutes after a nice medium searing. A larger breast will be about 5 minutes more. A small breast may take as little as 10 minutes in the oven.
Variability is related to the thickness of the chicken breasts and a bit by the amount of searing. Always cook to a final internal temperature of 165° and never by time alone. Times are provided to help you plan only.
You can use a different oven temperature if you are cooking something else since you are cooking to a final internal temperature. It will take a bit longer or shorter, depending on your adjustments.
Also, let the chicken rest for 5 minutes before cutting to reabsorb the fluid in the meat from the cooking process.
🐓Ingredients
The Chicken
This is a skinless boneless chicken breast recipe. It is not for skin-on or bone-in breasts. You can use skinless chicken thighs, but I suggest a finish temperature of 180°+, although 165° is safe.
If you are doing more than one breast, try to use breasts of about the same sizes and thickness. If the breasts you use vary in thickness, you should flatten the thicker ones to ¾ inches with a meat mallet or heavy pan.
This cooking method should not be used for chicken that is still frozen. The outside will be overcooked and chewy before you get the thickest part of the breast to the safe temperature of 165°.
🧂The Seasoning
Just a coarse salt and pepper will do, but we like our homemade All Purpose Seasoning - 7:2:1 and 7:2:2 and keep it on the stovetop. It adds garlic, which is required in our household.
Season to your taste, but I don't suggest anything with sugars since they might burn with the searing.
❓FAQs
Searing will create a Maillard reaction caused by heating proteins and carbohydrates. It leads to browning and new flavors. It is different from caramelization since caramelization involves only carbohydrates.
One of the secrets of this recipe is the searing. You get a nice Maillard reaction (the searing/browning) to add lots of flavors you get no other way.
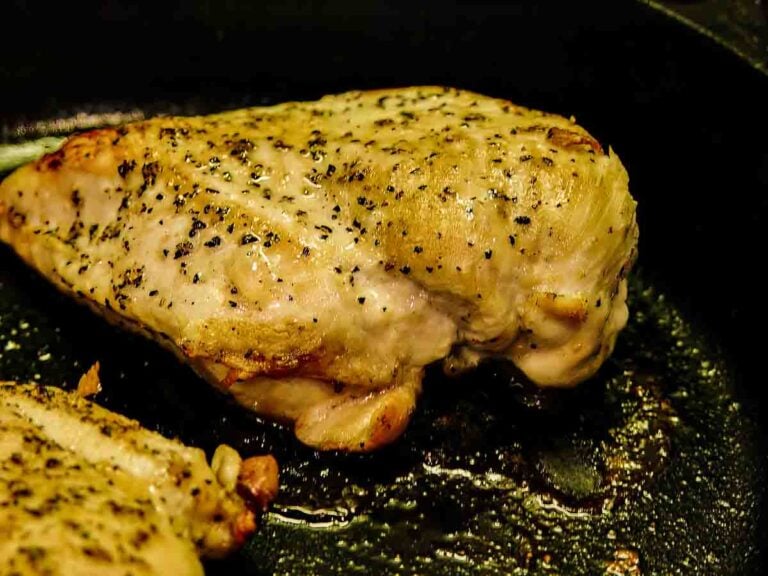
Get them close to the final color you like during the searing before you move on to the oven-roasting step. Just baking them in the oven will not get you there/
Cast iron can quickly go from the stovetop to the oven safely. It excels at even heat distribution without hot spots, it is cheap and relatively non-stick—a near-perfect pan for this sort of recipe.
I use a 10-inch cast iron skillet for two breasts for this recipe. A 12-inch skillet will work for up to 4 chicken breasts.
If you don't have cast iron or another pan that is safe to go from the stovetop to the oven, you can use a different pan for the stovetop, then transfer the chicken to a preheated oven-safe pan to finish cooking.
Save this recipe!
👨🍳Food Safety Tips
For safety, use an instant-read thermometer in the thickest part of the chicken to be sure the internal temperature reaches the safe temperature of 165° and never cook by time.
Chicken should not be rinsed for food safety. It will splatter germs over your kitchen. For more details, please see Chicken- To Rinse or Not To Rinse? .
📖Chicken Breast Recipes
How to Bake Chicken Breasts in a Convection Oven
How to Grill Chicken Breasts on a Gas Grill

This recipe is listed in these categories. See them for more similar recipes.
Have you tried this recipe, or have a question? Join the community discussion in the comments.
Step-by-Step Photo Instructions
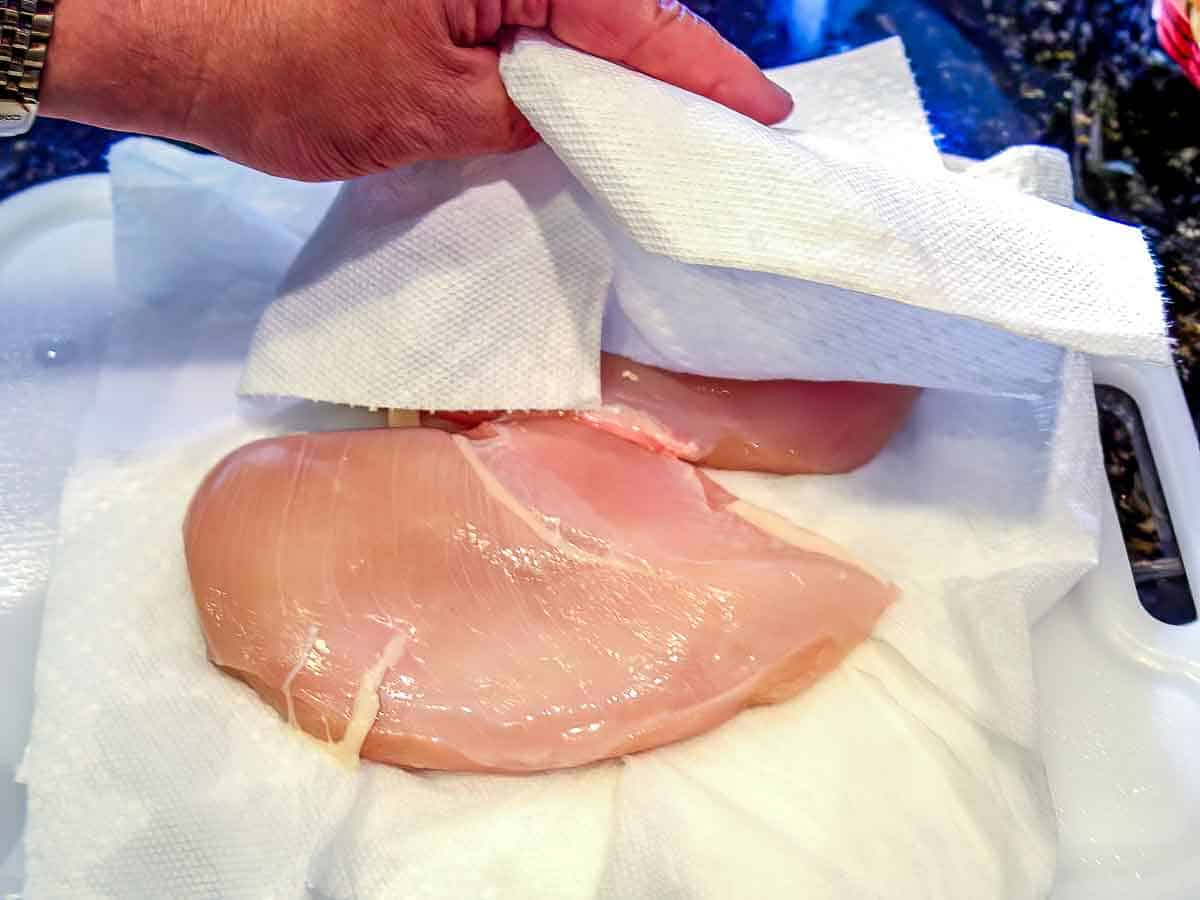
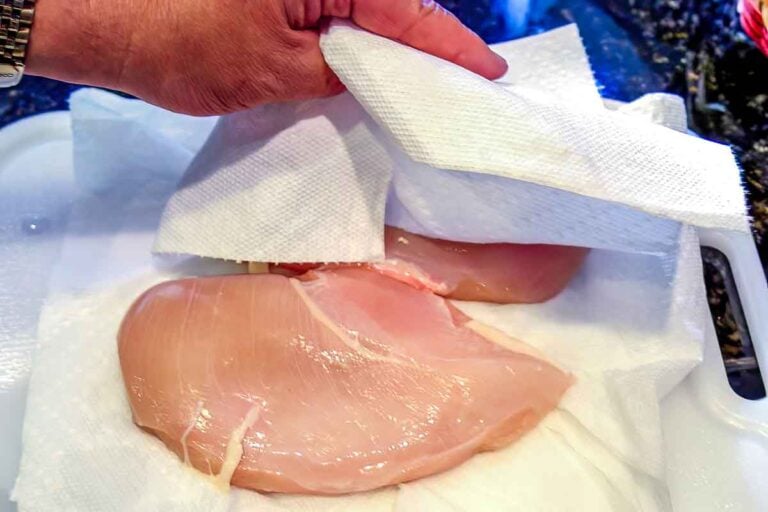
Preheat the oven to 375° convection or 400° conventional. Trim and pat dry the chicken with paper towels. If the chicken breast is over ¾ inches thick, flatten it with a meat mallet or the bottom of a heavy pan.
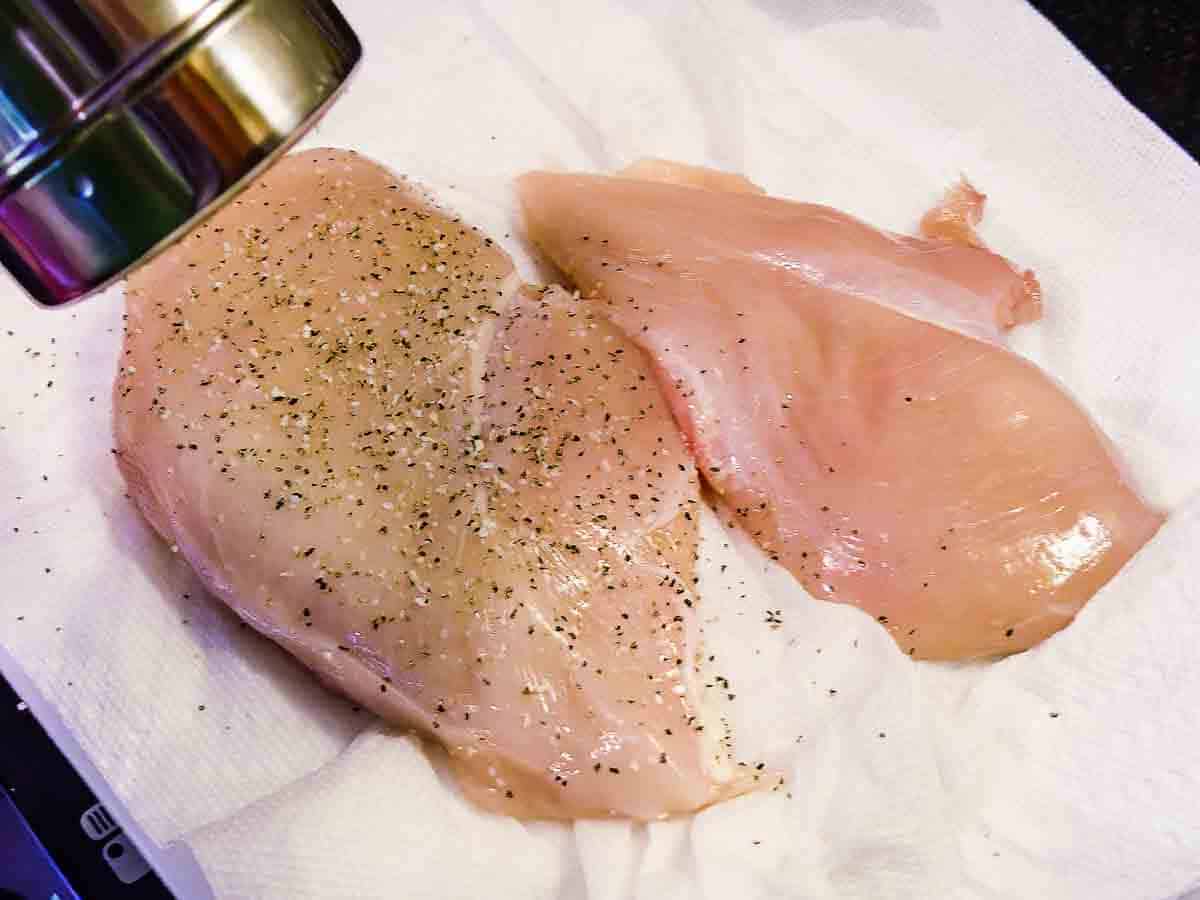
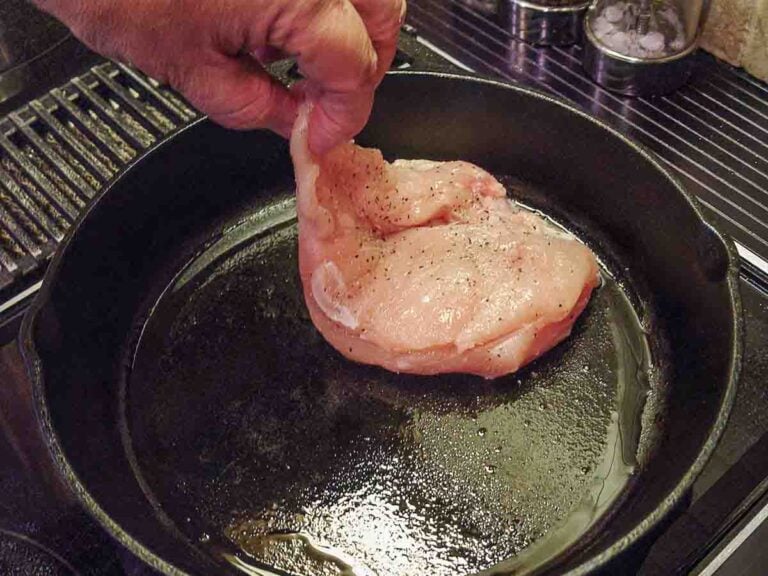
Sprinkle lightly with salt and pepper or the seasoning of your choice.
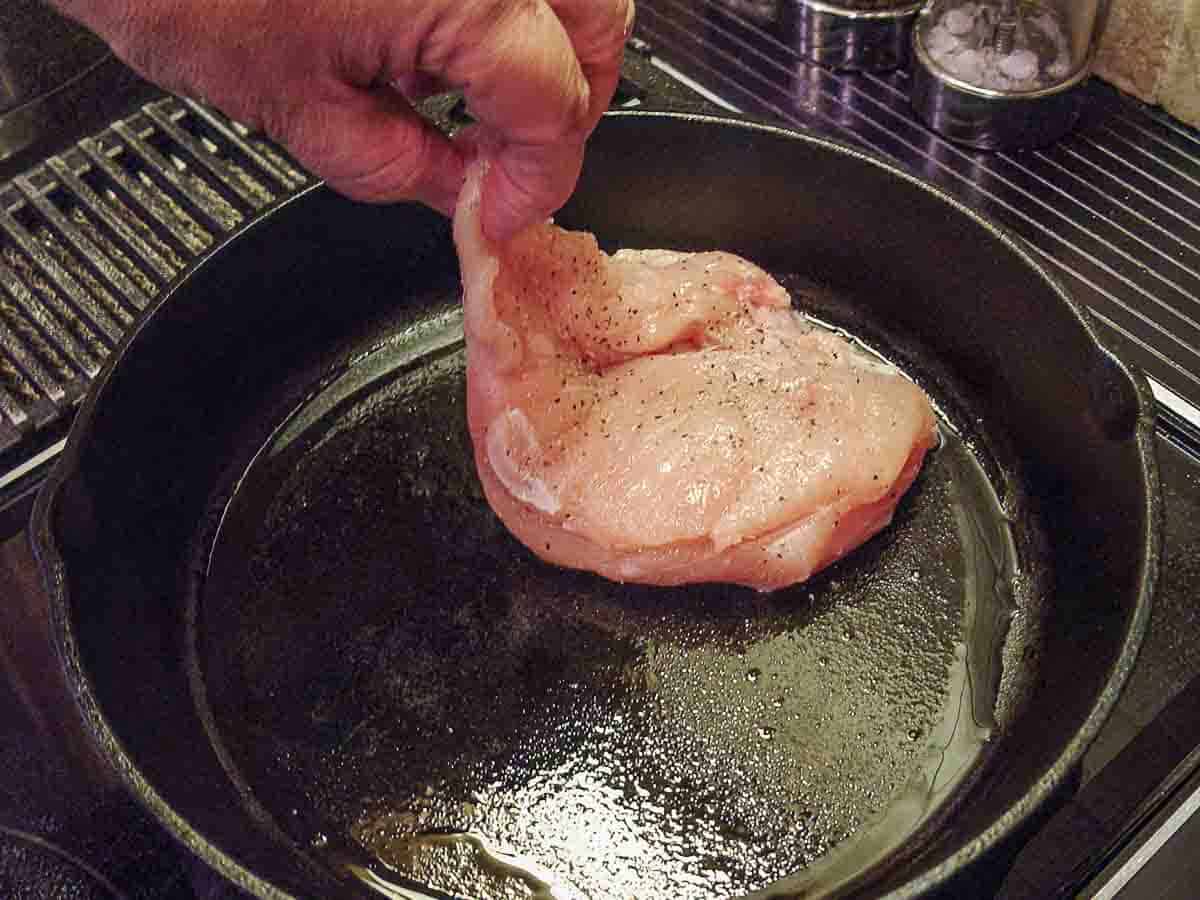
Put an oven-safe pan (cast iron preferred) over medium-high heat with a teaspoon of oil or some butter. When the oil is hot and shimmering, carefully lay the chicken breast in the hot pan. Brown both sides for 3-4 minutes each.
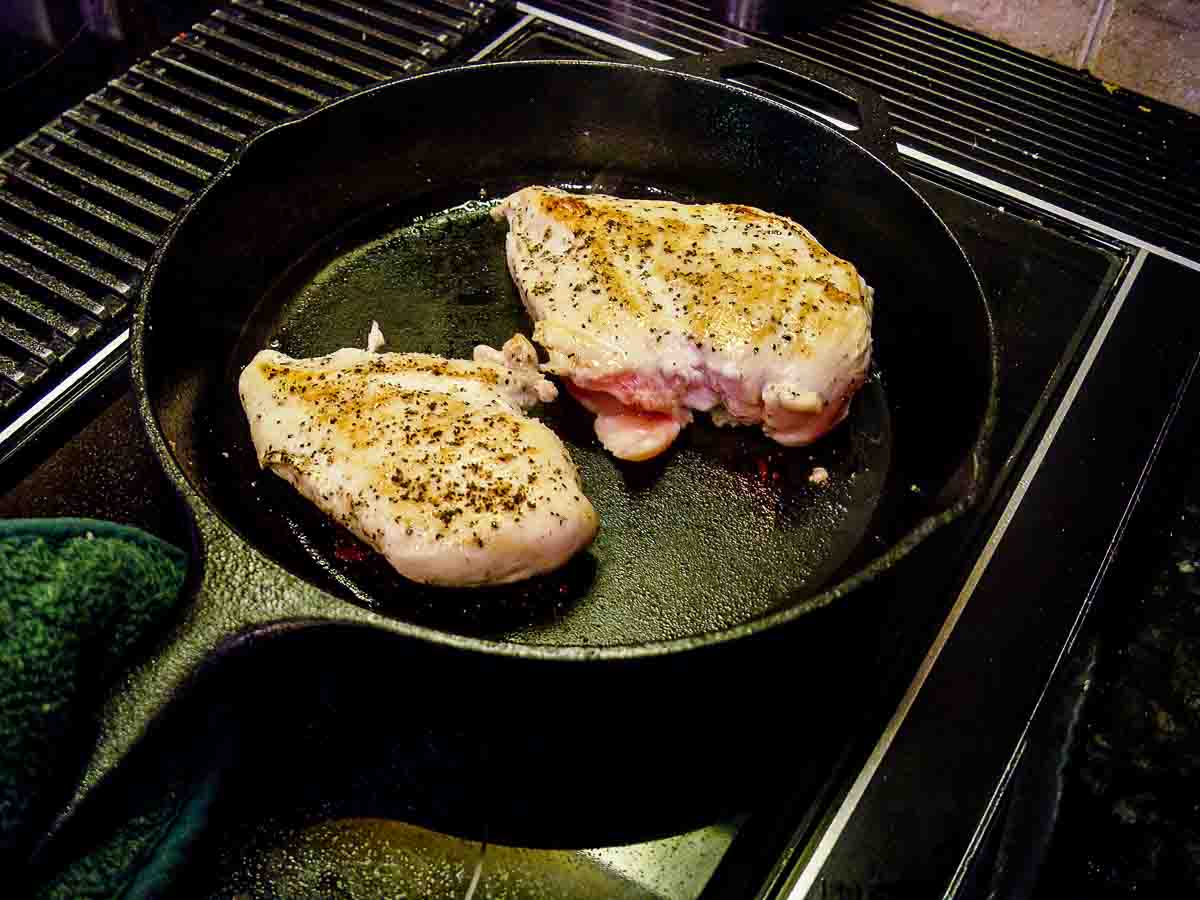
Get them to be almost the color you want when eating. So, sear, flip, sear, and a final flip into the oven.
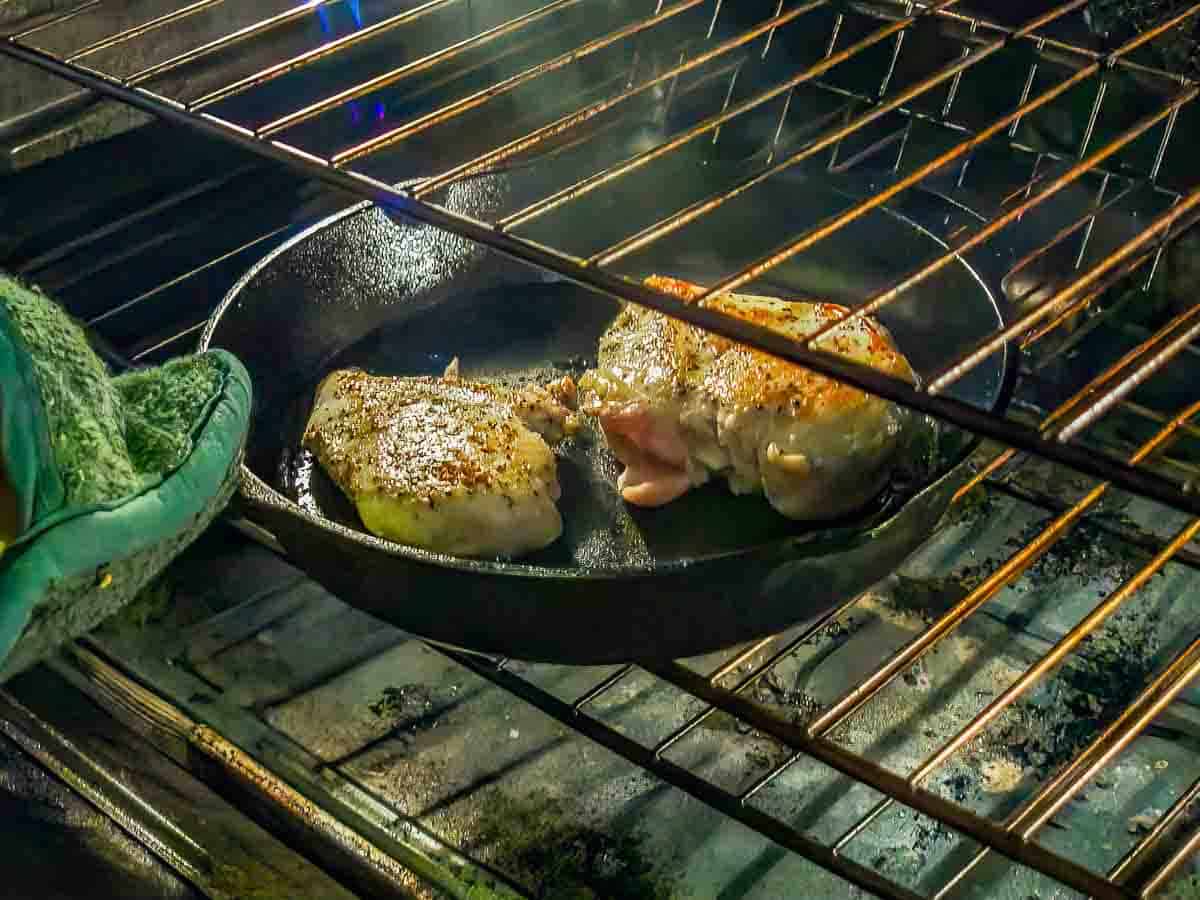
Bake for 15-20 minutes until an internal temperature of 165°. The thinner breast will be for 15 minutes, and the bigger breasts for about 20 minutes.

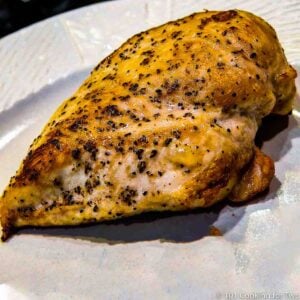
Let rest for 5 minutes before serving. Done in less than 30 minutes, and you spent most of the time setting and unwinding. Not bad, not bad at all.
📖The Recipe Card
Pan Seared Oven Baked Chicken Breasts
Video Slideshow
Ingredients
- 2 skinless boneless chicken breasts - about 10 oz each well timed
- 1 teaspoon oil
- Salt and pepper to taste OR 7:2:1
Step-by-Step Instructions
- Preheat the oven to 375° convection or 400° conventional. Trim and pat dry the chicken with paper towels. If the chicken breast is over ¾ inches thick, flatten it with a meat mallet or the bottom of a heavy pan.
- Sprinkle lightly with salt and pepper or the seasoning of your choice.

- Put an oven-safe pan (cast iron preferred) over medium-high heat with a teaspoon of oil or some butter. When the oil is hot and shimmering, carefully lay the chicken breast in the hot pan. Brown both sides for 3-4 minutes each.
- Get them to be almost the color you want when eating. So, sear, flip, sear, and a final flip into the oven.
- Bake for 15-20 minutes until an internal temperature of 165°. The thinner breast will be for 15 minutes, and the bigger breasts for about 20 minutes.
- Let rest for 5 minutes before serving. Done in less than 30 minutes.

Recipe Notes
Pro Tips:
- Do not try with still frozen chicken.
- Try to use breasts of about the same size and thicken. If over ¾ inch thick, flatten them with a meat mallet or the bottom of a heavy pan.
- Season as you want, but I suggest nothing with sugar that may burn. We use All Purpose Seasoning - 7:2:1 and 7:2:2.
- Start searing with a preheated pan, not cold. The oil should be shimmering. You may need more oil if you don't use well-seasoned cast iron or non-stick skillet. Butter will work but if you have smoking, turn the heat down a bit.
- Sear in the pan to approximately the final color you want.
- First, sear with the smooth side up, then flip, sear, then one final flip as it goes into the oven.
- The oven time can vary by size and thickness. Usually, 15-20 minutes, but you must check for the final internal temperature of 165°. Thinner breasts may take as little as 10 minutes.
- Rest for 5 minutes after cooking before cutting.
Your Own Private Notes
To adjust the recipe size:
You can adjust the number of servings above; however, only the amount in the ingredient list is adjusted, not the instructions.
Nutrition Estimate (may vary)
Editor's Note: Originally Published August 28, 2011. Updated with expanded options, refreshed photos, and a table of contents to help navigation.


Janet says
After searing the boneless chicken breasts on the stove, can you place them in the oven on baking sheet to complete the recipe?
Thank you for your answer.
Janet
Dan Mikesell AKA DrDan says
Hi Janet,
Welcome to the blog.
The chicken may release a small amount of fluid as it cooks, especially if it was previously frozen. You don't want that dripping in your oven.
So, you should use something with a rim if your stovetop pan won't be going in the oven. I use sheet pans but a cake pan, or casserole dish would be fine. Remember, if you are transferring pans like this, preheat the oven pan with the oven when it preheats and it may need a bit of oil to prevent sticking.
Hope that helps.
Dan
Wes says
You could, but it will take longer to cook than if you left them cook in the skillet. Try preheating the pan in the oven so that it’s hot once you put the chicken breasts on it.
Carolyn S. says
This is such a great cooking method. I use it for pork chops and strip steaks as well (see Dan's other recipes). It's worth investing in an iron skillet just for that. I like Lodge.
Roger says
For some reason I remember this recipe from years ago, but it included garlic. I distinctly remember a phrase such as letting the garlic "blossom" or similar language. Am I nuts?
Dan Mikesell AKA DrDan says
Hi Roger,
Welcome to the blog.
I had several pan-seared recipes over the years, and a few had raw garlic that I bloomed a bit before adding it to the meat. I remember a filet and pork tenderloin recipe, and there may have been a chicken breast that I don't remember at the moment. All those recipes have been combined with/merged with other recipes.
I have pulled that technique off the site since it is easy to burn the garlic, and most readers are inexperienced cooks. If you want to do the garlic, add a clove or two of minced or crushed garlic to a bit of butter and cook for a minute or two, then spoon on the chicken as it goes into the oven. Be sure not to leave garlic bits in the pan that goes into the oven.
Dan
Dan says
I have never posted a reply to a recipe before . . . that is before “today”! I have to say this recipe is truly a family favorite! I have made it 5 times and it never lets you down. Last time I used rosemary and thyme in addition to the salt and pepper. Made for a fun main dish!
Thanks so much!
Ross Armstrong says
I have yet to try this but it sounds great. When you let the chicken rest once out of the oven is it in the cast iron pan or do you plate it right out of the oven to let it rest?
Dan Mikesell AKA DrDan says
Hi Ross,
Welcome to the blog.
The rest is to provide time for fluid to reabsorb into the cells of the meat. Cast iron holds heat that will inhibit that, so plate and lightly tent is generally the best. Practically speaking most of the time by the time you remove from the pan and serve, you have your wait time covered.
Dan
Candy says
Thawed some breasts today and seared them to a beautiful color. Then I put them in the oven for 20 minutes, just as you suggest. They were a little dry around the edges, but, oh, so tender away from the edges. I don't often buy breasts; I usually buy thighs. About how long should I keep thighs in the oven?
P.S. The pups are beautiful ... such a stunning color!
Dan Mikesell AKA DrDan says
Hi Candy,
Welcome to the blog.
Breasts tend to dry a bit and especially if previously frozen. So a brine would help that.
With thighs, I have a slightly different method. See https://www.101cookingfortwo.com/oven-baked-chicken-thighs/
Thanks for the note and Molly and Lilly say thanks for the compliment.
Dan
Amber says
So easy and delicious! This was my third time using this method and it came out perfect every time! Thank you!
Deborah J. Lein says
Made this tonight. The chicken had been brined and frozen; then thawed. I used ghee (clarified butter) instead of oil. Also fresh ground pepper, thyme and garlic powder. After searing both sides, I added some grated parmesan cheese and bread crumb, then spritzed with PAM cooking spray. After baking, I took chicken out, measured temperature and placed on a serving plate. Then I took the pan out of the oven, warmed it on low heat and splashed in about 1/4 cup white wine to make a pan sauce out of the browned bits on the bottom. YUM YUM!!
PSUCHIC06 says
Very clear recipe! It is funny how a simple chicken breast can cause so much stress! This recipe is wonderful and yielded 2 delicious pieces. Looking forward to leftovers in a wrap!
Definitely going to try other recipes off ypur site!
Jeannette says
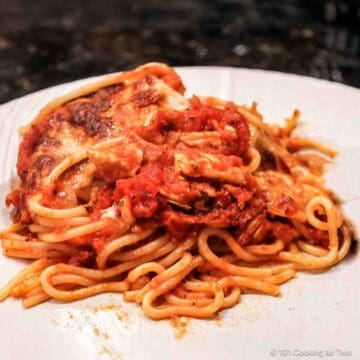
I always stayed away from cooking chicken for fear of drying it out, but since I found your instructions I can make perfect chicken juicy and seasoned perfectly every time!! Thank you! I use the chicken for entree, or sliced on top of salads or pasta, or quesadillas, etc. Everything chicken starts with this!!
:-)
Brandon Remson says
This looks proper! Does it matter if I place the skillet on the bottom or top shelf in the oven? Looks like You placed yours towards the bottom...
Dan Mikesell AKA DrDan says
Hi Brandon,
Welcome to the blog. The answer is near the middle or a bit under. Not real high or low. It is very forgiving.
Dan
Penny says
So happy to come across this - I've used this method in the past, but like someone else posted, forgot the oven temperature - and you give great instructions. I suggest using a probe thermometer before throwing it in the oven. Making this tonight, thank you for your recipe and the refresher course on how to sear and roast!
Julia says
I finally got myself a cast iron skillet last week and this chicken turned out perfectly! It had the great taste of grilled chicken, without me having to stand and watch the chicken every moment at our (unreliable and inconsistent) outdoor grill. I drizzled it with balsamic dressing at the very end of cooking, let it rest and sliced it, and it was excellent on top of our salads tonight. Thanks for another great technique!
Rob says
Thank you for this! I did this a few years ago but couldn't remember the oven temp which landed me to your site. One thing I would suggest is to brine the chicken the night before with salt and water. I also add seasoning based off the meal I'm cooking. Make sure to leave the chicken out on the counter at least 30 min to come close to room temp. Pat the chicken dry with a paper towel so you can get a little crust on it. Salt and pepper both sides before searing. Talk about juicy chicken!! Thanks again!
Lulu says
I want to use my grill type cast iron skillet (the one that would create grill marks on my chicken). Would any cooking instructions change?
Thank you,
Lulu
Dan Mikesell AKA DrDan says
Hi Lulu,
That will be fine, I'm sure. The instructions will be the same. Just remember you are cooking to a final internal temperature.
Dan
Kristy says
This is the best way to cook a juicy chicken breast, it never fails. I use this recipe every time unless I’m grilling. I’ve also recommended it to friends!
Dan Mikesell AKA DrDan says
Hi Kristy,
Welcome to the blog.
This is one of my old recipes that I have used for years. It is just so fast and easy to do.
Thanks for the note and rating.
Dan
Jordan Bidwell says
Thank you! I will probably always make chicken this way now because it turned out so juicy. Usually when I sear I end up drying it out. I sauteed some vegetables while it was in the oven and had great chicken fajitas.
Dan Mikesell AKA DrDan says
Hi Jordan,
Welcome to the blog.
This is one of the original recipes I did for the blog.
Glad you enjoyed it.
Thanks for the note and rating.
Dan
Lee says
Thank you for this recipe! I needed to get out of my rut of store-bought rotisserie chicken, but it was hard to find a foolproof easy and quick recipe. I've made this twice now and it's as good on day 2 and 3 which helps to make sure I'm eating healthy. This time I added some fresh minced garlic to the pan before the chicken - tasted great! I also roasted some garlic in the oven the same time I roasted the chicken, I use it instead of a condiment for a healthy sandwich. Can you tell I love garlic? I just recently found your blog and am looking forward to trying more of your recipes!