
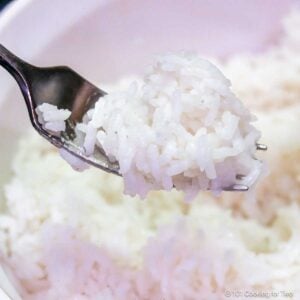
Oven-baked rice is the easiest and best way to skip burnt pans and mushy results. You just mix, seal, and cook—no watching the pot. Baked rice is on the table in under 30 minutes.
Simple and reliable, cooking rice in the oven will be your new go-to method—no rice cooker needed.
⏱️ Quick Answer: How Long to Cook Rice in the Oven
Bake rice tightly sealed at 375°F (or 350°F convection).
• Long-grain white rice: 25 minutes
• Brown rice: About 1 hour

Jump To (scroll for more)
- 😊 TL;DR (Recipe Summary)
- 🧂 Ingredients You’ll Need
- 👨🍳 Quick Overview: How to Cook Rice in the Oven
- 🍚 Oven-Baked Rice Ratio & How Long to Cook
- 😊 Tips for Success
- 🍚 What About Brown or Other Rice Varieties?
- 🤔 Troubleshooting Oven-Baked Rice
- ↕️ Adjusting the Recipe Size and Pan Sizes
- 🍽️ What to Serve with Baked Rice
- ❄️ Storage and Reheating
- ❓ FAQs
- 📖The Recipe Card

Featured Comment by Jo:
⭐⭐⭐⭐⭐
"I am thrilled that this recipe works so well. The moistness and fluffiness of the rice was perfect after 25 minutes. I don't believe I've ever made perfect rice before."
😊 TL;DR (Recipe Summary)
What it is: A simple, reliable way to cook long-grain white rice in the oven—hands-off and consistent every time.
Why you’ll love it: No burnt pans, no mush, and no babysitting. Just mix, seal, bake—no rice cooker needed.
How to make it: Combine rice with boiling water, butter, and salt; cover tightly; bake at 375°F for 25 minutes; fluff immediately.
Jump to the Recipe Card or keep reading for tips, variations, and troubleshooting.
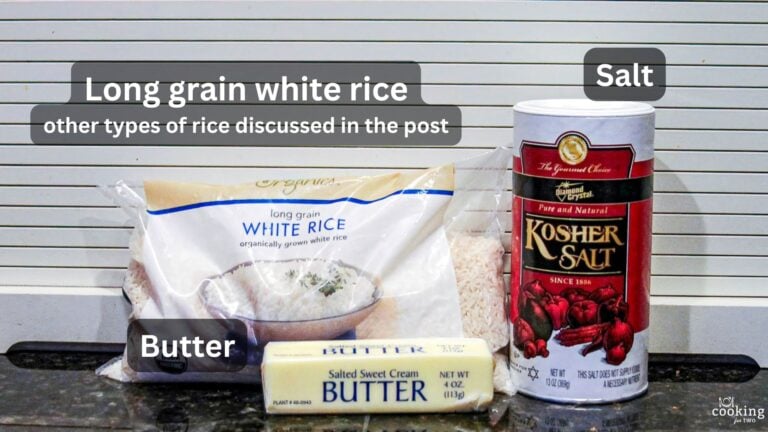
🧂 Ingredients You’ll Need
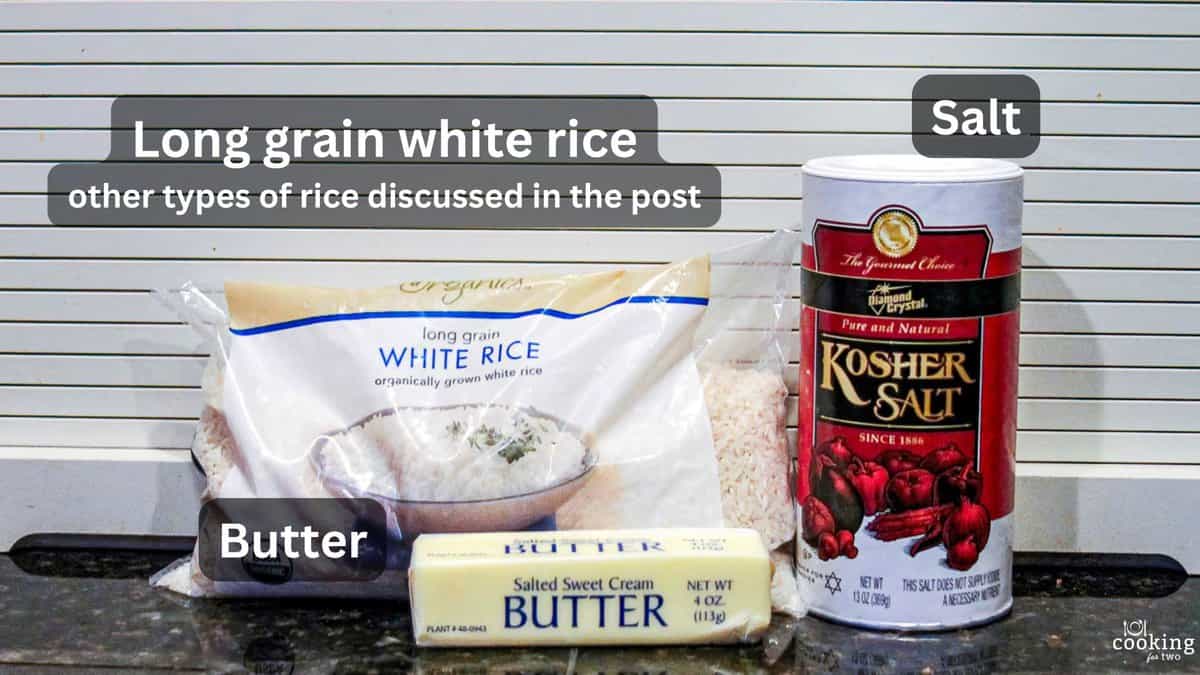
Just four ingredients and no special tools.
- Long-grain white rice – Basic pantry rice works best here. Other rice varieties are discussed below.
- Butter – Adds flavor and helps prevent sticking. You can skip it or use olive oil.
- Salt – Kosher, table, or other salt.
- Boiling water – Starting hot gives you even, reliable cooking in the oven.
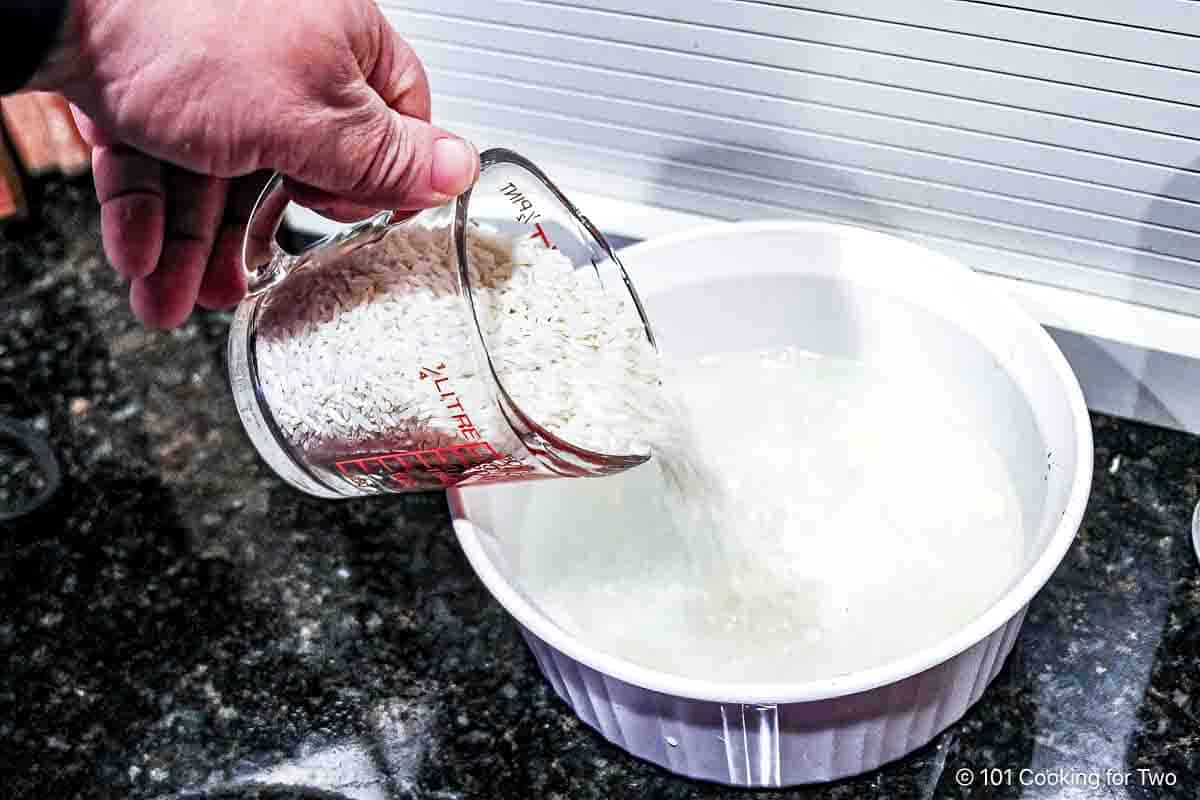
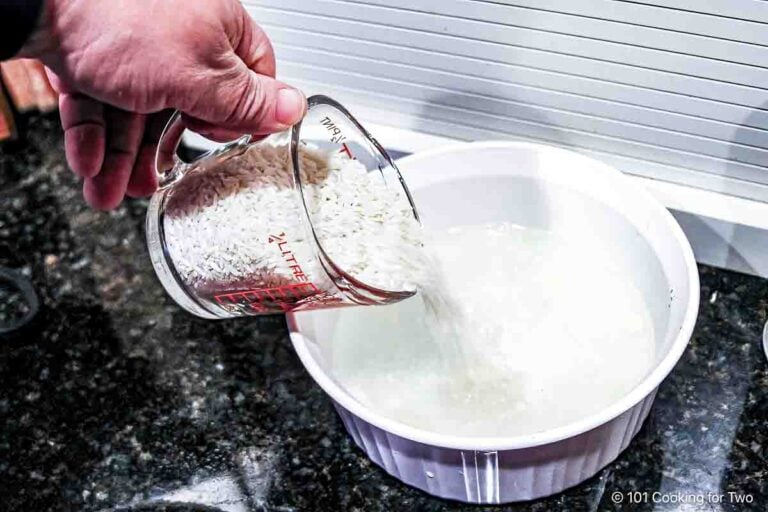
✅ Pro Tip: No rinsing required for most white rice. But if yours is extra starchy or dusty, a quick rinse in a strainer won't hurt.
👨🍳 Quick Overview: How to Cook Rice in the Oven
1. Combine everything: Add the rice, butter, salt, and boiling water to your baking dish.
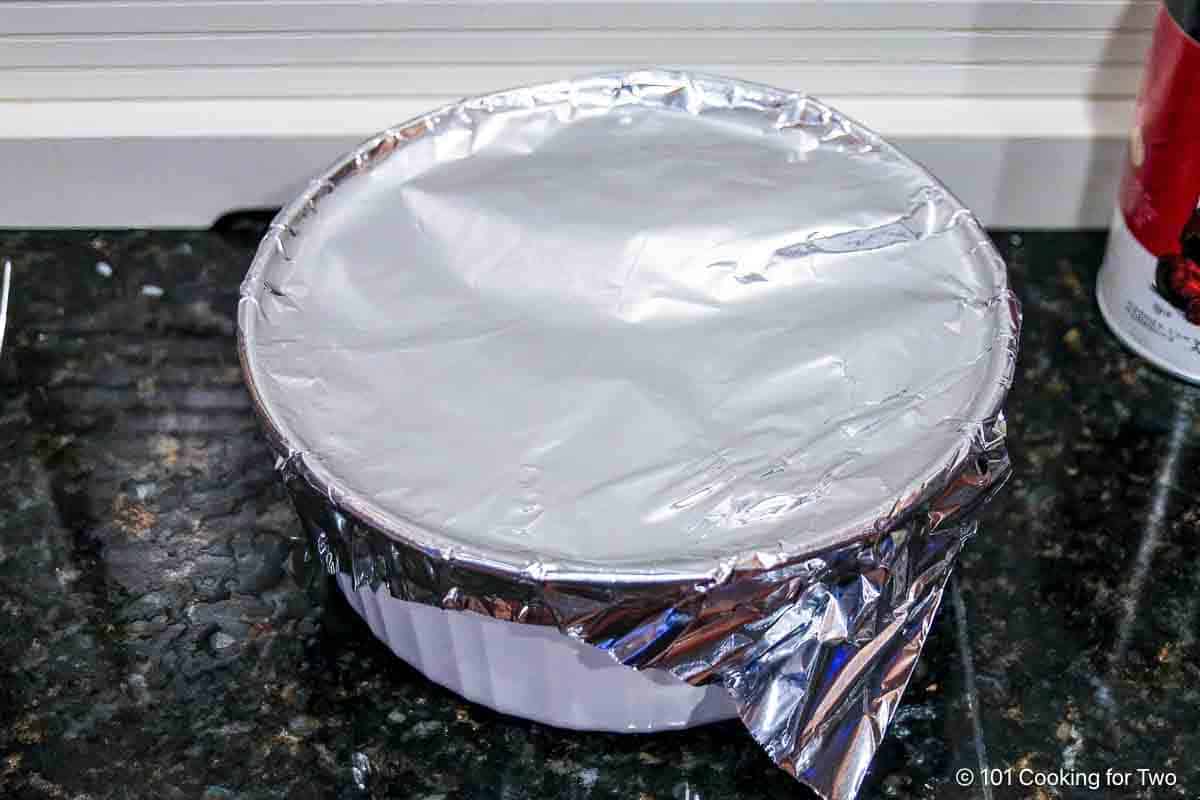
2. Cover tightly: Seal the dish with foil so the steam stays inside.
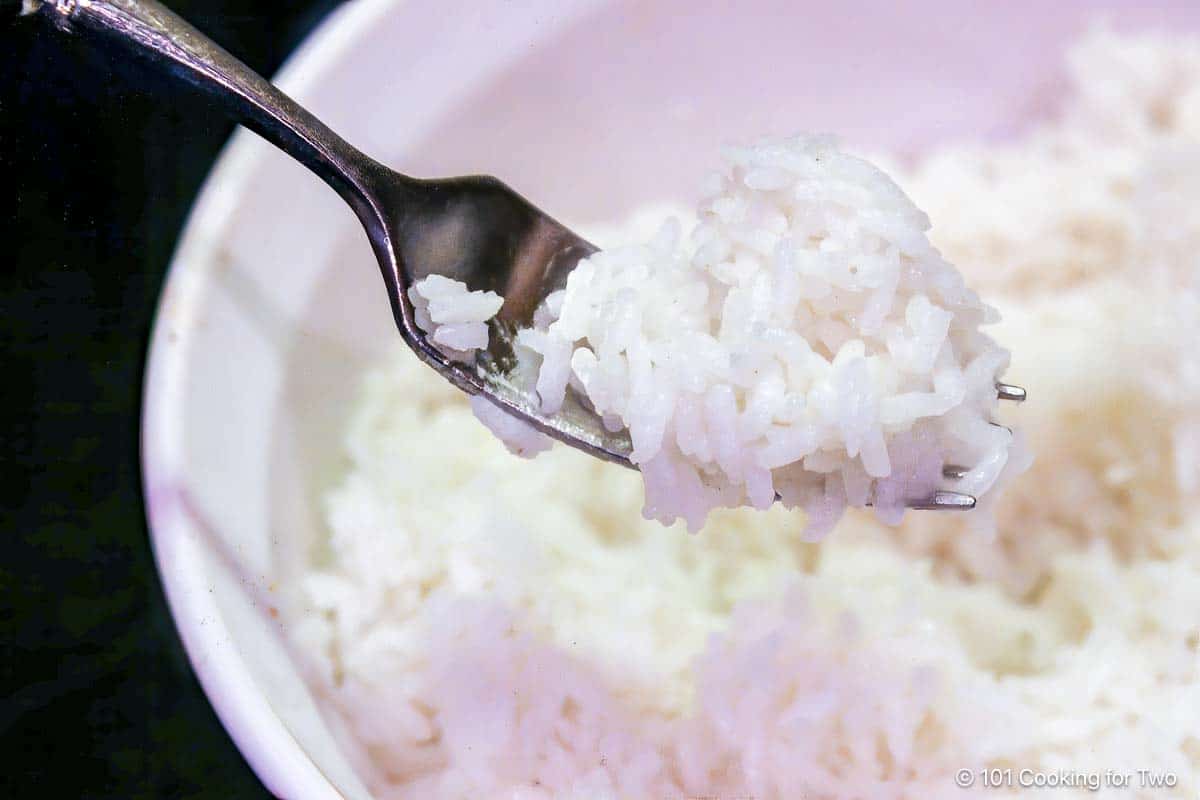
3. Bake and fluff: Bake until the rice is tender, then fluff immediately to keep the grains separate and stop the cooking.
✅ Pro Tip: If you're unsure, gently lift some rice with a fork before calling it done. If there's liquid left or it feels undercooked, give it a few more minutes.
👇For complete step-by-step instructions, scroll down to the printable recipe card or keep reading for tips, flavor options, and serving ideas.
🍚 Oven-Baked Rice Ratio & How Long to Cook
Ratio: Use 1 cup long-grain white rice to 1¾ cups boiling water.
How long to cook rice in the oven:
- Long-grain white rice: Bake 25 minutes at 375°F (or 350°F convection)
- Brown rice: Bake about 1 hour
A tight foil seal is essential for even cooking and tender rice.is the key to consistent results.
Save this recipe!
😊 Tips for Success
- Use the right pan: A 2-quart casserole, 6×9-inch baking dish, or 8–9-inch round pan will all give the rice the right depth for even cooking.
- Preheat the oven: A fully heated oven helps the water return to a simmer quickly and cook the rice evenly.
- Seal tightly: Press foil firmly around the edges so steam stays trapped. A tight-fitting lid works too.
- Fluff right away: Fluff immediately to release steam, stop the cooking, and keep the grains separate.
- Choose the correct rice: This method is designed for long-grain white rice. Other varieties are covered below.
🍚 What About Brown or Other Rice Varieties?
- Brown rice: Needs more time and more water. Use 1 cup rice to 2 cups boiling water and bake for about 1 hour, until tender.
- Basmati or jasmine: Cook the same way as standard long-grain white rice — same ratio and timing.
- Not recommended: Short-grain, converted/parboiled, or instant/minute rice. They require different methods.
🤔 Troubleshooting Oven-Baked Rice
- Crunchy rice:
Usually from too little water, a loose foil seal, or baking time that’s a few minutes short. Add a splash of hot water, reseal tightly, and bake a little longer. - Mushy rice:
Caused by too much water or not fluffing immediately. Fluff right away to release steam and stop the cooking.
↕️ Adjusting the Recipe Size and Pan Sizes
- Standard batch: This recipe uses 1 cup of uncooked long-grain white rice, which makes about 3 cups cooked and fits well in a 2-quart casserole, 6×9-inch dish, or 8–9-inch round pan.
- Half recipe: Use ½ cup rice to ⅞ cup boiling water. A loaf pan or other small baking dish works well.
- Double recipe: Use 2 cups rice to 3½ cups boiling water. A Dutch oven or large casserole is best. If the lid fits tightly, you can skip the foil.
- Cook time: Usually stays the same for half or double batches. Thicker layers may need a few extra minutes.
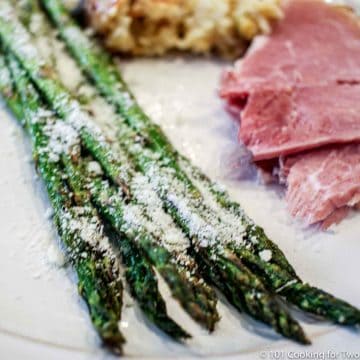
🍽️ What to Serve with Baked Rice
This oven-baked rice works with any saucy or skillet-style dish. Try it with General Tso Chicken, Honey-Glazed Grilled Chicken Breasts, and Cashew Chicken, or your favorite stir-fries and quick weeknight meals. It’s a simple base that fits almost anything.
❄️ Storage and Reheating
- Refrigerator:
Store cooked rice in an airtight container for 3–4 days. - Freezer:
Freeze in small portions for up to 2 months. Expect a slight texture change. - Reheat:
Add a splash of water and warm gently on the stove or microwave with a damp paper towel.
✅ Pro Tip: Break up cold rice clumps before reheating for best results.
❓ FAQs
Usually not. Long-grain white rice bakes just fine without rinsing. If it looks dusty or extra starchy, a quick rinse in a strainer won’t hurt.
Package directions assume stovetop cooking, where steam escapes. In the oven, steam is sealed in, so you only need 1¾ cups water for each cup of rice.
Use tight foil pressed firmly around the edges. That’s all you need to trap steam. A Dutch oven with a heavy, snug lid can skip the foil.
Butter adds flavor and helps prevent sticking. If you skip it, add a small drizzle of oil when fluffing to keep the grains separate.
Yes. Chicken or beef broth adds more flavor, and you can toss in herbs or spices for extra depth.
📖The Recipe Card
How to Cook Rice in the Oven (Perfect Every Time)
Video Slideshow
Ingredients
- 1 cup long grain rice
- 1 ¾ cup water - Boiling
- 1 tablespoon butter
- 1 teaspoon kosher salt
Step-by-Step Instructions
Prepare the rice to bake
- Preheat oven to 375°F conventional or 350°F convection.

- In an oven-safe pan, add butter and kosher salt to the boiling water. Stir well, then mix in the rice. Use a 2-quart casserole, a 6×9-inch dish, or an 8–9 inch round baking pan.

Bake
- Cover tightly with aluminum foil. Bake for 25 minutes, or until the water is absorbed and the rice is tender.✅ Pro Tip: If you're unsure, lift some rice with a fork. If there's liquid left or the grains still feel firm, bake for 2–4 more minutes.

Fluff and serve
- Fluff with a fork immediately to release steam and stop the cooking. Then serve.

Recipe Notes
Pro Tips:
- Use boiling water for even cooking
- Rinsing is optional. If your rice looks powdery, rinse it under running water in a strainer until the water runs clear.
- Seal the container tightly with foil to trap the steam.
- Use the amount of water stated in the recipe, not the amount indicated on the bag.
- Check if the rice is done at the end of the recommended cooking time. Add a few more minutes if needed.
- Fluff right after baking to prevent overcooking.
- For brown rice, use 2 cups of water and bake for about 1 hour.
- Store leftovers in the fridge for 3–4 days. You *can* freeze rice, but the texture may change
Your Own Private Notes
To adjust the recipe size:
You can adjust the number of servings above; however, only the amount in the ingredient list is adjusted, not the instructions.
Nutrition Estimate (may vary)
Originally Published February 23, 2014. Updated with expanded options, refreshed photos, and a table of contents to help navigation.


Susan Snyder says
I scorch rice very darn time I make it on my gas stove-top, so I looked up this recipe for making it in my oven. I used long grain rice and followed the recipe exactly. Perfection! I'll never make rice any other way!! Thank you!
Danielle says
This is a great recipe that always works! I put olive oil in place of the butter so that it won't be dairy and it comes out awesome. Thanks guys posting!
Sam says
I tried this recipe tonight. I doubled it & followed the directions the same just doubling the amounts used the same cook time. My kids really liked it said if we added cilantro it tastes just like chipotles. Very easy recipe went well with tacos. Thanks for sharing.