
An easy 30-minute recipe starting with searing the chicken breasts on the stovetop, then oven-baked to a final temperature of 165° for a great tasting, moist, and tender weeknight dinner.

Introduction
This is how we cooked for many years. We had a freezer in the garage fridge for meat only. I would take out a couple of chicken breasts, a pork tenderloin, and some steaks, let them thaw in the refrigerator for a few days and work our way through them.
I would get home late from work. But we want a nice dinner on a short timeline. I spend 5-10 minutes of preparation time and usually finish in the oven as I'm unwinding, and in 15-20 minutes, dinner was ready.
Faster than ordering pizza and so much better, healthier, and cheaper if you're cheap.
👨🍳How to make this recipe
- Preheat the oven to 375° convection or 400° conventional.
- Trim and pat dry the chicken. If the chicken breast is over ¾ inches thick, flatten it with a meat mallet or the bottom of a heavy pan.
- Heat oil in an oven-safe pan (cast iron preferred) over medium-high heat.
- Sprinkle lightly with salt and pepper or the seasoning of your choice.
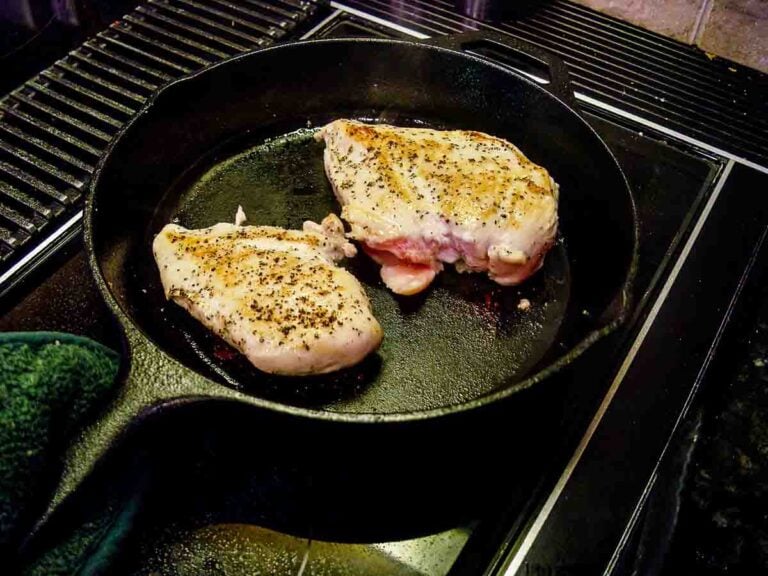
- When the oil is hot and shimmering, carefully lay the chicken breasts in the hot pan. Brown both sides for 3-4 minutes each—to almost the color you want when eating.
- Bake for 15-20 minutes until an internal temperature of 165°. The thinner breast will be for 15 minutes, and the bigger ones for about 20 minutes.
- Let rest for 5 minutes before serving.
⏰Oven baking time
In an oven temperature of 375° convection or 400° conventional, the most common size breasts (10-12 oz.) will take about 15 minutes after a nice medium searing. A larger breast will be about 5 minutes more. A small breast may take as little as 10 minutes in the oven.
Variability is related to the thickness of the chicken breasts and a bit by the amount of searing. Always cook to a final internal temperature of 165° and never by time alone. Times are provided to help you plan only.
You can use a different oven temperature if you are cooking something else since you are cooking to a final internal temperature. It will take a bit longer or shorter, depending on your adjustments.
Also, let the chicken rest for 5 minutes before cutting to reabsorb the fluid in the meat from the cooking process.
🐓Ingredients
The Chicken
This is a skinless boneless chicken breast recipe. It is not for skin-on or bone-in breasts. You can use skinless chicken thighs, but I suggest a finish temperature of 180°+, although 165° is safe.
If you are doing more than one breast, try to use breasts of about the same sizes and thickness. If the breasts you use vary in thickness, you should flatten the thicker ones to ¾ inches with a meat mallet or heavy pan.
This cooking method should not be used for chicken that is still frozen. The outside will be overcooked and chewy before you get the thickest part of the breast to the safe temperature of 165°.
🧂The Seasoning
Just a coarse salt and pepper will do, but we like our homemade All Purpose Seasoning - 7:2:1 and 7:2:2 and keep it on the stovetop. It adds garlic, which is required in our household.
Season to your taste, but I don't suggest anything with sugars since they might burn with the searing.
❓FAQs
Searing will create a Maillard reaction caused by heating proteins and carbohydrates. It leads to browning and new flavors. It is different from caramelization since caramelization involves only carbohydrates.
One of the secrets of this recipe is the searing. You get a nice Maillard reaction (the searing/browning) to add lots of flavors you get no other way.
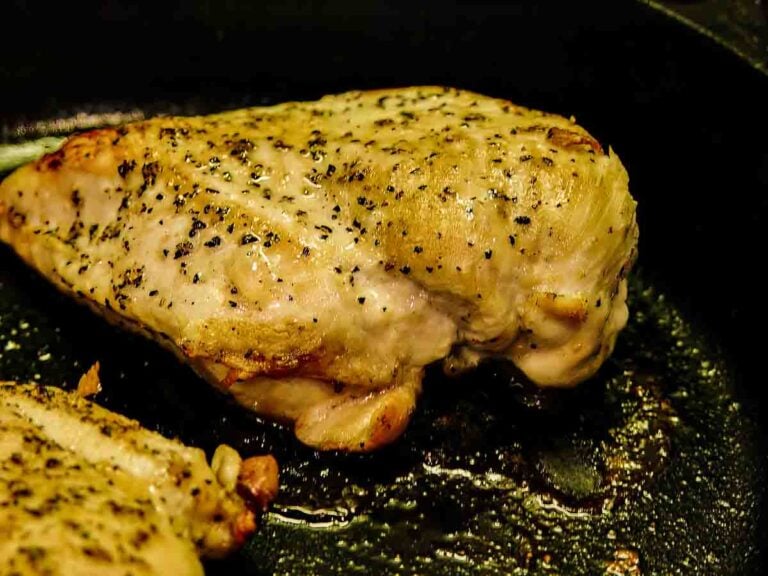
Get them close to the final color you like during the searing before you move on to the oven-roasting step. Just baking them in the oven will not get you there/
Cast iron can quickly go from the stovetop to the oven safely. It excels at even heat distribution without hot spots, it is cheap and relatively non-stick—a near-perfect pan for this sort of recipe.
I use a 10-inch cast iron skillet for two breasts for this recipe. A 12-inch skillet will work for up to 4 chicken breasts.
If you don't have cast iron or another pan that is safe to go from the stovetop to the oven, you can use a different pan for the stovetop, then transfer the chicken to a preheated oven-safe pan to finish cooking.
Save this recipe!
👨🍳Food Safety Tips
For safety, use an instant-read thermometer in the thickest part of the chicken to be sure the internal temperature reaches the safe temperature of 165° and never cook by time.
Chicken should not be rinsed for food safety. It will splatter germs over your kitchen. For more details, please see Chicken- To Rinse or Not To Rinse? .
📖Chicken Breast Recipes
How to Bake Chicken Breasts in a Convection Oven
How to Grill Chicken Breasts on a Gas Grill

This recipe is listed in these categories. See them for more similar recipes.
Have you tried this recipe, or have a question? Join the community discussion in the comments.
Step-by-Step Photo Instructions
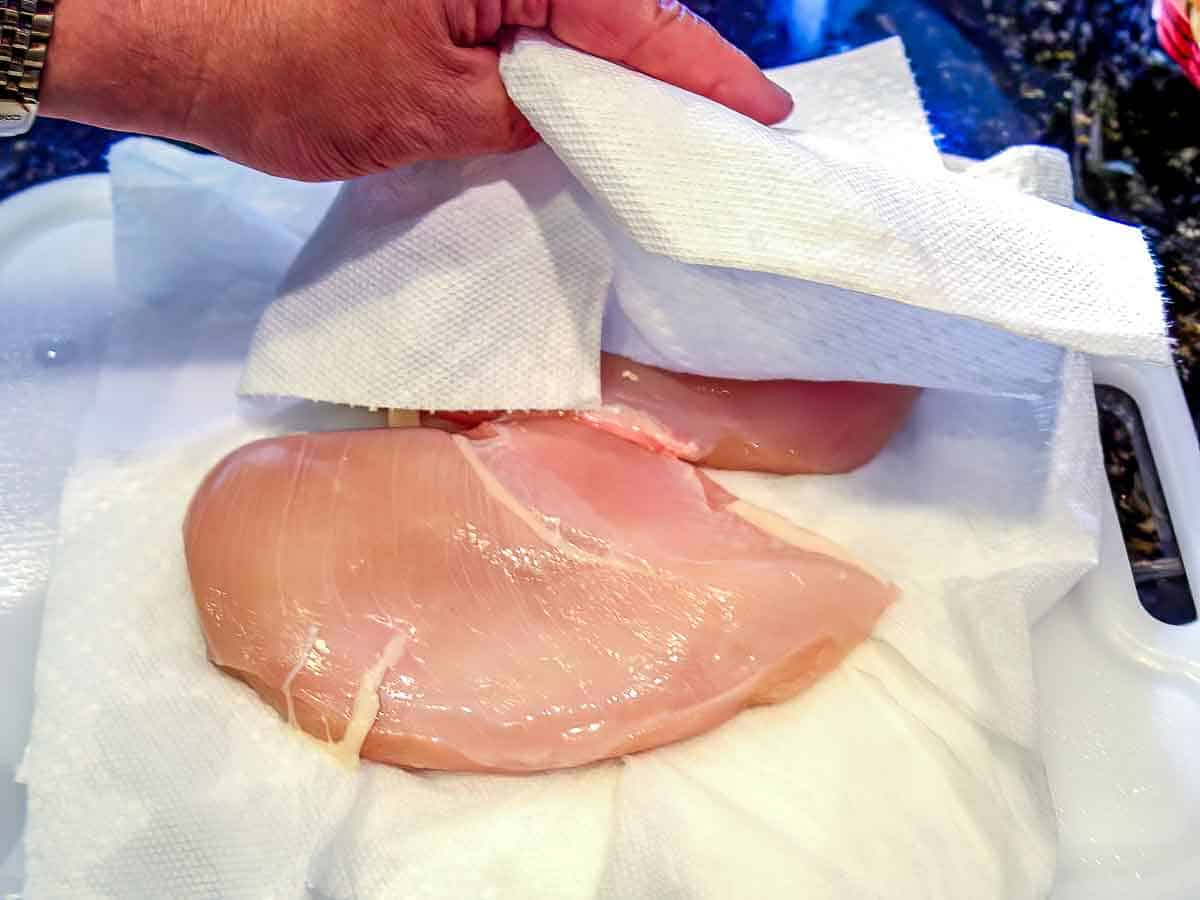
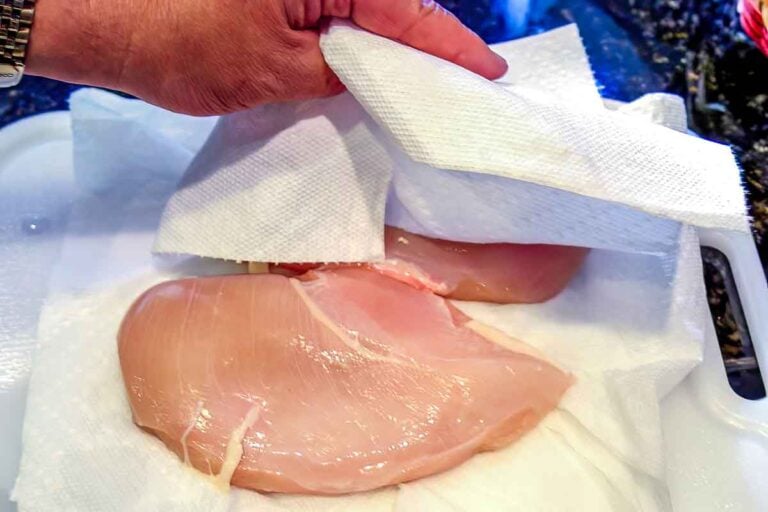
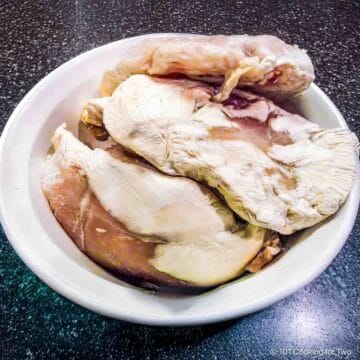
Preheat the oven to 375° convection or 400° conventional. Trim and pat dry the chicken with paper towels. If the chicken breast is over ¾ inches thick, flatten it with a meat mallet or the bottom of a heavy pan.
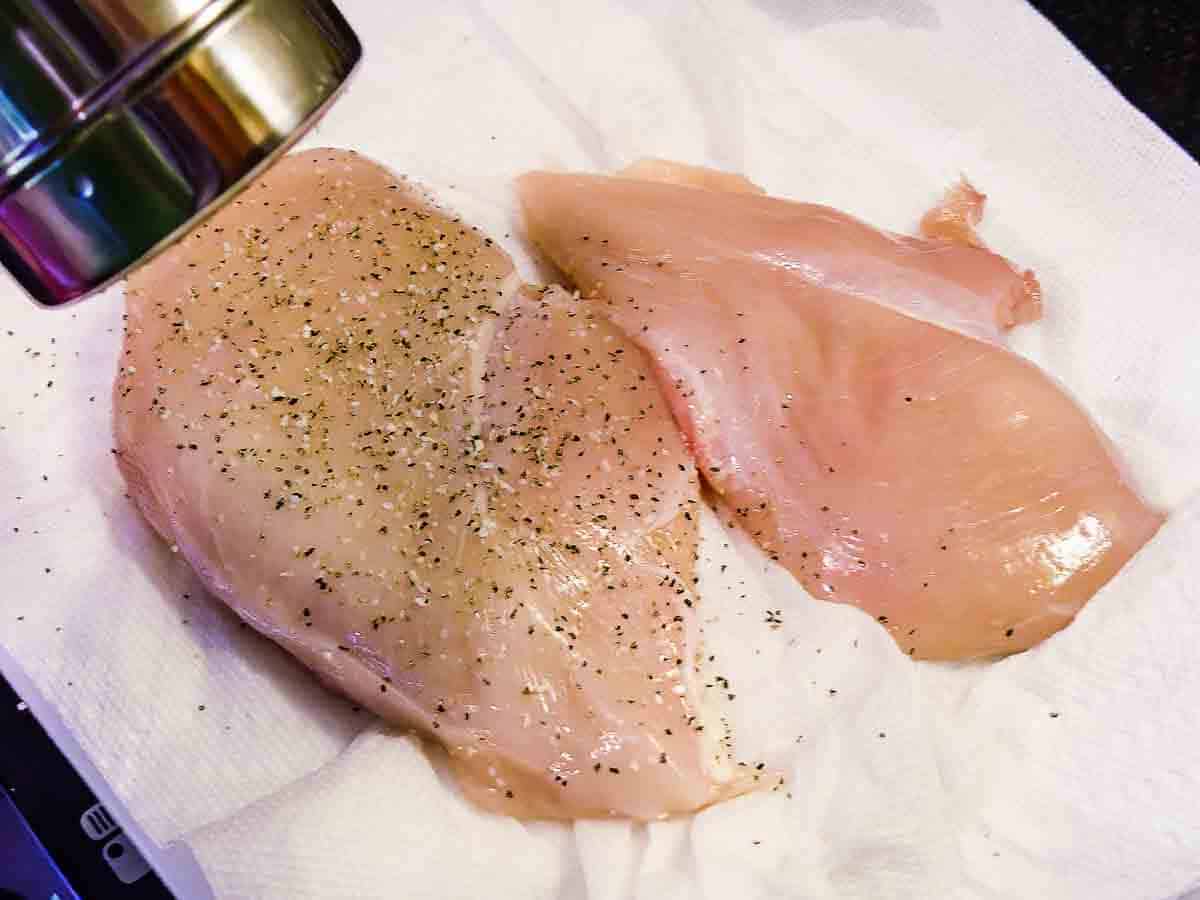
Sprinkle lightly with salt and pepper or the seasoning of your choice.
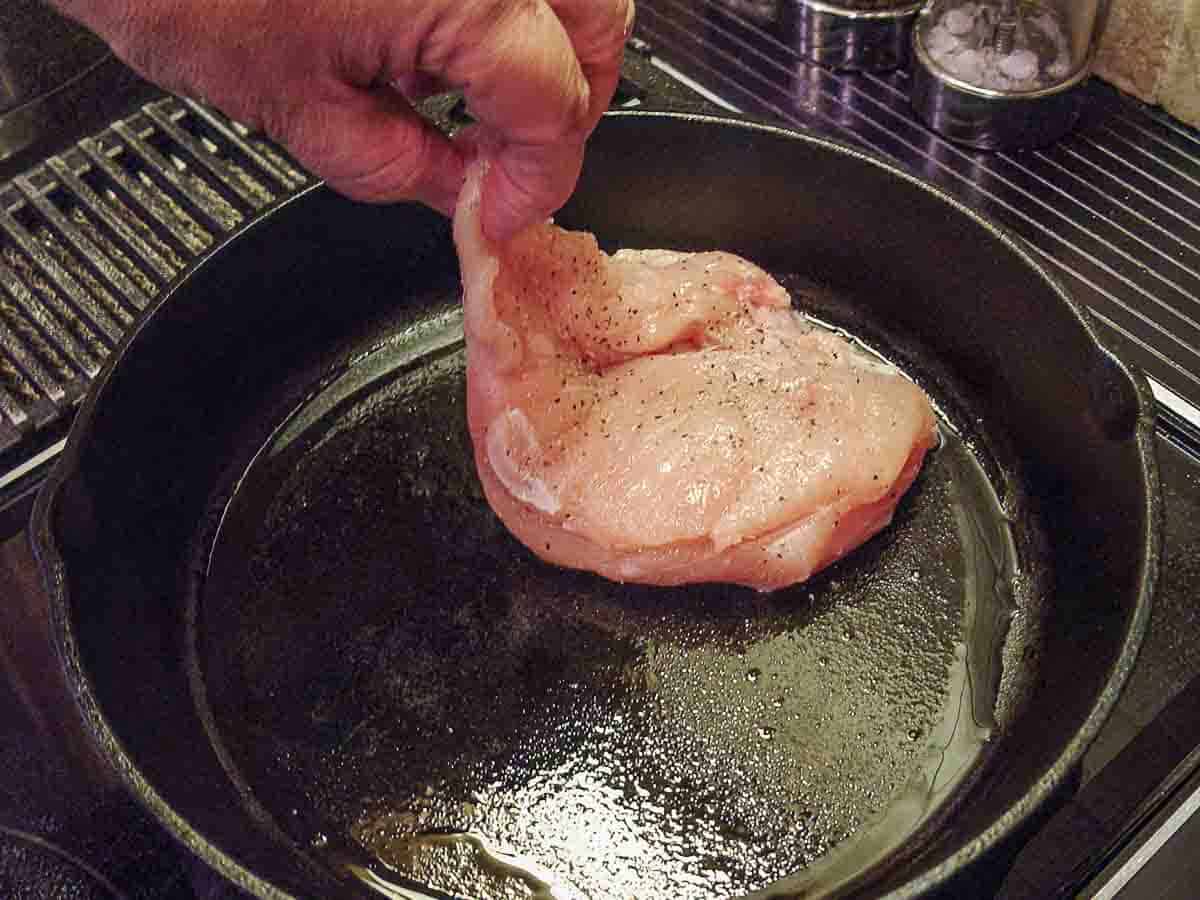
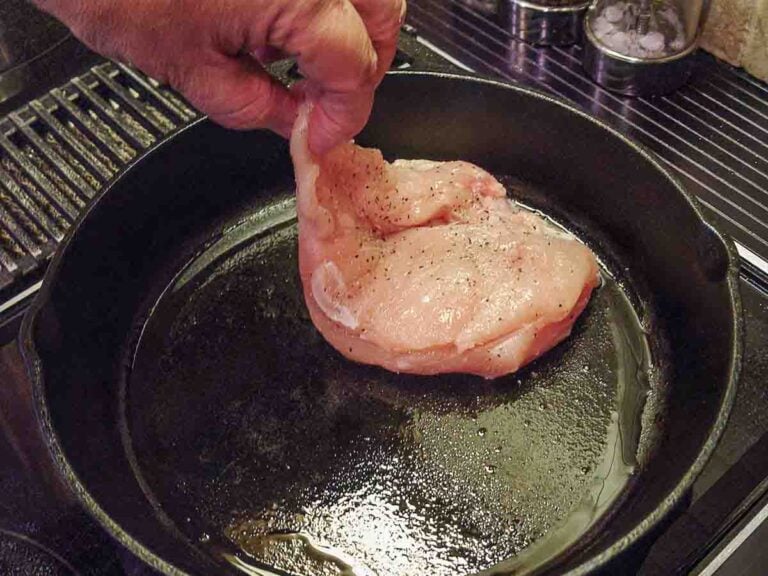
Put an oven-safe pan (cast iron preferred) over medium-high heat with a teaspoon of oil or some butter. When the oil is hot and shimmering, carefully lay the chicken breast in the hot pan. Brown both sides for 3-4 minutes each.
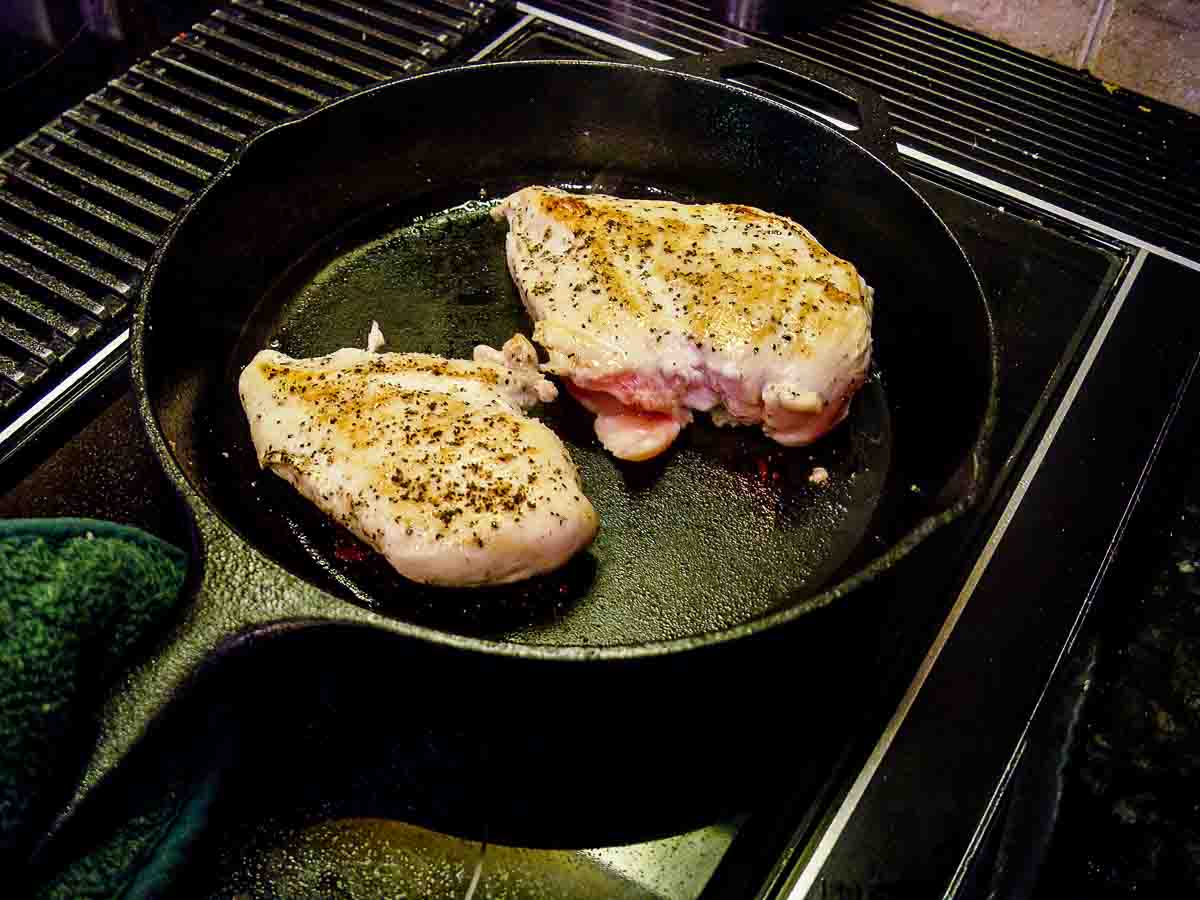
Get them to be almost the color you want when eating. So, sear, flip, sear, and a final flip into the oven.
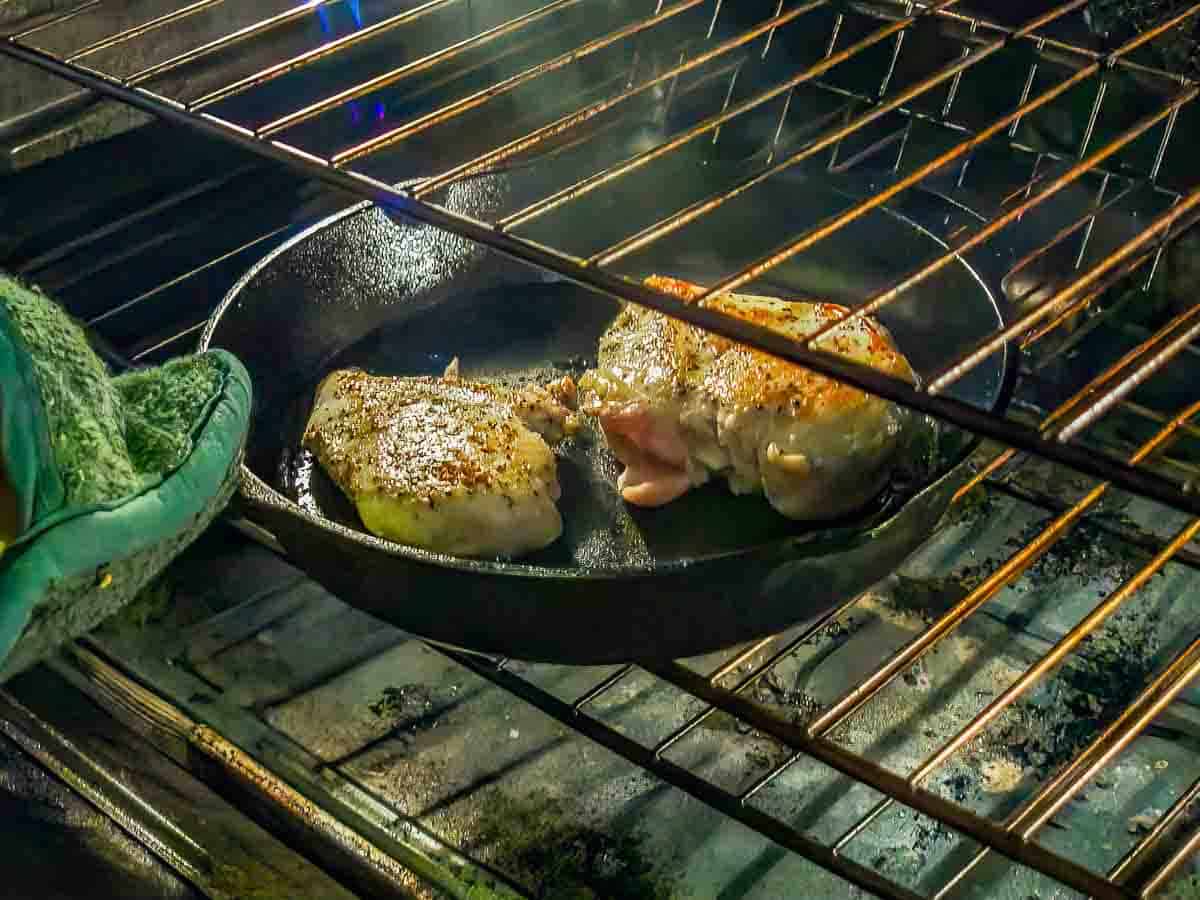
Bake for 15-20 minutes until an internal temperature of 165°. The thinner breast will be for 15 minutes, and the bigger breasts for about 20 minutes.

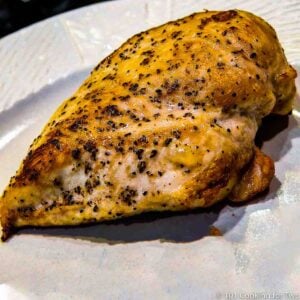
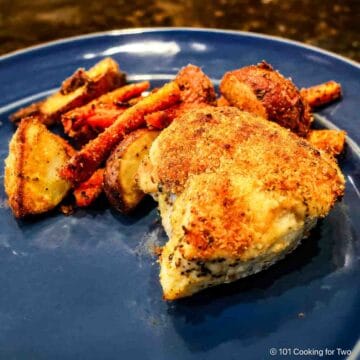
Let rest for 5 minutes before serving. Done in less than 30 minutes, and you spent most of the time setting and unwinding. Not bad, not bad at all.
📖The Recipe Card
Pan Seared Oven Baked Chicken Breasts
Video Slideshow
Ingredients
- 2 skinless boneless chicken breasts - about 10 oz each well timed
- 1 teaspoon oil
- Salt and pepper to taste OR 7:2:1
Step-by-Step Instructions
- Preheat the oven to 375° convection or 400° conventional. Trim and pat dry the chicken with paper towels. If the chicken breast is over ¾ inches thick, flatten it with a meat mallet or the bottom of a heavy pan.

- Sprinkle lightly with salt and pepper or the seasoning of your choice.

- Put an oven-safe pan (cast iron preferred) over medium-high heat with a teaspoon of oil or some butter. When the oil is hot and shimmering, carefully lay the chicken breast in the hot pan. Brown both sides for 3-4 minutes each.
- Get them to be almost the color you want when eating. So, sear, flip, sear, and a final flip into the oven.
- Bake for 15-20 minutes until an internal temperature of 165°. The thinner breast will be for 15 minutes, and the bigger breasts for about 20 minutes.
- Let rest for 5 minutes before serving. Done in less than 30 minutes.


Recipe Notes
Pro Tips:
- Do not try with still frozen chicken.
- Try to use breasts of about the same size and thicken. If over ¾ inch thick, flatten them with a meat mallet or the bottom of a heavy pan.
- Season as you want, but I suggest nothing with sugar that may burn. We use All Purpose Seasoning - 7:2:1 and 7:2:2.
- Start searing with a preheated pan, not cold. The oil should be shimmering. You may need more oil if you don't use well-seasoned cast iron or non-stick skillet. Butter will work but if you have smoking, turn the heat down a bit.
- Sear in the pan to approximately the final color you want.
- First, sear with the smooth side up, then flip, sear, then one final flip as it goes into the oven.
- The oven time can vary by size and thickness. Usually, 15-20 minutes, but you must check for the final internal temperature of 165°. Thinner breasts may take as little as 10 minutes.
- Rest for 5 minutes after cooking before cutting.
Your Own Private Notes
To adjust the recipe size:
You can adjust the number of servings above; however, only the amount in the ingredient list is adjusted, not the instructions.
Nutrition Estimate (may vary)
Editor's Note: Originally Published August 28, 2011. Updated with expanded options, refreshed photos, and a table of contents to help navigation.


Lexi says
Hello Dan, I’m trying to cook 6 chicken breasts at once for some meal prepping. Will this yield the same results if I sear them 2 at a time and then transfer them all to the oven at once? I’m concerned about letting them cool and then back into the oven while I’m searing the rest.
Dan Mikesell AKA DrDan says
Hi Lexi,
Welcome to the blog.
You are right to be concerned about them cooling and not cooking equally. There is definitely some heating inside the chicken during searing. My two ideas are to use two larger skillets at the same time on the stovetop to sear. If they won't fit in the oven at the same time, preheat a large baking sheet or pan with the oven and move them onto it for the oven phase. I have a 15-inch skillet that could handle all at once easily or if you stovetop griddle, it might work.
The other option is a different recipe, like https://www.101cookingfortwo.com/baked-chicken-breasts/. Just cook them that way, or as they finish, do a few minutes of searing on the stovetop to add flavors.
Hope that helps.
Dan
JJ says
Friend, with all due respect; if you leave it in the oven until it hits the full 165F serving temp; it's going to be about 10 degrees overcooked by the time it's finished resting.
Mability says
Dr. Dan - This is very tasty, juicy, easy and healthier than most recipes. I really appreciate the way you lay out recipes and instructions. I'm the sole caretaker for my adult son with cognitive and developmental disabilities and it's great to get all the info I need to prepare a fairly quick and easy meal for both of us. Thank-you so much!
Nancy says
very good
Henry says
What does your 7 2 1 seasoning mix consist of chicken looks delish won’t, to try using your seasoning mix thanks
Dan Mikesell AKA DrDan says
Hi Henry,
Welcome to the blog. It is linked in the post and listed in the blog FAQs but here is a link.
https://www.101cookingfortwo.com/everyday-spice-mix-721-mix/
Dan
Zen says
My new favorite way to make chicken! Thank you!
Deborah says
The best chicken breasts ever. Recipe couldn't be clearer. Thanks.