
Learn how to set up your gas grill for great low and slow cooking with smoking. A useful technique you need to master your gas grill, along with troubleshooting tips. Now updated with expanded troubleshooting tips.
Jump To (scroll for more)

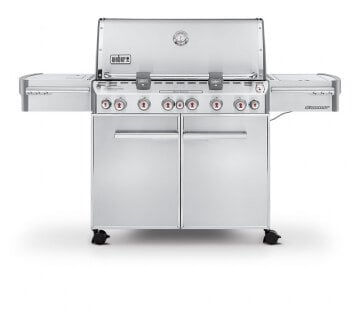
I initially wrote this for my How to Grill Baby Back Ribs, but now publish it separately so I can refer to it for other recipes. While I use a Weber Summit that is very hot and versatile, I have generalized the instructions.
Let's talk about your grill. You must know your grill. If you can get or have the instructions for your grill from the manufacturer, follow those instructions.
For some recipe suggestions for beginners, please see Beginner's Guide to Grilling on a Gas Grill.
🌡️Grill Temperature
You are going to need to experiment a little with your grill setup. You need to know how to get a steady low grill surface temperature in an area reserved for indirect heat.
If you are a beginner, please check A Beginners Guide to Grill Temperature on a Gas Grill, where I give a more complete discussion of grill temperature, which is basic for any successful grilling.
Also, be sure you have enough gas. I have natural gas, so I'm good. If you are not so lucky, have a second tank.
I used grill surface thermometers for years. They only cost about $10 and will last most of the grilling season until you can't read it anymore. Get one from Amazon, Home Depot, or Lowes. I now use a fancy Thermoworks remote monitor.
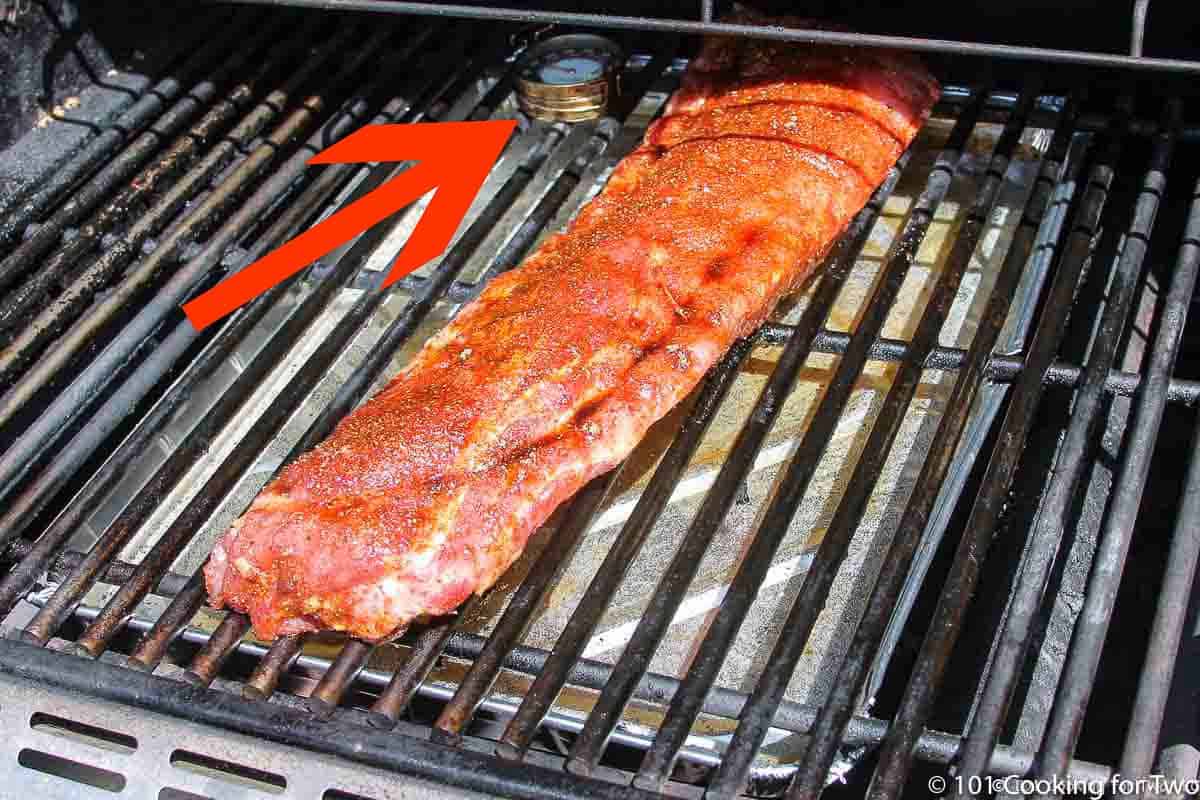
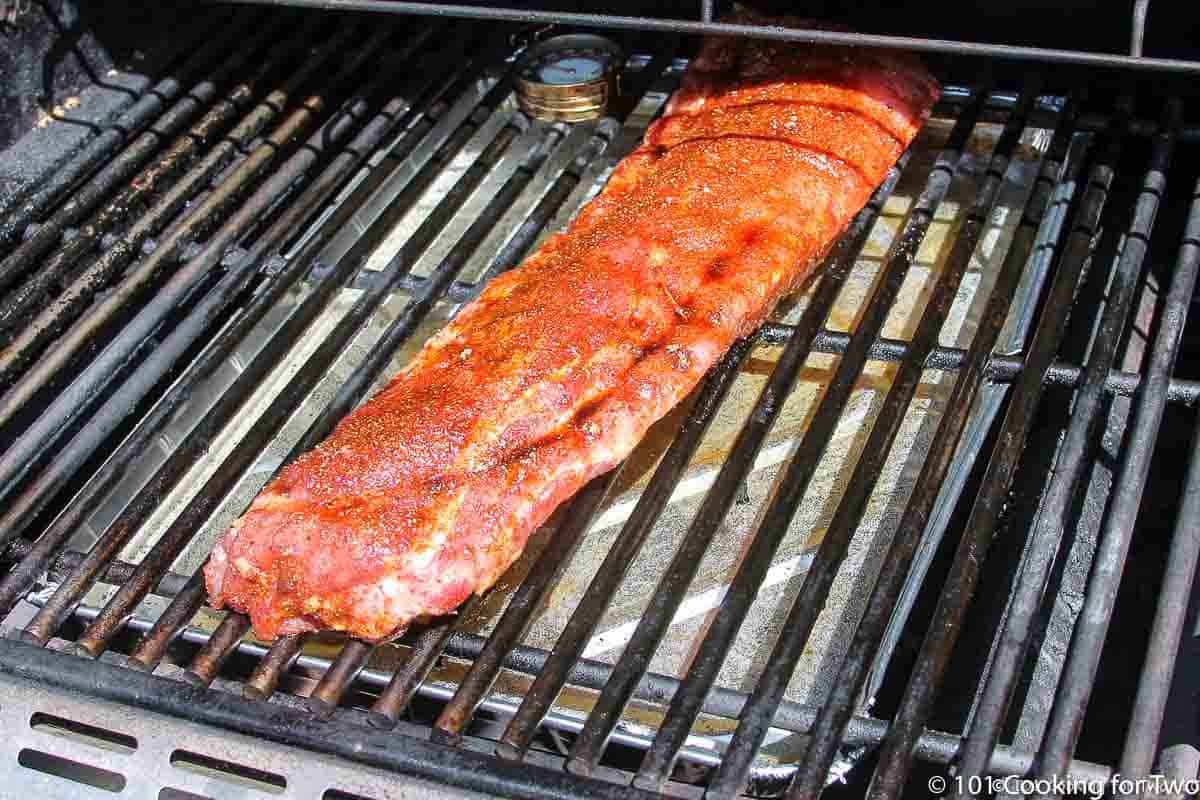
For me, I have four main burners that run front to back. If I only turn one burner on high, the grill surface temperature in the indirect (not over the burner that is turned on) is right at 225.
With the two outside burners at medium, I have a steady 250. Turning on the smoker side burner kicks the temperature up about 50 degrees while on.
So how do I know these things? I played with it. If you have 2 or 3 burners, start with one burner on high and see what you get in the indirect area. Some grills will have vents, and you can experiment with them too.
If you have one burner, you're going to set a large pan on top of your grates and cover it with a rack of some type. Do not put any weight on top of your burners directly with the rack and meat. Ever..
So now you have played with your grill enough to know it. Doesn't it feel good already?
🛒Shopping
Note: All links below are affiliate links, meaning I make a small profit from your purchases. Your price is not affected by this commission. We are a participant in the Amazon Services LLC Associates Program. As an Amazon associate, I earn from qualifying purchases.
These are examples of what I recommend. There are many other great options.
Recommended Thermometers
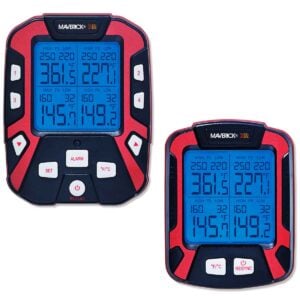
Maverick XR-50 4 Probe Remote Thermometer
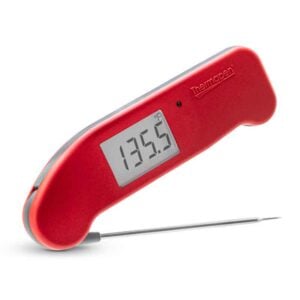
Thermapen™ One from Thermoworks™
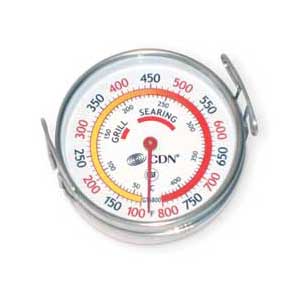
CDN Grill Surface Thermometer
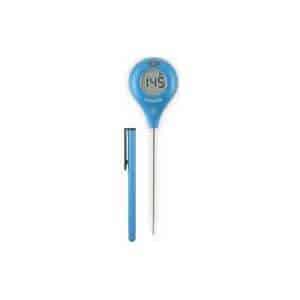
Thermopop™ by Thermoworks™
Smoking products
Troubleshooting Grill Time Issues
"I thought I had it right, but it didn't work." So what went wrong???
There are a number of things that are possible—most likely a combo of some or all.
1 - The most common seems the thermometer was just wrong. I have had a number of people with this issue. Was it reading 250° but really was 180°? You will never get to 200° that way.
Check it against another thermometer if you can. If not available, most ovens are fairly accurate so pop it into an oven and check it against a variety of temps.
2 - Thermometer misplacement. You need to measure the temperature in the location of the meat. 250° over a lit burner may be under 200° in the indirect area of the grill.
3 - Every time the hood is open, the temperature envelope around the food is disrupted. It may take up to an hour to recover to the temperature you want.
So when you think you cooked at 250° for 5 hours, you may have really only cooked at that temp for a few hours if you checked the meat several times.
So remote monitoring becomes very useful. Now I do both meat and surface temperature remote probes. Before that, I compensated with just knowledge of my grill. Knowing that setting my burners at X will give me a steady-state temperature of Y then keeping my hands off for hours.
4 - If your choice of temperature is at the very low end of the "low and slow range" leaving yourself no room for error. I use 250° with a target range of 250°-275°.
5 - Did "the stall" get you??? Don't know. It is more of an issue with larger briskets. And the wrapping needs to be very tight to avoid any air gaps for the evaporation to be prevented. For a detailed discussion of "the stall" and the "Texas Crunch," go to Grilled Brisket.
What to do now?
Obviously, fix the problem for the next time, but now you have an eight-pound brisket not cooked and people coming.
Never stop under the suggested internal temperature. It is not cooked and you won't be happy there.
Don't panic. You can always just toss it on a tray in a 275°-300° oven to finish if you need to. So simple.
Save this recipe!
Drip Pans
Things you cook indirectly usually are full of fat and can make a mess of your grill.
Usually, you will just place a thin disposable aluminum pan under the grates on the indirect side.
If there is no room between the grill grates and lava rocks or flavor bars for a thin aluminum pan, then you will put the pan on top of the grates in the indirect area with a rack or grate on top of that. NEVER PUT ANYTHING DIRECTLY ON THE BURNERS.
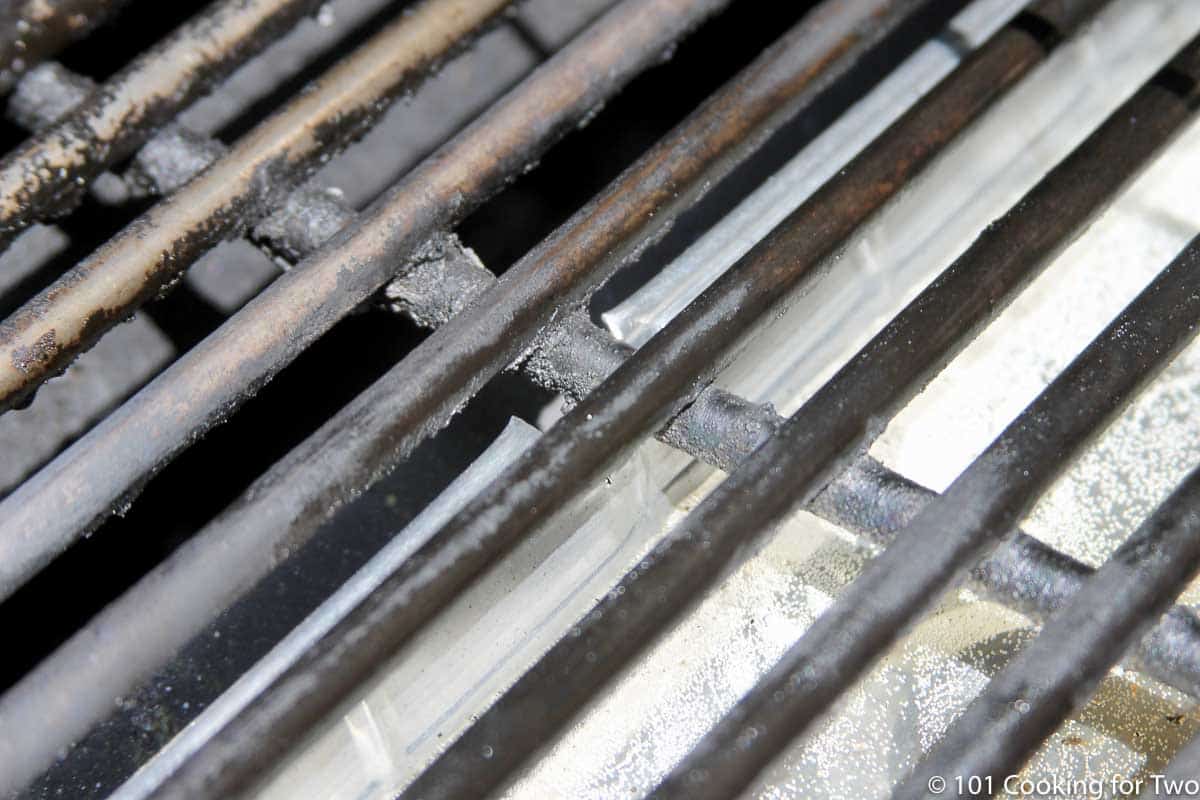
I needed to notch the pan a little to get it to fit. Do NOT allow the pan to support the grill rack and put pressure on the things below. This would be dangerous.
Mine is on top of burner guards called flavor bars. You may have lava rocks or something similar. Usually, you should add water to the drip pan for added moisture in the grill. NEVER PUT ANYTHING DIRECTLY ON THE BURNERS.
Again, if you can get the instructions for your grill from the manufacturer, follow those instructions. Let's be careful and safe here.
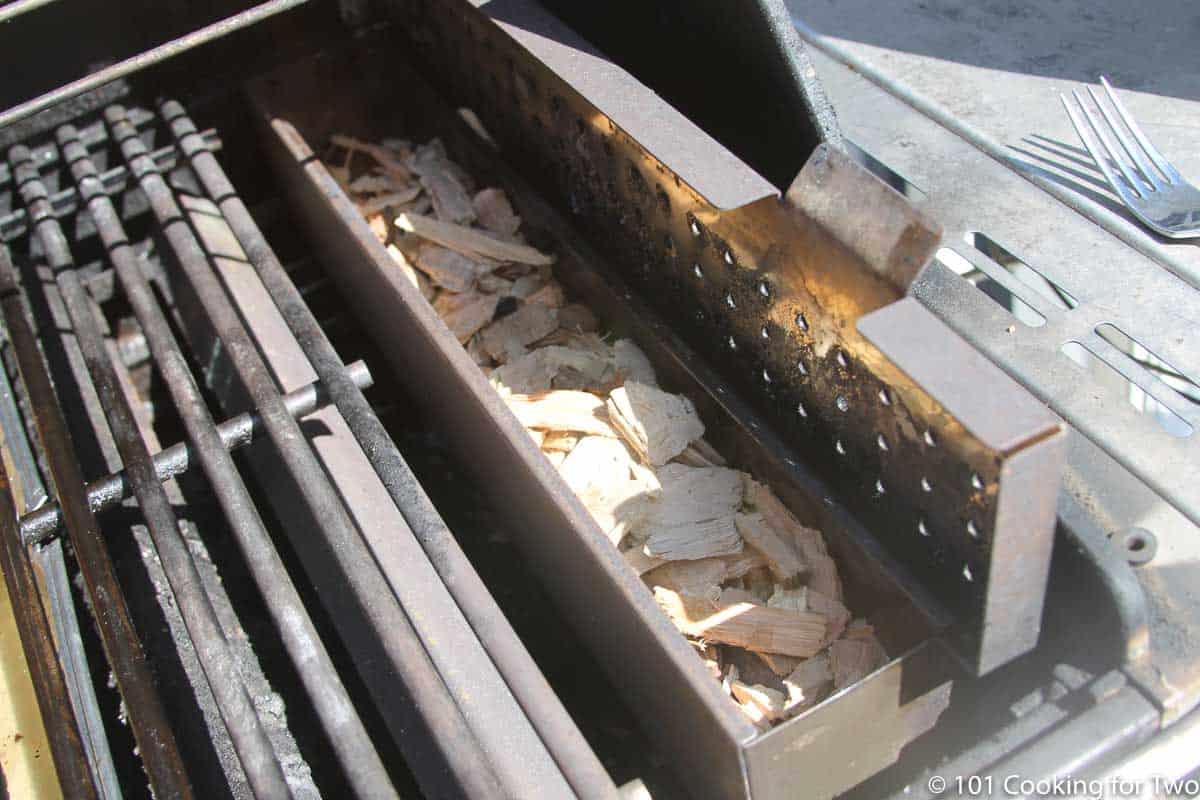
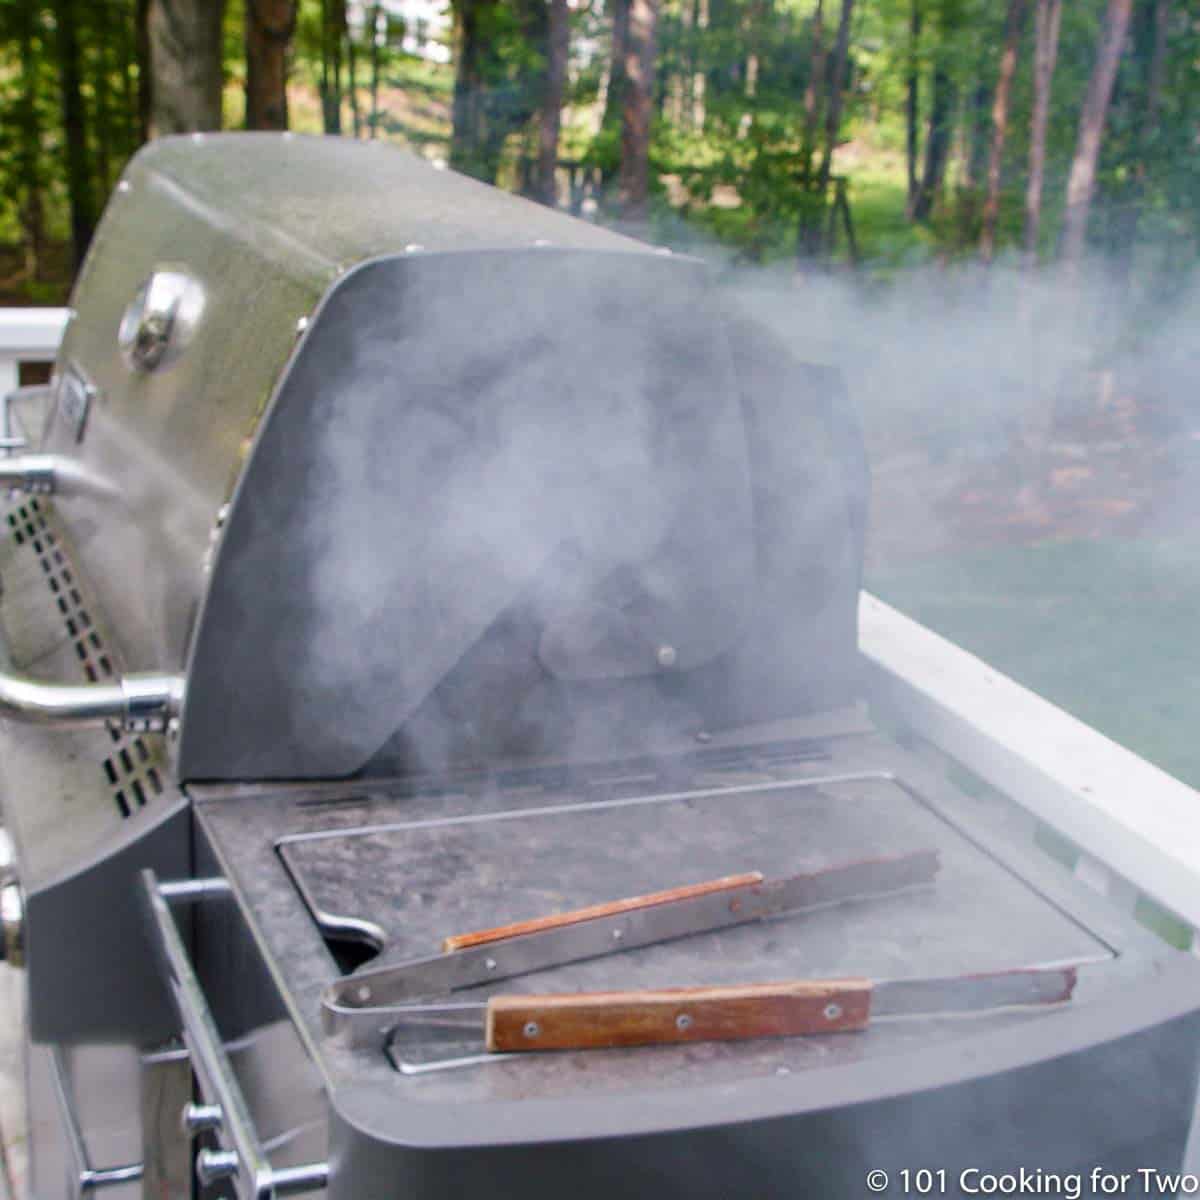
🔥Smoke
You want to smoke, right? If you're lucky, your grill has built-in a smoke box like I do. If not, you have a couple of choices.
If you just want to try it once, you can make a pouch of heavy-duty aluminum foil with some holes and place it on a burner on high until it starts to smoke, and then turn it back down.
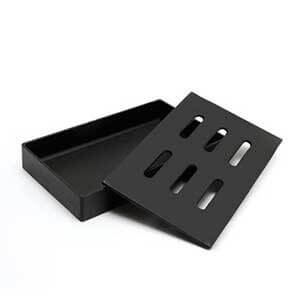
If you are going to do this more than once or twice, pick up a cast-iron smoker box (again, Home Depot, Lowe's, or Amazon) for about $15. I had the same one for 20 years.
Everybody has a favorite wood for smoking. I almost always use hickory and occasionally apple.
Traditionally, many suggest soaking wood chips. Most experts have now stopped this as an unnecessary step. Also, since the surface is moist, the moisture will evaporate before anything else happens and just delay everything.
Some will still argue that soaked wood chips will smoke longer and, if not soaked, may catch on fire. I have not had a problem with this unless I'm smoking at a high temperature.
Troubleshooting Smoke
For wood chips to smoke, they need to get over 570° really. So, get them close to a high-heat burner to get them started. Then, turn it down, and it will keep going from there.
Cast iron smoker boxes work by retaining the heat and controlling the airflow. You don't want flames since the smoke from flames is different (not in a good way). Foil pouches can also be used with some air holes. You can not use an open tray,
So when you know the settings you need for the stable temp you want. Get that first, then place the meat away from where your smokebox (or pouch) will go and turn that burner up until it smokes then turn it back down.
Bigger chunks of wood will produce much longer smoke so you don't need to keep adding to it.
The wood burns
This is not good. The smoke produced by burning wood is different and has an unpleasant taste. It is almost always produced by too much oxygen getting to the wood—so an adjustment is called for in your method.
Happy Smokin'
DrDan
Editors Note: Originally published July 28, 2014, and updated with expanded options, refreshed photos, and a table of contents to help navigation.
Haley H says
Hi there, Haley H. again. I bought a cast iron smokebox to use for smoking the brisket. Do I place the smokebox directly on the high burner? Or on the rack above? Thanks for any help :)
Dan Mikesell AKA DrDan says
Hi Haley,
Put it over the hottest area you have. One of the common smoking problens is temperature being too low... See the smoke troubleshooting section.
Dan
Susan says
Question. Do I wrap the meat in foil? 7 1/2lb pork butt. I am using your smoker recipe but missed that thought. I marinated the roast all night and it went on the grill earlier this morning. Thanks
Dan Mikesell AKA DrDan says
Hi Susan,
Welcome to the blog.
Quick answer: no. Longer answer... maybe later if you have stall problems. You will want the crust and the smoke to add flavor. I mostly cook smaller pork butts, and they tend to have minimal stall issues; however, a 7-pounder may experience stall issues. I briefly discuss it in the pork butt recipe, but the long details are in the brisket recipe and the use of foil in the "Texas Crunch".
Next, you have a long cooking ahead; be sure to have a backup tank. And you can finish in the oven if you run out of gas.
Hope that helps.
Dan
Haley H. says
I am planning to follow your recipe this weekend! Sounds amazing. The only question I have is when do you add the wood chips to smoke the brisket on the grill? At the beginning, middle, or end? And is it for about an hour? Looking forward to making this!
Dan Mikesell AKA DrDan says
Hi Hadey,
Welcome to the blog.
Generally, start the smoke near the beginning. The duration is a personal choice. I like 1 to 2 hours, but 1 is my most common duration. Some some people do it for 4–6 hours
Hope that helps.
Dan
Deborah Brack says
Your article was great so thank you for good information. I am using a portable two burner NexGrill that my brother bought me. I'm getting used to the different grate and aluminum burner covers. It's all very shiny. I'm used to porcelain coated grapes or cast iron so a big learning curve after 40 years of barbecuing! I have tried to do indirect grilling some ribs but I couldn't keep the temperature low enough. Reading your article about the thermometers etc really helped. I really liked all your other information as well. It's great to know stuff!
John McNeill says
Always successful (if your directions are followed)and I appreciate your site. I buy what I need from your site as the starting point.
Jaqnette says
Dr. Dan:
I love using your information anytime that I grill.
It seems that my smoker box, when it is smoking, brings the temperature of the grill up about 80 degrees higher than desired (about 330-350) until the smoke stops.
I get my temp stable at 250, put the smoker box over direct and ribs over indirect and all is good until it starts smoking. Then the temp goes up. (using wet wood chips, BTW). Any thoughts about how to prevent this? It's a stainless steel smoker box.
Dan Mikesell AKA DrDan says
Hi Jaqnette,
Welcome to the blog. The short answer is don't worry about it. A temporary increase in the temp to get the smoke started is fine. The chips need to get to about 570° to start smoking but once started, it will continue at a lower temp. So chips over the hot burn and turn it to max, get it started with a strong smoke then turn in right back down.
I will say, although I never used a stainless steel smoker box, it may not stay as hot as a cast iron one—but I'm not sure about that.
There is a trouble shooting section for smoke in the post. https://www.101cookingfortwo.com/set-gas-grill-smoking-low-slow-cooking/#troubleshooting-smoke
Hope that helps.
Dan
Jay says
Hi there,
Does anyone have any tips on keeping the temperature low. I smoked a chicken on my Ziegler and Brown Ziggy. I couldn't keep the temperature below 150-175C even with a single burner on low. It cooked fine but the faster cook time meant obviously the smoke flavour wasn't as strong.
Any tips on how to lower it i was thinking of keeping the lid lifted slightly but afraid ill lose too much smoke?
Cheers everyone
Dan Mikesell AKA DrDan says
Hi Jay,
Welcome to the blog
No great tips but a couple of comments. First, be sure you are measure the grill surface temperature—hood thermometers are just not very good both in quality and location. Second, I generally cook chicken at 450°F which is about 230°C — a lower slower cooking may well dry more. Third, chicken absorbs smoke rapidly. And last, propping the hood open just does not seem like a reliable technique.
I have never used one of these grills, they look interesting and there may be other features, like venting, that may help solve your issue.
Good luck and if you find a solution, please report back here, others may be interested.
Dan
Debbie says
Dr Dan,
I have been using your blog and instructions to learn how to smoke a brisket on a gas grill. I want to thank you for such comprehensive, simple instructions. My Weber genesis grill is easy for me to use and I know my grill. My first brisket was amazing, juicy with perfect texture and those much sought after burnt ends without being dry. 🤩
My second brisket with the help of my husband wasn’t quite as good because he was so impatient that we didn’t get it as tender or produce the burnt ends. But no fear, as we used it in my homemade bbq sauce, chopped it up put back on the grill in a foil pan and smoked it longer and slow. It was AMAZING.
Moving on to a third one smoked brisket tomorrow without the help of my husband. I am the bbq’ er in our house. Now my next adventure will be to smoke a pastrami with the flat ends from the whole briskets I purchased.
I will let you know how that goes later. Again everyone should follow your blog for incredible results.
Philip Falkowski says
I've never had good luck with smoking. I have an old Weber Genesis Silver with three burners, and I'm using a cast iron smoker box. In the past I've soaked the chips and placed the box on the flavorizer bars over the back (primary) burner. When I preheat the grill with all burners on high I get smoke and sometimes flames, which I usually put out with a spray bottle. Then I do a balancing act trying to keep the box smoking while maintaining a low temp for cooking. Results have not been good, and I lose smoke sooner than I'd like.
Recently I've found that keeping the front and back burners on very low gives me the even temp I want. Any ideas on how to incorporate smoking with this setup?
Dan Mikesell AKA DrDan says
Hi Philip,
Welcome to the blog.
For wood chips to smoke, they need to get over 500° (I think it is about 570° really) So close to a high heat burner to get them started. Then turn it down and usually you can keep it going from there. While wood needs to have some moisture, soaking is generally not recommended anymore. Large chunks will last longer than the more shredded stuff.
My Weber has a separate wood box with it's own burner but and it works well but will kick the grill temperature.
Cast iron smoker boxes work by retaining the heat and controlling the airflow. You don't want flames since the smoke from flames is different (not in a good way).
So you know the settings you need for the stable temp you want. Get that first, the place the meat on away from where your smoke box (or pouch) will go and turn that burner up until it smokes then turn it back down. Bigger chunks of wood will produce much longer smoke.
Hope that helps.
Dan
Mike Schuerman says
Cannot wait to try this.
My Weber grill has a built in drip pan. Do I still need to use the extra drip pan as illustrated in your directions?
Dan Mikesell AKA DrDan says
Hi Mike,
Welcome to the blog.
My Weber has a drip pan but it is at the bottom of everything. Try to catch the drainage before it goes all the way through the grill. I only us a drop pan for pork butt and brisket (usually) due to the amount of fat drainage but I put one just under the grill grates.
Dan
Janet says
This is a well designed blog. Love the navigation, readability and great tips
Don says
I'm really glad to have found your blog. I' m a long time outside cook and have tried every type of grill and smoker around. A long time ago I had a propane grill that I threw in the trash and said I'd never try that again but they have improved so much since then and now I have a 5 burner Cuisinart with smoker tube and removable grill. I just gave my son the Pit Boss pellet grill that I have been using the last few years. As I am waiting for one of my grandsons to come help me get it out of my truck and put it together I realized I didn't know much about grilling and smoking on a gas grill so I found your site and now I' m an expert. lol Your blog is so informative and i"m so glad to have found it before I even had it out of the box.
Josh says
Hello,
This was very helpful. Apparently I'm more of a newbie than I thought. Been grilling a long time but new to this. Maybe you can help me. I've read a few of your articles, yet stumbled (tried my first brisket) over the weekend. I have an outdoor kitchen (came with the house) with a 4-burner propane grill. I used 1-2-burners to get the internal temp (via thermometer) to 250-270 F. Placed a cast iron smoker box with woodchips directly over the burners. Put the meat on the other side of the grill (indirect heat) with a nice rub on it. Cooked until the internal meat temp was 185F. Wrapped the meat in foil, then a towel, and let rest in the microwave for an hour. For some reason, I had no smoke at all and the wood chips looked the same after 6h that they did when I put them in. Also, I had no bark on the brisket. Any suggestions for next time? Thanks. Josh
Dan Mikesell AKA DrDan says
Hi Josh,
Here are some tips.
Most issues are related to cooking temperature. Since you were measuring the grill temperature, we need to consider why it appears to not been accurate. I have three possibilities.
First, a bad thermometer. I have had a few grill surface thermometer not be accurate. So try a different grill surface thermometer.
Second, bad placement of the thermometer. It needs to be located in on the grill surface where the meat is cooking.
The third is everytime you open the hood, the temperature dives. So it may say 250 when you peaked by opening the hood to look and you saw 250, the temp took a huge drop and it may take an hour for the temperature to get back to 250. So it may look to you like you were cooking at 250 but the average may well be a lot lower. So if possible, use remote montoring of the temperatures.
On to the smoke. Lots of possibilities. Of course, the temperature and there needs to be some oxygen. Here is a trouble shooting guide. https://www.smokinlicious.com/blog/why-wont-my-wood-chips-smoke/
Hope that helps.
Dan
Josh says
Thanks for the follow up. After a little experiment, you're absolutely correct. I bought a thermometer (link below) especially for this. Worked great but also worked wrong. I just tested it on my grill right next to our trusted kitchen thermometer. The new one was off by about 50-degrees. Guess I'll return it to Amazon and try again.
Editor Note: link deleted for potential violation of my Amazon affiliate agreement.
I assume that because of this, the meat was actually undercooked and this is why I didn't have any bark.
Thanks again for all your help. Josh
Dan Mikesell AKA DrDan says
Hi Josh,
First, I had to add a couple of spaces since that was a "link" and would violate my Amazon agreement.
I have had many remote thermometer. The only two that worked well were an iGrill (not perfect but reasonable) and an Thermaworks one that is $200+ (listed in my shop) that I do love. The iGrill was when they were new 4-5 yrs ago and I suspect they would be even better now and should be a lot cheaper.
Glad you found the problem. Let me know if there is anything else.
Dan
Tarey Read says
I have an old Weber single burner, whose primo virtue is an infrared grate. That grate happily lets you put a hunk of wood directly on top and ignore it for about 20 steak sessions. My idea of a hunk is a medium campfire split of very seasoned almond. For chicken, fish, or pork I swap the almond for thoroughly seasoned plum--until perfectly dry plum sap is toxic.
Woody Wisdom: NEVER use cottonwood or green alder; a hungry dog would run away. Good woods: always remove leaves, use seasoned dry wood, any nut wood should be wonderful with red meat like beef, bison, mutton, elk, venison; any fruit wood should be great with pale meat like chicken, lamb, fish, and rabbit. Any oak is fine except the flavor is so mild that I can't be bothered. Hickory is very popular but the flavor is so strong that I don't use it. Mesquite is strong but wonderful as a subtle addition. Of course, any grill or pit (except a pellet version, yech) will welcome and probably reward your creative wood flavor blending.
Finally, I give you my BME, Best Marinade Ever. Really. I took a sample to our butcher. He sighed, rolled his eyes and asked for the written recipe.
1 head of garlic, smashed and peeled
2 T kosher salt (one T if using table grind)
1 orange, zested and juiced (easy zest here, use a veggie peeler to take the outer layer
2 T roasted sesame oil or the tastiest....
Using your smallest blender or processor, grind all ingredients into as fine a goo as possible. Rub thoroughly into every side of thick steaks. Cook immediately or freeze with BME in the zip bag. This marinade is perfect--deep flavor, tolerant of time variation, and great tenderizer.