
Learn how to set up your gas grill for great low and slow cooking with smoking. A useful technique you need to master your gas grill, along with troubleshooting tips. Now updated with expanded troubleshooting tips.
Jump To (scroll for more)

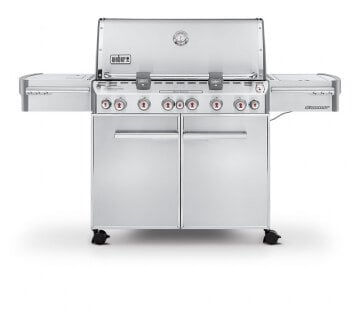
I initially wrote this for my How to Grill Baby Back Ribs, but now publish it separately so I can refer to it for other recipes. While I use a Weber Summit that is very hot and versatile, I have generalized the instructions.
Let's talk about your grill. You must know your grill. If you can get or have the instructions for your grill from the manufacturer, follow those instructions.
For some recipe suggestions for beginners, please see Beginner's Guide to Grilling on a Gas Grill.
🌡️Grill Temperature
You are going to need to experiment a little with your grill setup. You need to know how to get a steady low grill surface temperature in an area reserved for indirect heat.
If you are a beginner, please check A Beginners Guide to Grill Temperature on a Gas Grill, where I give a more complete discussion of grill temperature, which is basic for any successful grilling.
Also, be sure you have enough gas. I have natural gas, so I'm good. If you are not so lucky, have a second tank.
I used grill surface thermometers for years. They only cost about $10 and will last most of the grilling season until you can't read it anymore. Get one from Amazon, Home Depot, or Lowes. I now use a fancy Thermoworks remote monitor.
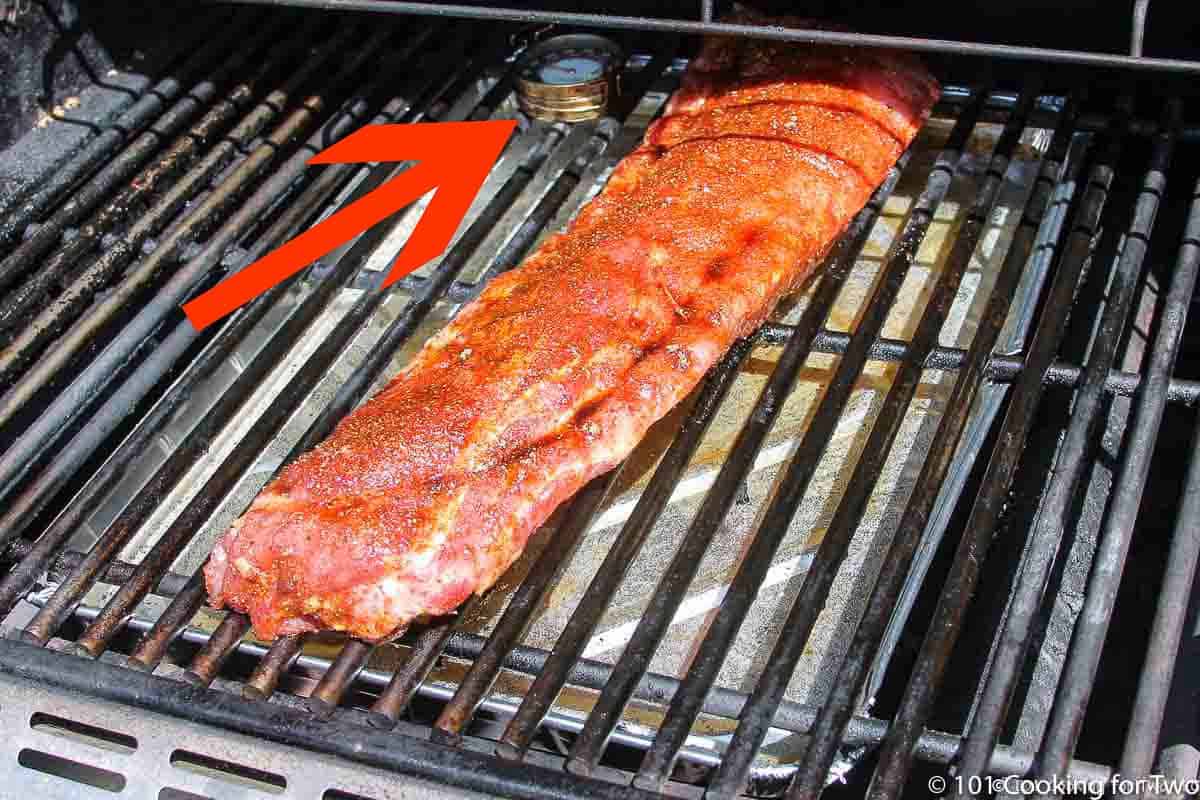
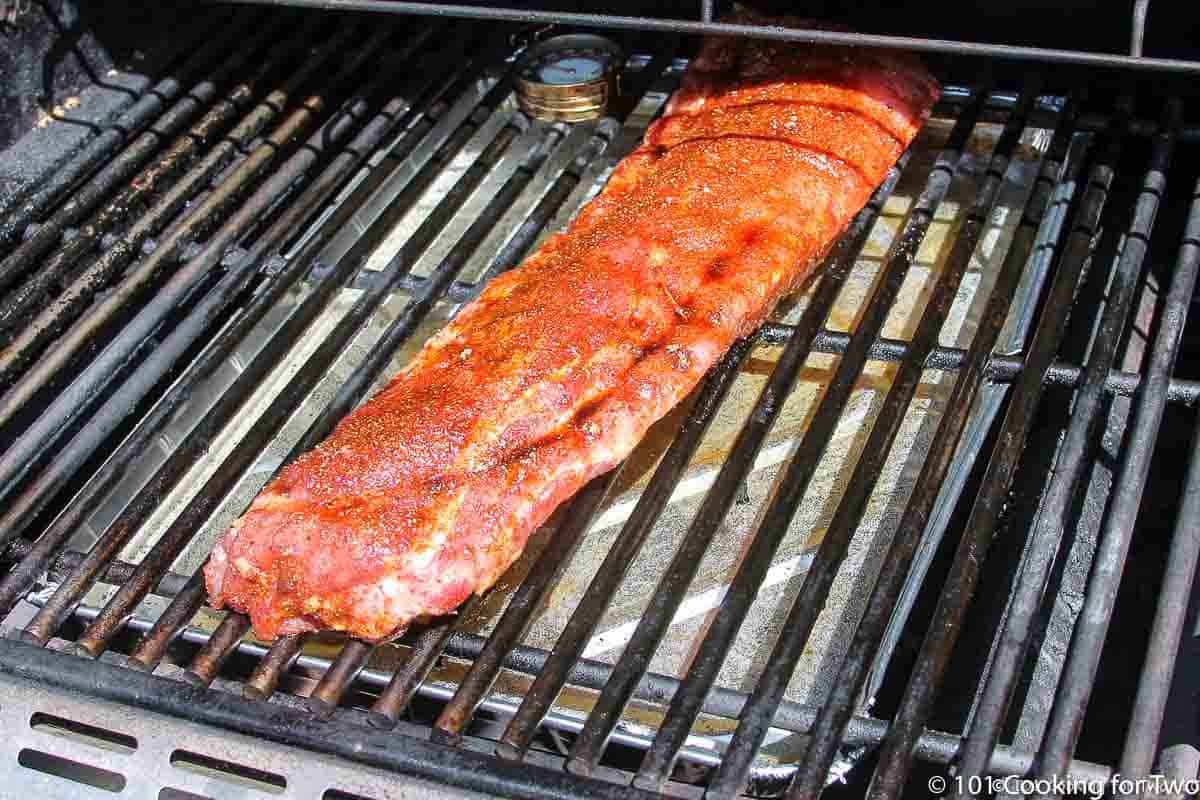
For me, I have four main burners that run front to back. If I only turn one burner on high, the grill surface temperature in the indirect (not over the burner that is turned on) is right at 225.
With the two outside burners at medium, I have a steady 250. Turning on the smoker side burner kicks the temperature up about 50 degrees while on.
So how do I know these things? I played with it. If you have 2 or 3 burners, start with one burner on high and see what you get in the indirect area. Some grills will have vents, and you can experiment with them too.
If you have one burner, you're going to set a large pan on top of your grates and cover it with a rack of some type. Do not put any weight on top of your burners directly with the rack and meat. Ever..
So now you have played with your grill enough to know it. Doesn't it feel good already?
🛒Shopping
Note: All links below are affiliate links, meaning I make a small profit from your purchases. Your price is not affected by this commission. We are a participant in the Amazon Services LLC Associates Program. As an Amazon associate, I earn from qualifying purchases.
These are examples of what I recommend. There are many other great options.
Recommended Thermometers
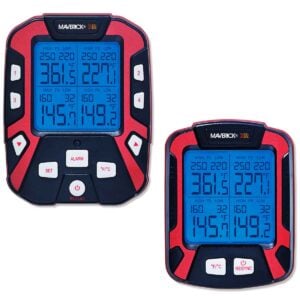
Maverick XR-50 4 Probe Remote Thermometer
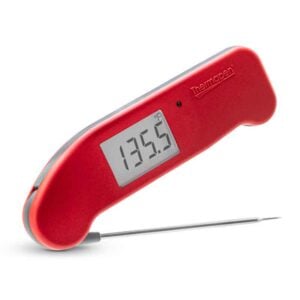
Thermapen™ One from Thermoworks™
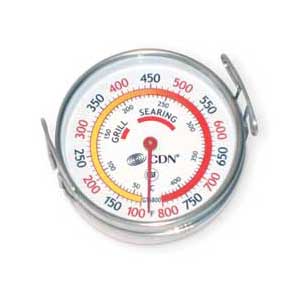
CDN Grill Surface Thermometer
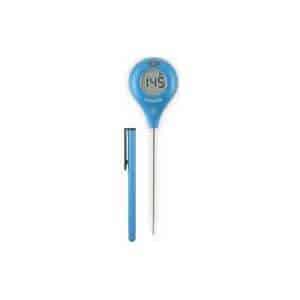
Thermopop™ by Thermoworks™
Smoking products
Troubleshooting Grill Time Issues
"I thought I had it right, but it didn't work." So what went wrong???
There are a number of things that are possible—most likely a combo of some or all.
1 - The most common seems the thermometer was just wrong. I have had a number of people with this issue. Was it reading 250° but really was 180°? You will never get to 200° that way.
Check it against another thermometer if you can. If not available, most ovens are fairly accurate so pop it into an oven and check it against a variety of temps.
2 - Thermometer misplacement. You need to measure the temperature in the location of the meat. 250° over a lit burner may be under 200° in the indirect area of the grill.
3 - Every time the hood is open, the temperature envelope around the food is disrupted. It may take up to an hour to recover to the temperature you want.
So when you think you cooked at 250° for 5 hours, you may have really only cooked at that temp for a few hours if you checked the meat several times.
So remote monitoring becomes very useful. Now I do both meat and surface temperature remote probes. Before that, I compensated with just knowledge of my grill. Knowing that setting my burners at X will give me a steady-state temperature of Y then keeping my hands off for hours.
4 - If your choice of temperature is at the very low end of the "low and slow range" leaving yourself no room for error. I use 250° with a target range of 250°-275°.
5 - Did "the stall" get you??? Don't know. It is more of an issue with larger briskets. And the wrapping needs to be very tight to avoid any air gaps for the evaporation to be prevented. For a detailed discussion of "the stall" and the "Texas Crunch," go to Grilled Brisket.
What to do now?
Obviously, fix the problem for the next time, but now you have an eight-pound brisket not cooked and people coming.
Never stop under the suggested internal temperature. It is not cooked and you won't be happy there.
Don't panic. You can always just toss it on a tray in a 275°-300° oven to finish if you need to. So simple.
Save this recipe!
Drip Pans
Things you cook indirectly usually are full of fat and can make a mess of your grill.
Usually, you will just place a thin disposable aluminum pan under the grates on the indirect side.
If there is no room between the grill grates and lava rocks or flavor bars for a thin aluminum pan, then you will put the pan on top of the grates in the indirect area with a rack or grate on top of that. NEVER PUT ANYTHING DIRECTLY ON THE BURNERS.
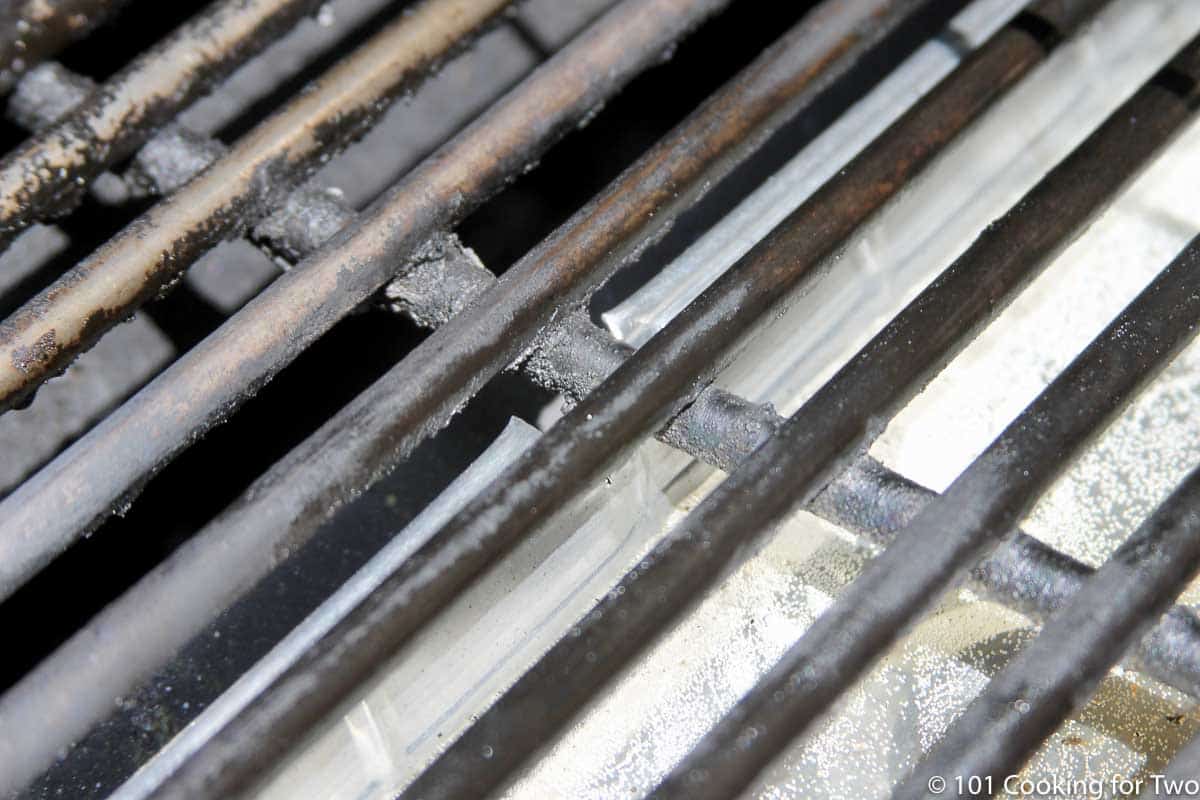
I needed to notch the pan a little to get it to fit. Do NOT allow the pan to support the grill rack and put pressure on the things below. This would be dangerous.
Mine is on top of burner guards called flavor bars. You may have lava rocks or something similar. Usually, you should add water to the drip pan for added moisture in the grill. NEVER PUT ANYTHING DIRECTLY ON THE BURNERS.
Again, if you can get the instructions for your grill from the manufacturer, follow those instructions. Let's be careful and safe here.
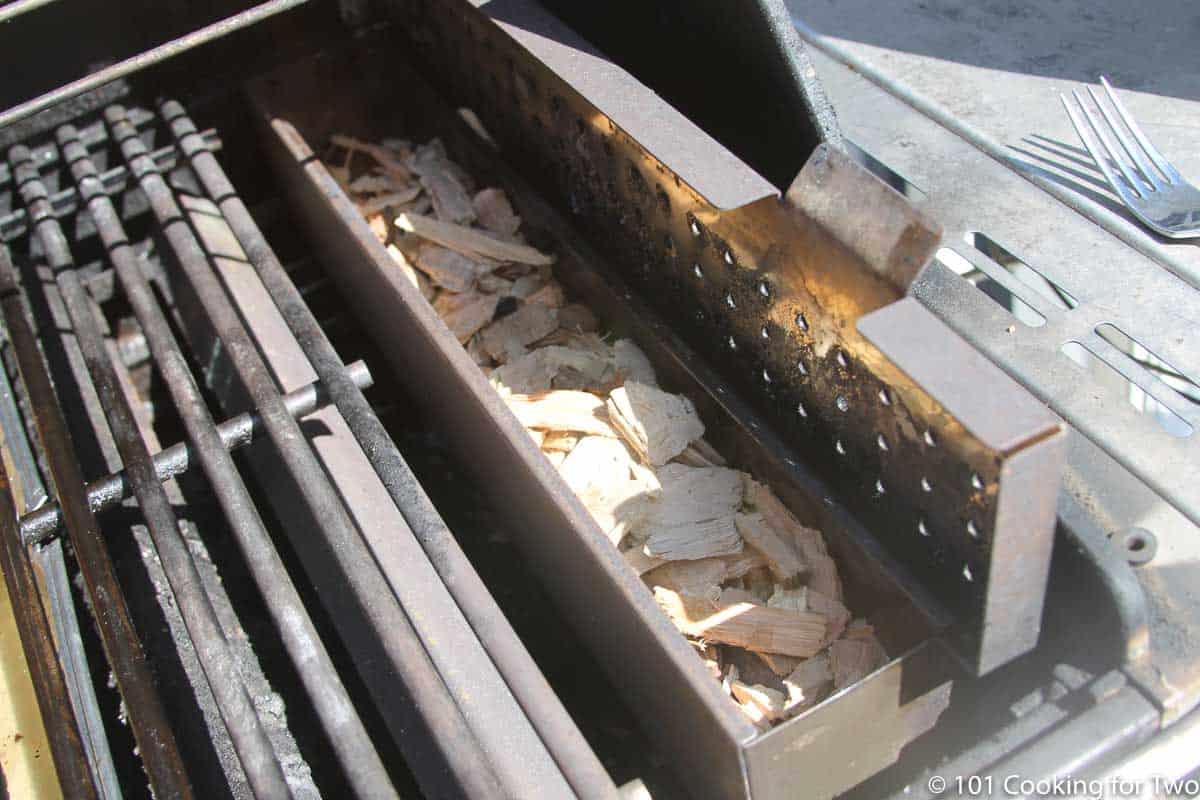
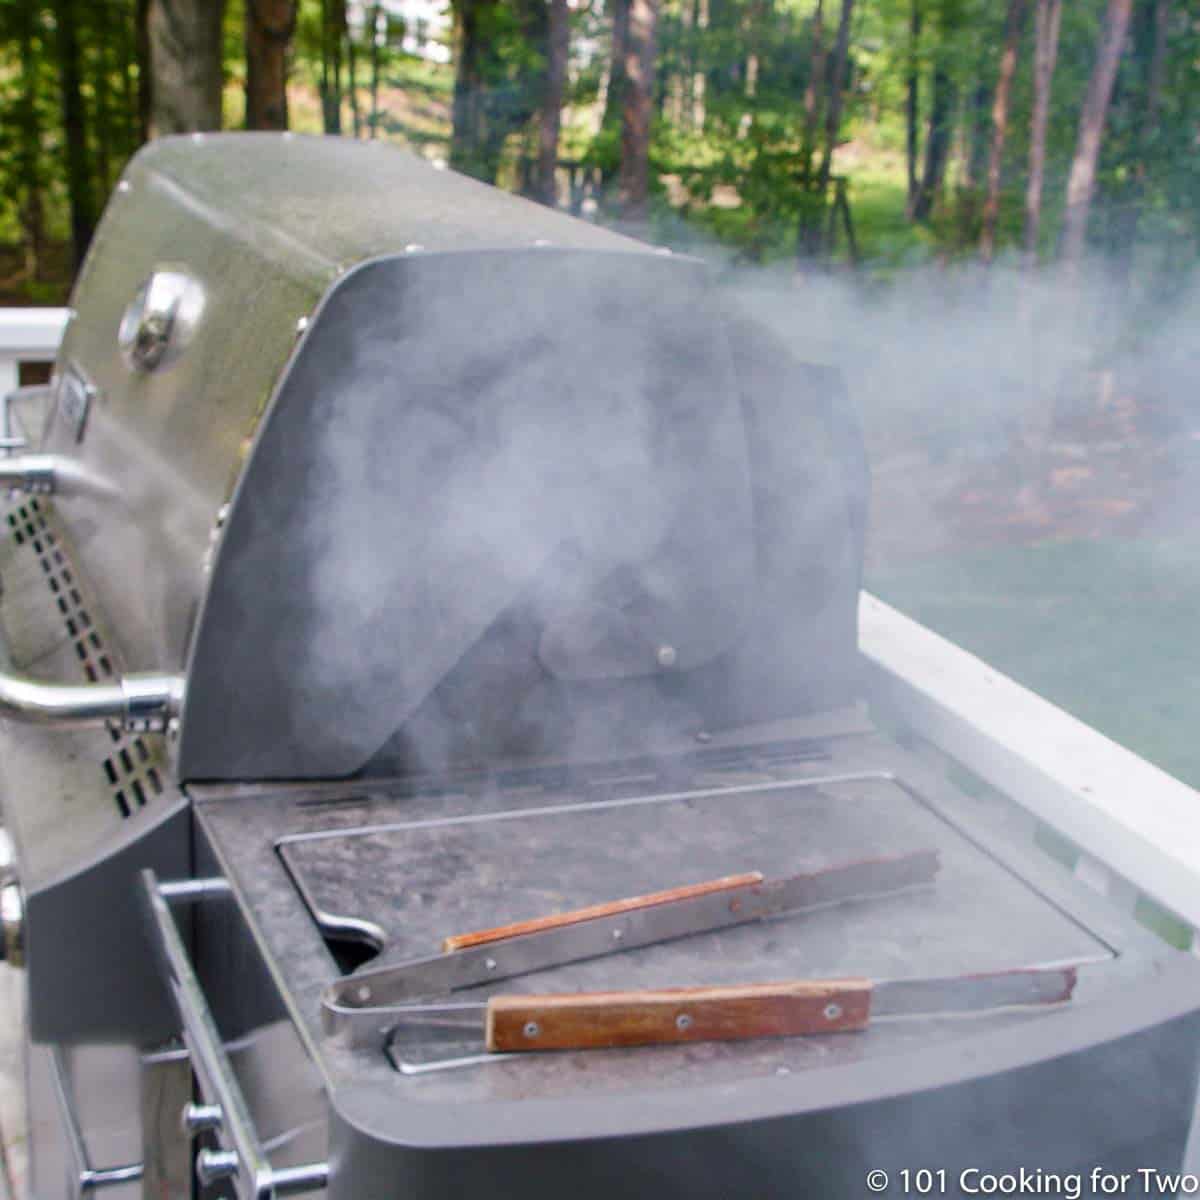
🔥Smoke
You want to smoke, right? If you're lucky, your grill has built-in a smoke box like I do. If not, you have a couple of choices.
If you just want to try it once, you can make a pouch of heavy-duty aluminum foil with some holes and place it on a burner on high until it starts to smoke, and then turn it back down.
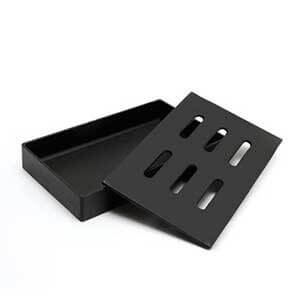
If you are going to do this more than once or twice, pick up a cast-iron smoker box (again, Home Depot, Lowe's, or Amazon) for about $15. I had the same one for 20 years.
Everybody has a favorite wood for smoking. I almost always use hickory and occasionally apple.
Traditionally, many suggest soaking wood chips. Most experts have now stopped this as an unnecessary step. Also, since the surface is moist, the moisture will evaporate before anything else happens and just delay everything.
Some will still argue that soaked wood chips will smoke longer and, if not soaked, may catch on fire. I have not had a problem with this unless I'm smoking at a high temperature.
Troubleshooting Smoke
For wood chips to smoke, they need to get over 570° really. So, get them close to a high-heat burner to get them started. Then, turn it down, and it will keep going from there.
Cast iron smoker boxes work by retaining the heat and controlling the airflow. You don't want flames since the smoke from flames is different (not in a good way). Foil pouches can also be used with some air holes. You can not use an open tray,
So when you know the settings you need for the stable temp you want. Get that first, then place the meat away from where your smokebox (or pouch) will go and turn that burner up until it smokes then turn it back down.
Bigger chunks of wood will produce much longer smoke so you don't need to keep adding to it.
The wood burns
This is not good. The smoke produced by burning wood is different and has an unpleasant taste. It is almost always produced by too much oxygen getting to the wood—so an adjustment is called for in your method.
Happy Smokin'
DrDan
Editors Note: Originally published July 28, 2014, and updated with expanded options, refreshed photos, and a table of contents to help navigation.
Sherry Anderson says
Really enjoying your site. I want to cook two packer briskets for July 4th. I have a Big Chief electric smoker that I will use to add the hickory smoke. In the past, I've finished the brisket in my oven. I want to use my propane gas grill this time. I bought a Thermopro thermometer and have been learning my grill. Is it better to separate the point and flat for efficiency of cooking? It would seem like the point will take lo ger to cook. Any advice/thoughts would be appreciated. I am cooking for guests so trying to figure out the timing.
Dan Mikesell AKA DrDan says
Hi Sherry,
Welcome to the blog.
Tips for two whole briskets. Hummm,… I have never done that. But here are my thoughts.
1) Removing the point from the flat. Many times done by the competition crowd. Having a more even thickness is a huge plus for any meat cooking. But I don’t know what to do with that little thing. But if I had two, I would probably freeze them for later. Cooking two points would be worth my time, if I didn’t need that extra meat for the current event. Most people leave it.
2) Since you already have a smoker, I would probably just leave it in the whole time. My gas grill method for brisket is to get some real smoke vs my oven method.
3) With whole briskets, you probably need to consider wrapping when you hit “the stall” - The Texas Crutch as it is called.
4) You would need to use indirect heat on the gas grill. Unless your grill is huge, two whole briskets cannot fit in the indirect area. I have a large Weber and one fills the whole area.
5) Final thoughts: I would leave them in the smoker or use the oven to finish if that has been working well for you. I just don’t see the gas grill as a good option for you. Also, consider the Texas Crutch wrapping.
Hope that helps.
Dan
Sherry Anderson says
Hi Dan,
The main reason I was trying to go with the gas grill is that as much as I love the smell of bbq brisket, I don't really like the whole house to smell that way for a few days, lol. I have a wall oven and the range hood (a microwave hood combo) doesn't do a very good job of evacuating the smell in our open concept home. But I know you are right with your suggestions. I have a roll of bbq wrapping paper and will do the Texas Crutch. Thank you for the quick reply!
Sherry
Dan Mikesell AKA DrDan says
My wife loves the smell when I do pulled pork in the oven. It lasts all day.
Good luck with the cooking. I think you have this.
Dan
PaddyB says
Dr. Dan -
I have a comment but first have a question about the smoke. I never smoked before this but I have the same grill as you. When do you start the smoke and how many times do you add smoke during the process? I seemed to go through a whole lot of wood chips (I think I used about three 3 liter bags).
Also, want to share my story - I made the 7 lb brisket for the first time and followed your receipt (never smoked a thing before this). I made it for a dinner party and thought I could always order Little Ceasers $5 pizzas if I failed. I did reuse the fat I trimmed off of the brisket by layering it on top when I started to cook it and removed it after a few hours. Anyway, this thing came out perfectly and your rub was awesome. Everyone thought it was the best (both tender and taste) they ever had. Thanks for your instruction. You have a new fan!
Ant in Cle says
Many tipsters recommend covering your brisket with foil after you reach about 150 degrees to keep from drying out. What are your thoughts?
DrDan says
The foil trick is one commonly suggested. When cooking brisket, it will hit “the stall” at about 150 degrees. At that point, moisture is rising to the surface and evaporating which keeps the meat at the same temperature for a while.
I think it happens more when you inject the meat and have more free liquid to evaporate. By wrapping with foil you can stop the evaporation and “power through” the stall. The cooking time will actually decrease by a few hours. If you wrap, that crust is not as firm but it will be slightly more moist.
If you want to wrap then use a double layer of heavy duty foil wrapped TIGHT. You want as little air space as possible. The foil stays on until ready to cut. Obviously leave a thermometer probe in place.
Avi says
Hi
Thank you for your post, I have a Weber Summit 420 , I am trying to set the temperature between 225-240 for smoking , can't get there, 1 high burner is to low, 2 low burner is to high….. Any tips will be most appreciated
DrDan says
Hi Avi,
Welcome to the site. My grill is an S-670 so basically the same grill but I use natural gas which burns slightly cooler. I assume you are trying to get indirect low and slow. First, it can take 15-20 minutes for everything to heat up and level out. Second, the outside temperature seems to affect it a lot. During the winter, I need to add much more heat. On a hot summer day, it may run hot.
So if you took those things into account, we are aiming for 225-250 indirect on the right half then I would start with far left on high. If not enough then the second left on low. Then fuddle some from there to get what you want.
Don't forget to check my tutorial on grill temperatures and how to measure it at https://www.101cookingfortwo.com/grill-temperature/
Hope that helps some. Let me know if you have other questions.
Dan
G says
I've got same problem with my 2 yr old Weber Genesis II 4 burner. It's 90F outside, I have the grill on for 2 hrs so far, and yet one burner one high cannot keep a temp above 210F. And two burners on lowest temp went up to 270F before I shut one side down. Cooking ribs and I have to alternate between 1 and 2 burners on. Big pain! Sorry I spent $1,000 on this unit. (Also, all 4 burners on max cannot get above 550F. Weber says this is normal. I don't.
Dan Mikesell AKA DrDan says
Hi G
Welcome to the blog.
I don't have much to add but be sure you are using an accurate grill surface thermometer to measure things. I had one that was very inaccurate. It seemed to read low than too high. It was very odd. (one bad one out of 20+). Of course, ignore the hood thermometer.
One question, do you get about the same behavior with each of the 4 burners? If not then check the burner tubes, the air intake can get stuff in it (the one on the tubes themself). Also, clean all debris out of the bottom of the grill and I believe your grill has "flavor bars" pull them and clean them and between the burner and the bars.
Dan
Brian says
I have a 5 burner Char-broil gas grill with a large gap at the back of the lid between the top of the grates and the bottom of the lid when closed. I am able to produce lots of smoke on the grill, but it seems like a lot of it escapes out the back. Has anyone else noticed this, or have any suggestions on how to better seal in the smoke?
DrDan says
Hi Brian,
I would not be in favor of obstructing it in any manor. If you are using a smoking box, get it as far away from that gap as possible. Experiment with different positions. The normal convection and flow of air in the grill will vary obviously.
You might contact Char-broil directly through their web site/facebook/twitter https://www.charbroil.com/
Jenson Dreasky says
I had the same problem, although I get it goingtoward the back as it burns a little hotter there, then once the smoke gets going, I move it toward the front so it will circle around grill going across the front first
DrDan says
Here is a helpful hint from Robert W on the brisket post. Thanks to Robert!!!!
----------------------
Every one buys prepared (dry wood chips. If you have access to fruit trees,ie. apple pear peach cherry. It a great time to lightly prune 1/2″ to 3/4″ limbs from the inside area of the tree to slowly open the center of the tree to help ripen the fruit. Don’t heavy trim cut only what you use that day, Cut with sharp pruning shears into 3 to 6 inch chunks(remove ALL leaves), Load your smoker tray in your gas grill, no tray , wrap in 4 layers of foil, poke tiny holes with a fork, you will get slow heavy smoke for hours, try micing it up. I usr 2 parts Hickory 3 peach 2 apple and 1part cherry, Works much better than any store bought chips I’ve ever tried…
Lori says
Dr. Dan.... You taught an old dog a new trick!! Yay! That was what I was missing all this time. Thanks for the pics! I get it now..
Michael Lawton says
Thank you for your earlier reply.
As far as grill surface temperature, are we shooting for 250 or 300 degrees. I am presuming we want the 250. Thank you.
DrDan says
Yep for baby backs you're going for 250 about. I don't want to be much under that so I would accept a range of 240 to 280. Max of 300. My smoking bin will kick the temperature up to almost 300 when turned on.
Sue says
Higher temperature chips mean more NO (nitric oxide). NO is what makes the smoke ring happen. You want the outside of your meat to stay low temp (less than 170 I believe for beef, as once the myoglobin is cooked, no more smoke ring formation) while your chips go high heat to produce lots of NO.
Note, the smoke ring makes you look like an awesome grillmaster, but does nothing for the actual flavor of the meat, LOL
DrDan says
Hi Sue,
I need to research the science of smoking I guess. Thanks for the info.
Dan
Bungalow Bill says
Soaking the chips is mainly for SAFETY not TASTE to prevent them from lighting on fire.
DrDan says
Hi Bob,
When using the smoker burner, the temp will increase but will settle back down once I'm done with it.
I have done it both ways but my habit is burners on the left side on and right side off. With a long cooking like a pork butt, I'm sure it doesn't matter since the smoking doesn't take long. Maybe with baby backs it might. Next grilling season I think I will try left side off and access the effect.
Bob N says
Thanks for the intel. I have the same exact grill you do. If you use the smoker box, mine is on the right, do prefer the burners adjacent to the smoker box to be the off burners or do you keep those on and the indirect area would be on the left?
Ken says
Just starting to smoke on my gas grill haven't got the taste that I want yet but I will keep trying thanks for the post.
Grillman says
Great stuff, nicely put together. I love how gas grills are becoming closer to the taste charcoal grills can do. And with that, gas grills become the better choice for the convenience and benefits it can bring. It's really awesome having a natural gas grill. No need to go back and forth to get your fuel.
Chris says
You are in the clear with not soaking your chips. It doesn't extend combustion (and smoke), it just delays it. Nicely put together post, especially the how to with pics.
Robert Searl says
Have you tried using an infrared thermometer to gauge grill surface temperature?
DrDan says
Nope, I have considered it but then I read things about them having trouble since there is no flat surface to focus on. True??? I don't know. Although my cheap surface thermometers many not be perfect, they seem close enough for cooking. I had two on a brisket (the next post) last weekend and they were within a couple of degrees of each other. I have an iGrill with a surface probe and I need to learn how to use it.
Thanks for the note.
DrDan