
Most ¼–½ lb burger patties cook in 7–12 minutes total over high heat, flipping once halfway through. Exact time depends on thickness and grill temperature.
⏱️ How long to grill hamburgers?
Grill burger patties over high heat (about 500–600°F) until they reach 160°F internal temperature.
- ¼ lb patties: 7–8 minutes total (about 4 minutes per side)
- ⅓ lb patties: 8–10 minutes total (about 4–5 minutes per side)
- ½ lb patties: 10–12 minutes total (about 5–6 minutes per side)
Rest 5 minutes before serving. Works on a gas grill or any grill.

Jump To (scroll for more)

Featured Comment by Jane:
⭐⭐⭐⭐⭐
"I am so excited!! This really worked for me. I am new to gas grills and have been struggling with it. Now I can make an awesome burger..."
🧾 TL;DR — Recipe Summary
What it is: Grilled hamburgers cooked over high heat with simple seasoning and no mixing—just form, grill, and finish to 160°F.
Why you’ll love it: Juicy burgers every time with clear temps and timing—no guesswork and beginner-friendly.
How to make it: Preheat grill to 500–600°F, grill 7–12 minutes (about 4–6 minutes per side), and cook to 160°F internal temperature.
🐄 Ingredients
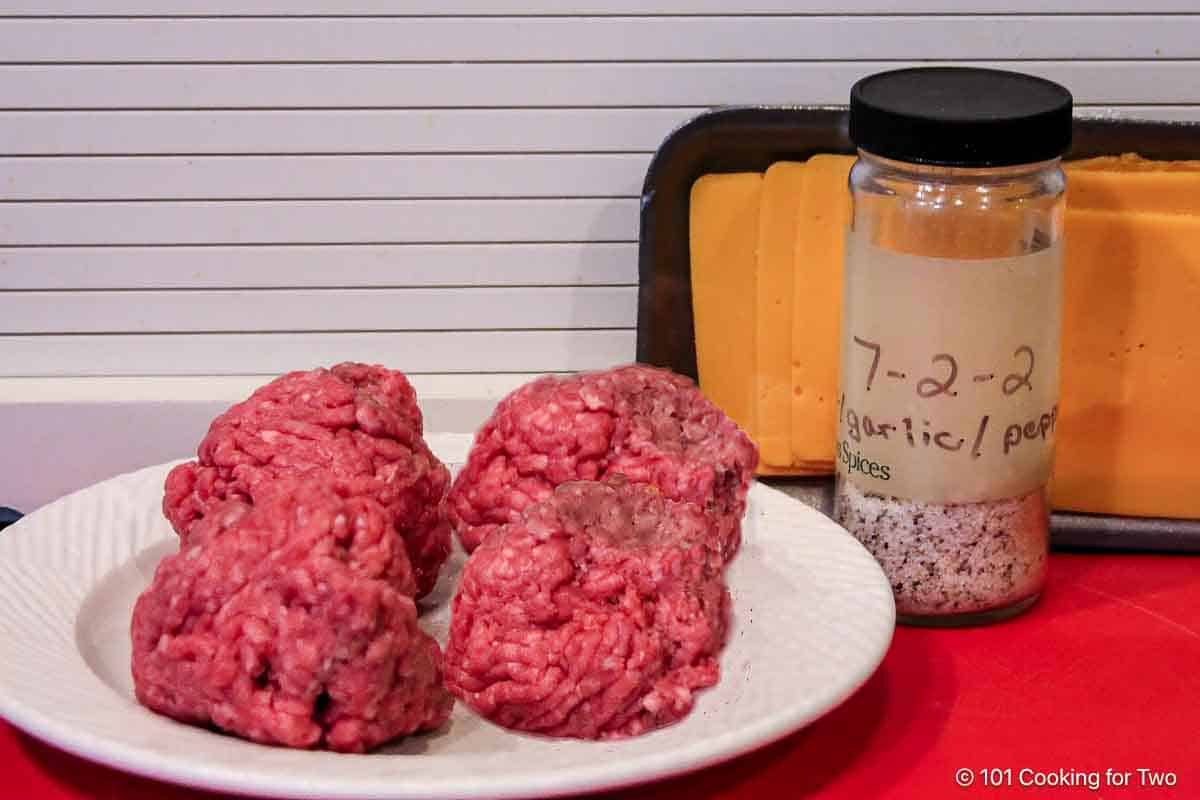
Choose 80/20 ground beef or ground chuck.
80% lean and 20% fat gives the best balance of juicy and flavorful. You can use 85/15, but leaner meat tends to dry out. Fresh beef is best for texture and moisture.
Season the patties simply
Salt and pepper are all you need, or use your favorite blend. I use my All Purpose Seasoning (7:2:1 and 7:2:2—salt, pepper, garlic). Montreal steak seasoning is another solid option.
Serve with (optional)
- Buns – Toasted if you like, but use something sturdy and soft.
- Cheese – Add during the last minute of grilling. Cheddar, Swiss, Colby Jack, or even Velveeta all work.
- Toppings – Go classic with lettuce, tomato, onion, and pickles, or get creative.
✅ Using lean beef, chicken, turkey, or meat alternatives? See the Burger Alternatives section below for tips.
👨🍳 Quick Overview: How to Cook Hamburgers on the Grill
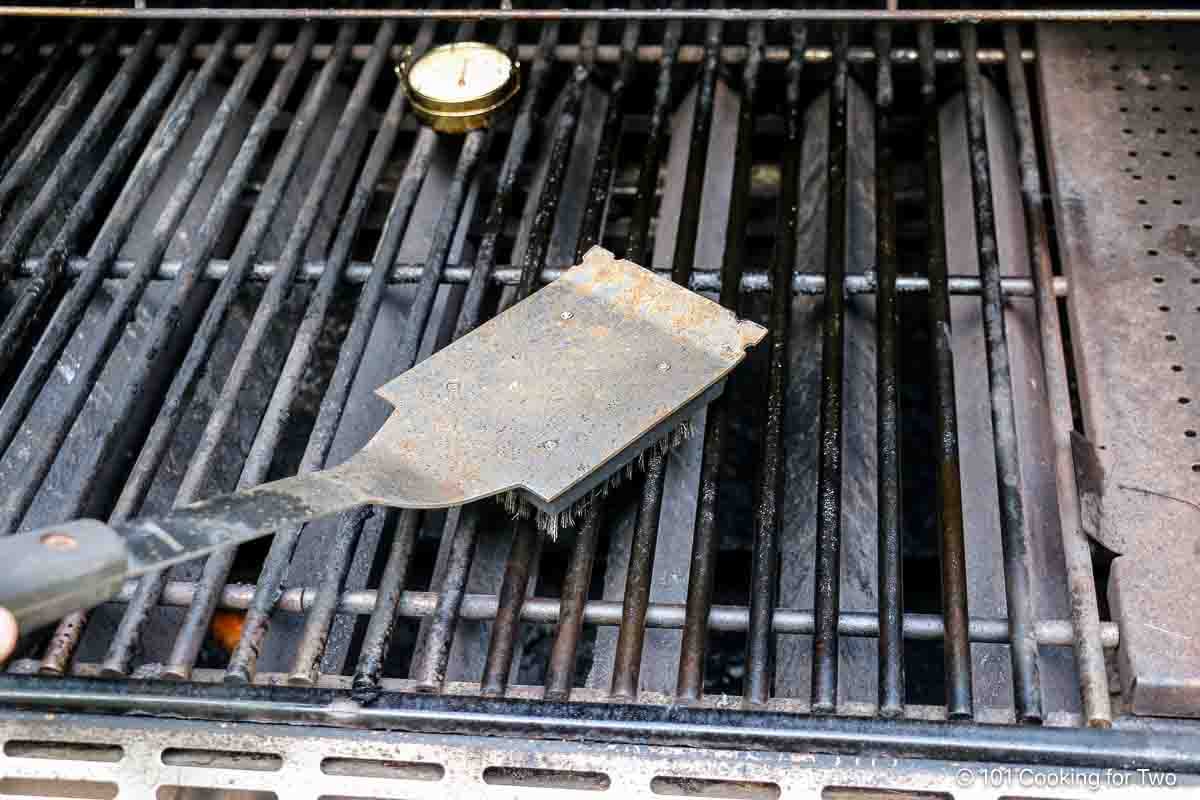
1. Preheat the grill
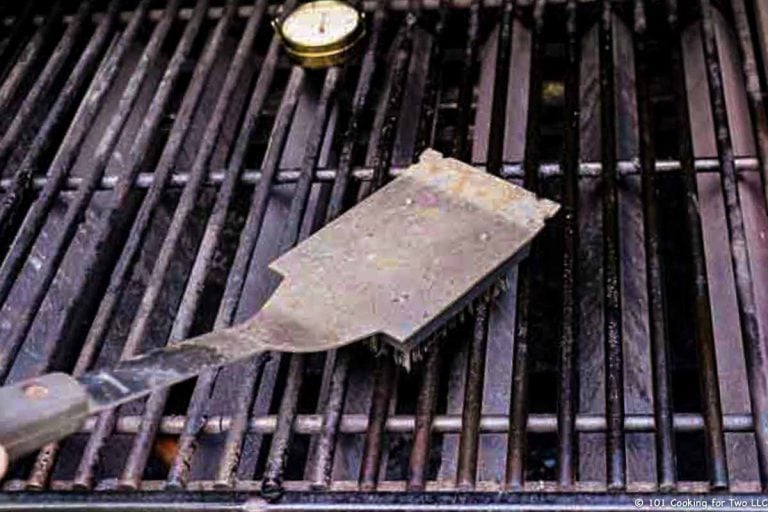
Clean, oil, and turn your grill to high preheating fully—aim for about 500–600°F or a bit higher.
2. Form and season the patties
Use 80/20 ground beef and form patties ⅓ to ½ pound, about ½ inch wider than the bun. Dimple the center and season both sides.
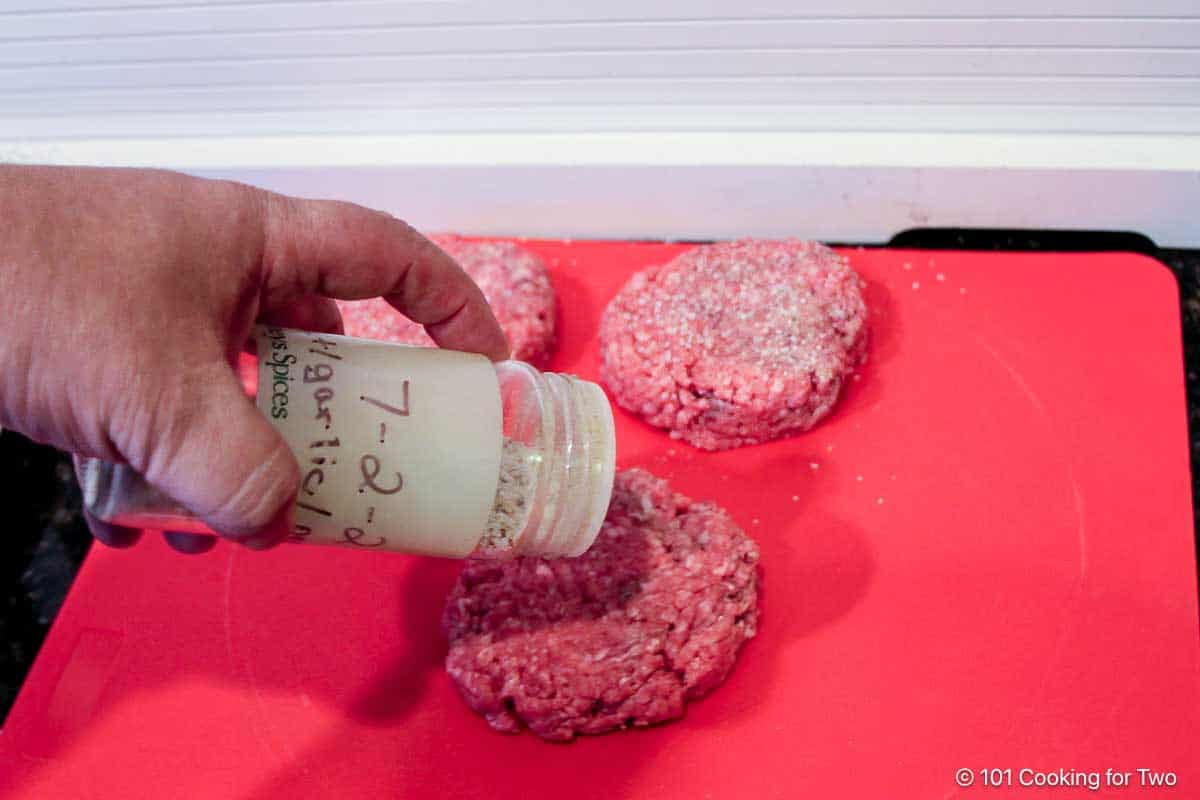
✅Pro Tip: The center dimple helps the patties cook evenly without puffing up.
3. Grill over direct heat
Grill about 4–6 minutes per side, flipping once, until the internal temperature reaches 160°F.
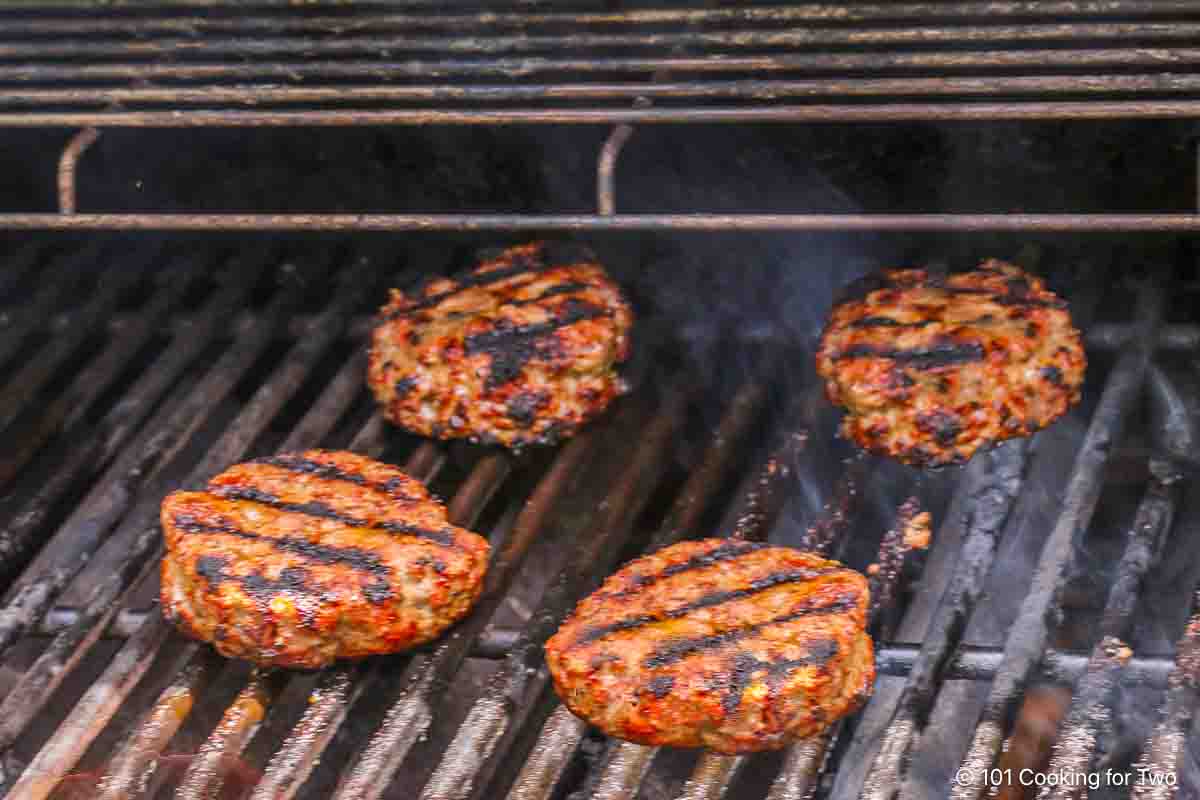
✅Pro Tip: The USDA recommends 160°F as the safe final temperature for ground beef.
4. Rest and serve
Let the burgers rest 5 minutes before serving. Toast the buns if you like, then add your favorite toppings.

👇For full step-by-step instructions, scroll to the printable recipe card or keep reading for grilling tips and serving ideas.
⏲️ How Long to Grill Hamburgers (Time Chart & Temps)
Most ¼–½ lb burger patties cook in 7–12 minutes total over high heat, flipping once halfway through. Exact time depends on thickness and grill temperature.
Approximate Time Chart:
- ¼ lb patties: 7–8 minutes total (about 4 minutes per side)
- ⅓ lb patties: 8–10 minutes total (about 4–5 minutes per side)
- ½ lb patties: 10–12 minutes total (about 5–6 minutes per side)
Times are for dimpled burgers about ½ to 1 inch thick, cooked over high heat (about 500–600°F) and flipped once. Always cook to 160°F internal temperature — use an instant-read thermometer.
Thinner patties cook faster but can dry out. Thicker burgers (over 1 inch) will take longer and may need lower heat or a two-zone setup to avoid burning the outside before the center is done.
Save this recipe!
🥣 Burger Patty Tips
- Size matters: Form patties about ½ inch wider than the bun — usually 4 inches across and ½ to 1 inch thick. Use ⅓–½ lb of ground beef; ¼ lb works, but thinner burgers are easier to overcook.
- Keep it cold: Unlike steak, patties should go straight from the fridge to the grill, with only a quick pause to shape and season. Cold meat holds its shape and cooks more evenly.
- Handle gently: Work the meat as little as possible so the burgers stay tender.
✅ Pro Tip: Dimple the center: Press an indentation about 1 inch wide and roughly ⅓ the thickness of the patty. This prevents puffing so burgers cook evenly without drying out.
🔥 Grilling Tips
- Preheat fully to high heat (about 500–600°F). Most home gas grills reach 600–700°F — aim for at least 500°F for a proper sear.
- Lid closed: You can grill with the lid open for thin patties, but keeping it closed maintains even heat — especially on gas grills.
- Cook to 160°F internal temperature, then let rest 5 minutes.
✅ Top Pro Tips:
- Flip once — don’t mess with them.
- Don’t press or poke. It just squeezes out juices and invites flare-ups.
- And yes, that means don’t play with your food.
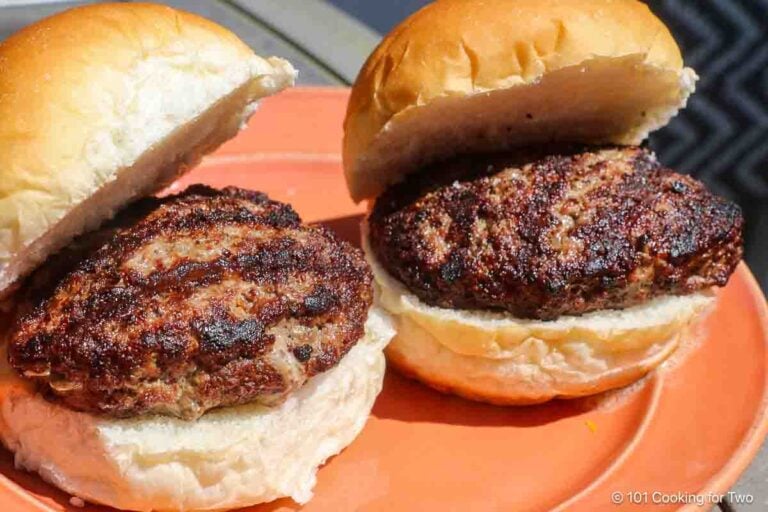
🍽️ Serving Hamburgers
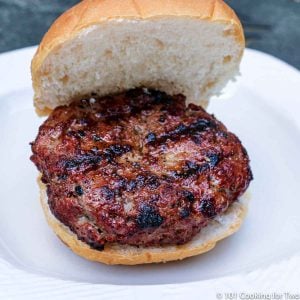
These are the classic diner-style grilled burgers—juicy inside, lightly charred outside, and ready for any topping combo you like.
- Buns matter: Skip the flimsy ones. Toast lightly on the grill if you like — brush with butter or oil first.
- Cheese timing: Add during the last minute on the grill or as soon as the burgers come off — it’ll melt from the residual heat.
- Classic toppings: Mustard, ketchup, mayo, lettuce, tomato, onion, pickles.
- Optional upgrades: Bacon or BBQ sauce if you want to mix it up.
Looking for the right sides? Try Microwave Corn on the Cob, Crispy Baked French Fries. Dessert? Strawberry Jello Pie or Brown Sugar Cinnamon Glazed Grilled Pineapple.
🧆 Burger Alternatives: Lean Meats and More
Want to use leaner meat or something different? You can use lean beef, chicken, turkey, or meat alternatives.
Remember, these alternatives cook a bit differently and can dry out faster, so adjust for texture and moisture. Cook poultry to 165°F and beef to 160°F for safety.
Check out these recipes for tips on getting great results:
- Low-Fat Burgers – Lean beef done right
- Grilled Chicken Burgers – Flavorful and juicy
- Juicy Lucy Burger – Stuffed with cheese for extra moisture
- Meatloaf Burgers – Moist and tender with a flavor boost
- Smoked Hamburgers – A slow-smoke twist if you're ready to level up
- Grilled Portobello Mushrooms – A satisfying vegetarian option
❓ FAQs
Check the center with an instant-read thermometer and cook to 160°F internal temperature. Time and color aren’t reliable. Below 160°F is unsafe for ground beef, and higher temperatures will dry out the burgers.
Yes — don’t trust looks or time alone. Ground beef must reach 160°F for safety. An instant-read thermometer is the only reliable way to know when burgers are done.
Ground chuck or 80/20 beef (80% lean, 20% fat) is ideal. It gives the best balance of flavor and juiciness. Leaner blends (90/10) can dry out.
Closed is best. It keeps the heat steady and speeds up cooking, especially on gas grills.
Yes. Shape and season up to a day in advance. Keep them cold in the fridge until grilling.
No. Thaw it first — frozen beef won’t shape well, cooks unevenly, and dries out on the grill.
📖The Recipe Card
How to Grill Hamburgers (Juicy, Easy Method)
Video Slideshow
Ingredients
- 1 pound 80/20 ground beef - ⅓ pound patties suggested
- Salt and pepper to taste or other seasoning
- buns and fixings
Step-by-Step Instructions
Preheat the grill
- Clean and oil grill grates. Preheat the grill on high (over 500°F), and let it fully preheat before grilling.

Form and season the patties
- Start with 80/20 ground beef. Divide into ⅓ to ½ pound balls—about tennis ball size—and shape into patties roughly 4 inches wide and ½ to ¾ inches thick.
- Sprinkle both sides with salt and pepper (or your preferred seasoning)—I use my All Purpose Seasoning 7:2:2 (salt, pepper, garlic). Another seasoning is fine.
- ✅ Press an indentation of 1-inch diameter and ⅓ the thickness in the center of one side of the patty. It prevents puffing and helps the burger cook evenly.


Grill over direct heat
- Grill with the lid closed (preferred) or open if you prefer. Flip after 5 minutes.
- Continue grilling 3–4 more minutes, until the internal temperature reaches 160°F. You're cooking to temperature, not time.


Rest and serve
- Remove from heat and let rest for 5 minutes before serving.
Recipe Notes
Pro Tips
- Use 80/20 ground beef for best results—juicy, flavorful, and grill-friendly.
- Always cook to a final temp of 160°F using an instant-read thermometer.
- Avoid pressing or poking during cooking—it drains juices and causes flare-ups.
- Resting helps the juices reabsorb, keeping your burger tender and moist.
Your Own Private Notes
To adjust the recipe size:
You can adjust the number of servings above; however, only the amount in the ingredient list is adjusted, not the instructions.
Nutrition Estimate (may vary)
Editor's Note: Originally published August 17, 2013, updated with expanded options, refreshed photos, and a table of contents to help navigation.

George says
This is the last burger recipe I ever needed. The technique I learned from this recipe is sound and has led me to make a perfect burger every time. The same is true for your steak recipe. Thank you for sharing.
kl says
Really, really enjoy your baby pictures. All of your dogs are beautiful.
Enjoy the recipes and instructions also.
Brianna Halbrook says
Yum! Damn good recipe. Best burgers we've grilled at home.
Brian says
The best way to cook burgers on a gas grill is to toss the gas and get a charcoal grill.
Dave says
I use an instant read thermometer on everything I grill except burgers. Other than that I use your exact instructions: hot grill, five minutes then flip, around four on other side, then add cheese for one last minute.
I found that inserting a thermometer into the burgers caused lots of juices to run out and the burgers seemed to be a bit dry and not as juicy.
Dan Mikesell AKA DrDan says
Hi Dave,
Welcome to the blog.
I understand what you are saying but studies show it is insignificant fluid lost (it just looks like more) and for safety (especially for ground meat) I want to encourage you to use your instant read.
Glad you are enjoy the blog and thanks for the note.
Dan
Gary Compton says
Try using EXTRA sharp cheddar rather than sharp. A tasty step-up. I also use a lot more ground pepper than salt, But I do salt the burgers.
Gary
Pat says
I live in an upper apartment and am only allowed to use an electric grill. Got any suggestions on how to get a tasty, moist hamburger?
Dan Mikesell AKA DrDan says
Hi Pat,
About the same really. Preheat as hot as it will go. Flip at about 5 minutes, cook until 165°. If it has a hood/top of some type then leave it closed as much as possible. So the basics are as hot as it will go, preheat, flip at 5 minutes, cook to 165°.
I would assume it will get to about 450°-500° so it will wake a few minutes longer then the estimates (a total guess there).
You must be able to measure the final internal temperature or don't try.
Dan
Brandi says
FANTASTIC article! Thanks so much, so informative, very clear! Not all of us are master grillers! Much appreciated!
K Franklin says
How does this work to make several burgers ahead and then freeze them? Should I thaw when ready, or throw them on the grill, frozen? And allow more time?
Dan Mikesell AKA DrDan says
Welcome to the blog.
Cooking frozen with this method is not a good idea. The surface will probably burn before the internal temperature is safe. So, of course, you can freeze burgers raw but please thaw before cooking this way.
A few more comments. Cooking frozen can be done, the grill temperature will need to be lower to give more time for the internal temperature to rise before the surface is damaged. And the cooking time will be longer. The thickness of the meat will cause a lot of variability.
Second comment. Burger is MUCH BETTER fresh. I only use previously frozen ground meat for things like sauces and casseroles where the liquid helps the texture. You will be much happier with fresh.
Dan
K Franklin says
You are so good!
Thank you for such a quick answer, and good explanation.
Roger says
Do you adjust the cooling time for 1/4 pound burgers?
Roger says
I meant cooking time?
Dan Mikesell AKA DrDan says
Hi Roger,
Welcome to the blog.
I assumed that. I have autocorrect errors all the time.
Cooking time for 1/4 pound will be slightly less. Of course there are the variables of grill temperature, thickness etc. still apply and cook to a final internal temperature of 165. Try 4 on the first side and about 4 on the second side on my grill then check the temp.
Dan