
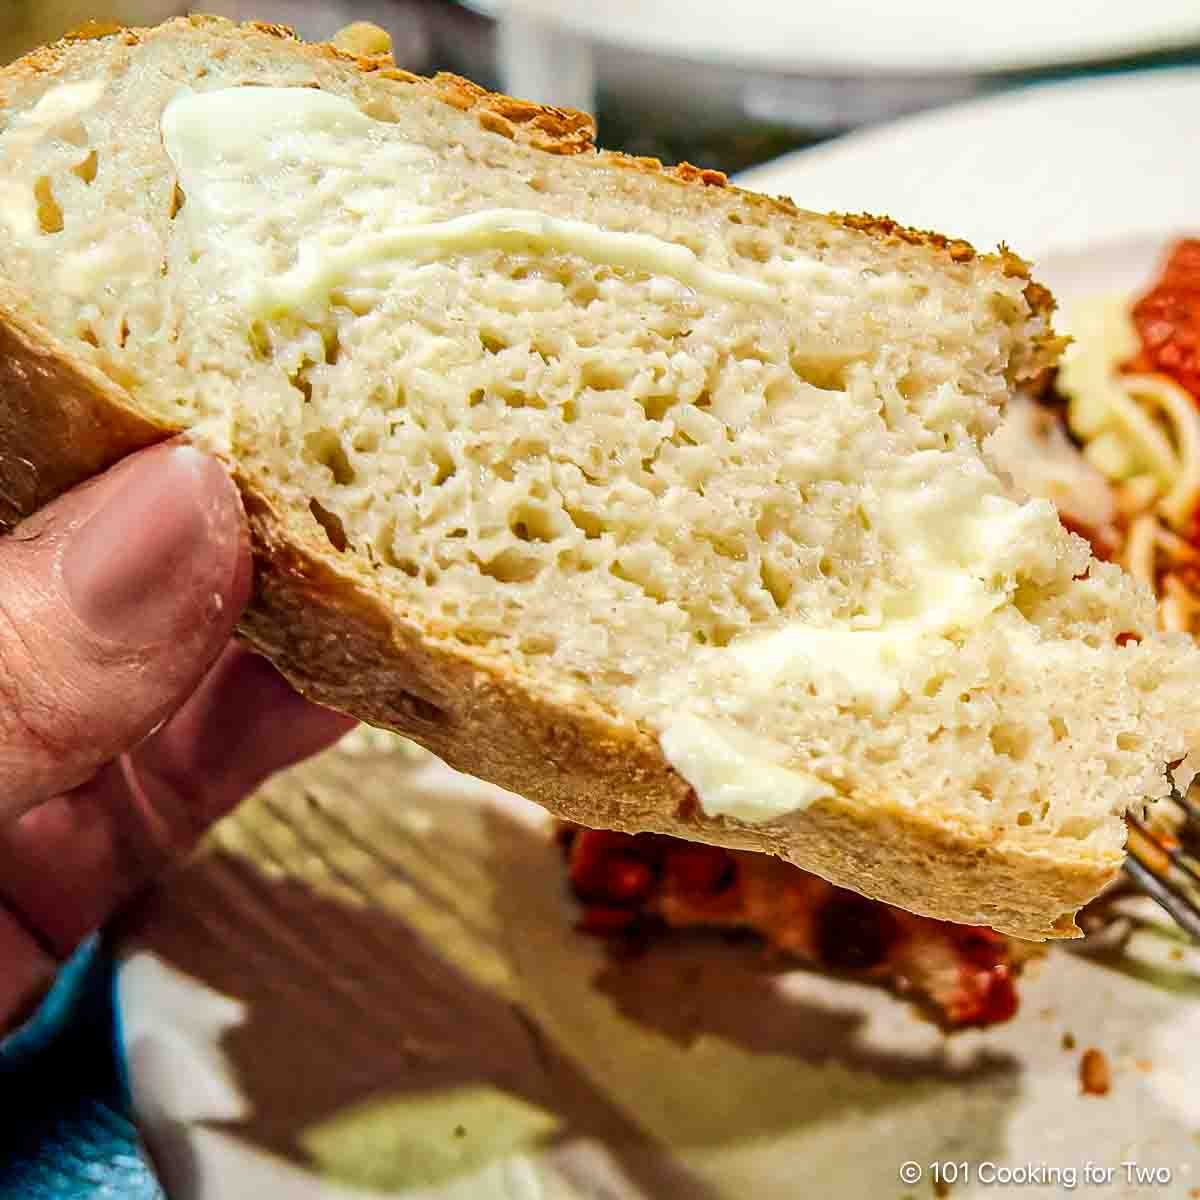
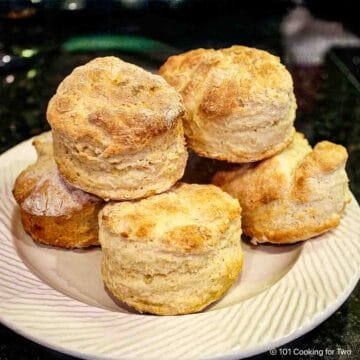
Peasant bread is a rustic artisan bread with a soft grain, crispy crust, and nutty flavor. It is an excellent beginner bread recipe because it is easy and quick to make with simple ingredients. While a stand mixer is not required, it will give you a head start on gluten formation without hand kneading. You can also make it entirely no-knead bread.
🍞Ingredients
Flour—all-purpose and whole wheat
Yeast—rapid rise
Sugar
Salt
Jump To (scroll for more)


Featured Comment from Kate:
⭐⭐⭐⭐⭐
"This came out beautiful & so good! Will definitely make again."
I love rustic bread with a soft grain, crunchy crust, and incredible taste. It is perfect for serving with Italian comfort foods, soups, and chili recipes.
Quick and easy, with no hand kneading, we let the stand mixer do the mixing and a little kneading for faster gluten formation. Just follow these easy step-by-step photo instructions—ready in about 2 hours.
The basics of any peasant bread recipe are the ingredients peasants could afford in the Middle Ages: flour, yeast, salt, and water. I added a little whole wheat flour, which will be more like the flour that would have been used and provide a nutty flavor. The sugar enhances the whole wheat.
👨🍳How to Make Peasant Bread—Step-by-Step Photo Instructions
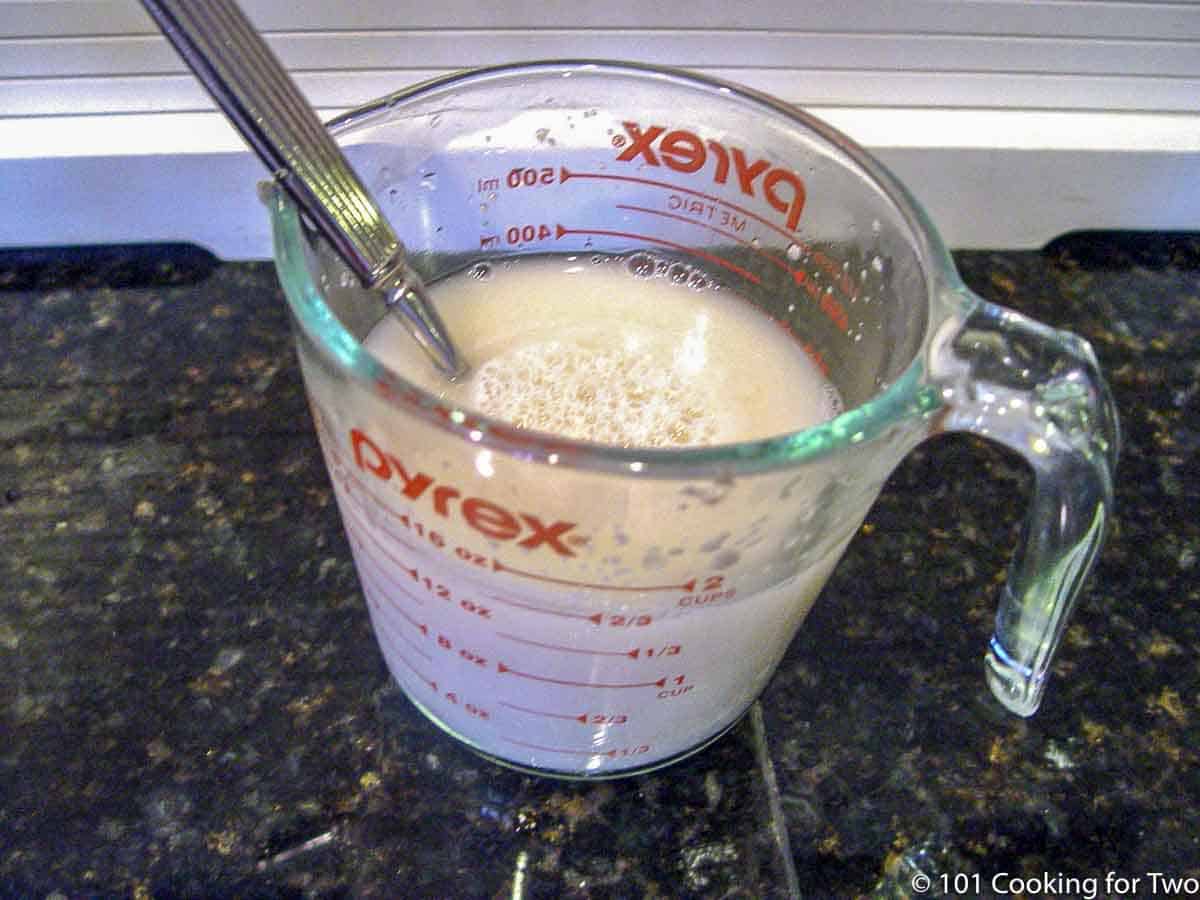
1. In warm (110°) water, dissolve sugar and rapid-rise yeast. Wait for some bubbles to prove the yeast is good.
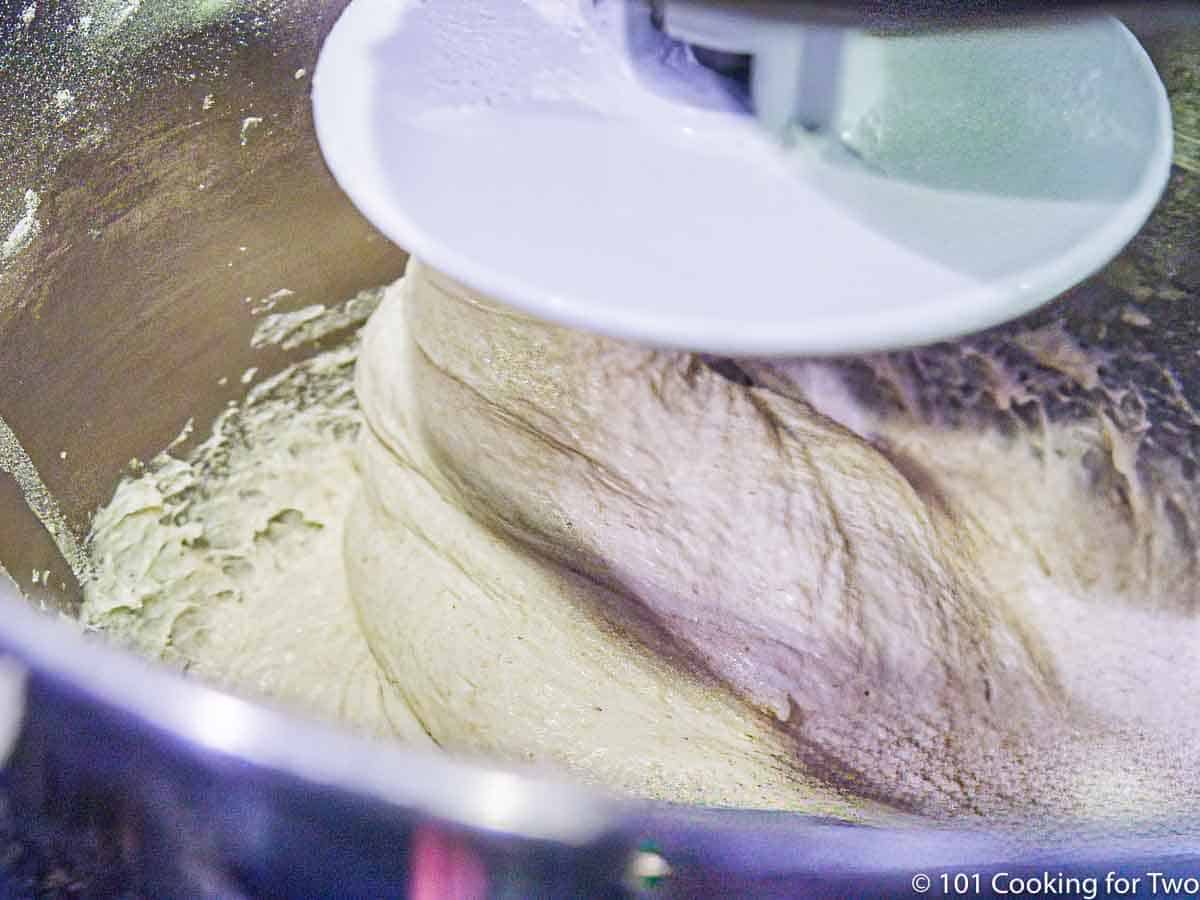
2. Add the yeast mixture to the stand mixer bowl. With the mixer on the 2 setting, slowly add the AP flour, whole wheat flour, and salt. Allow the dough to mix for 10 minutes.
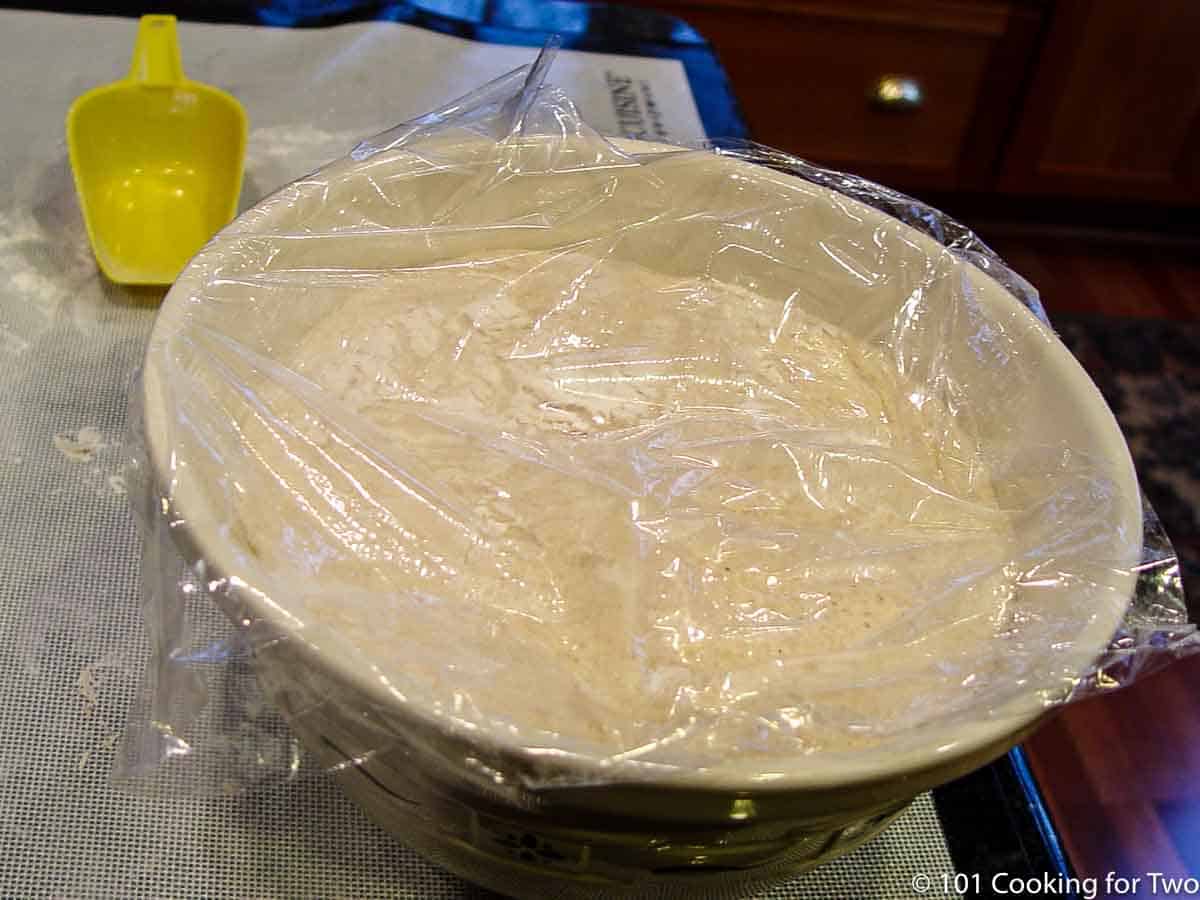
3. Move the dough to a lightly oiled bowl, form it into a ball, cover it with plastic wrap, and place it in a warm spot for about 60 minutes until about tripled in size.
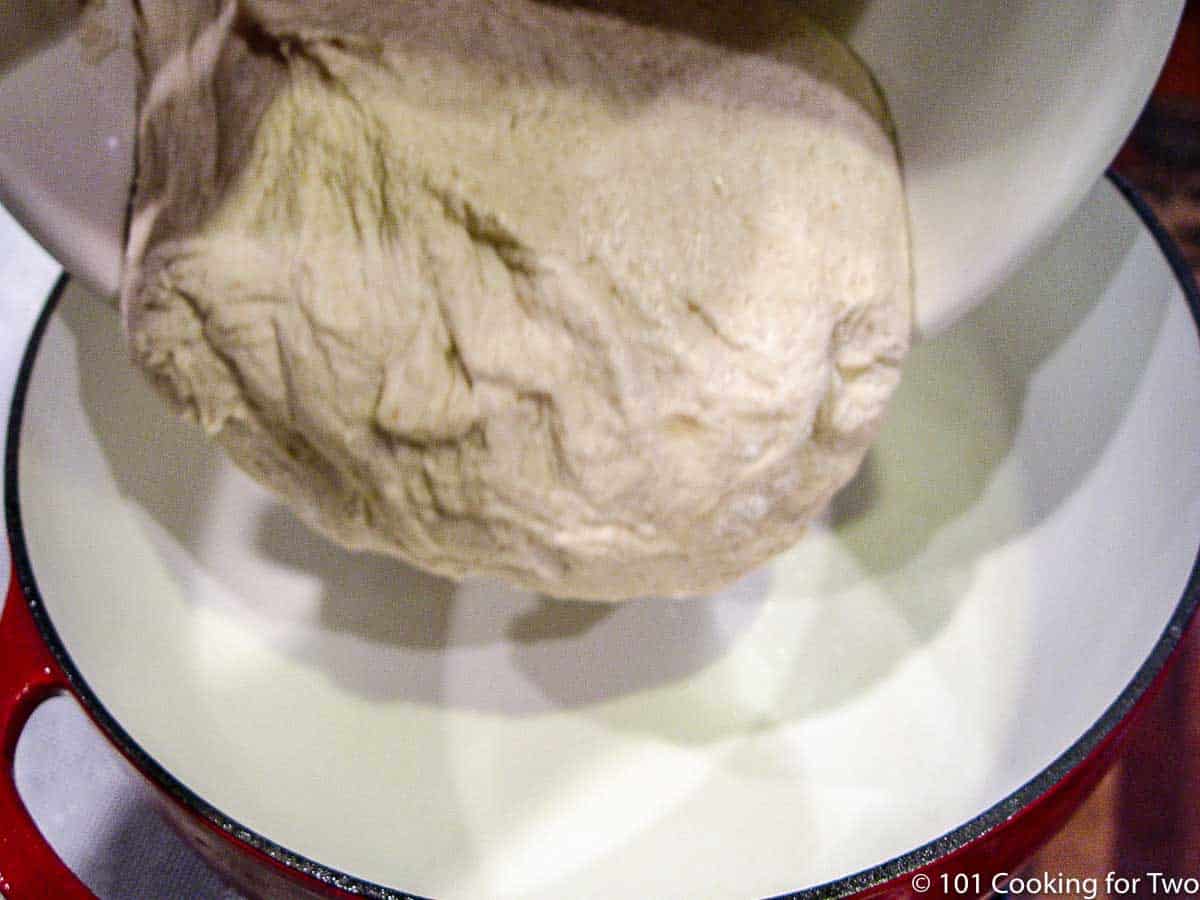
4. "Preheat" a Dutch oven with hot water, then dry and lightly coat with oil and move the dough into it. Cover and place in a warm spot and allow to double in size — about 30-45 minutes.
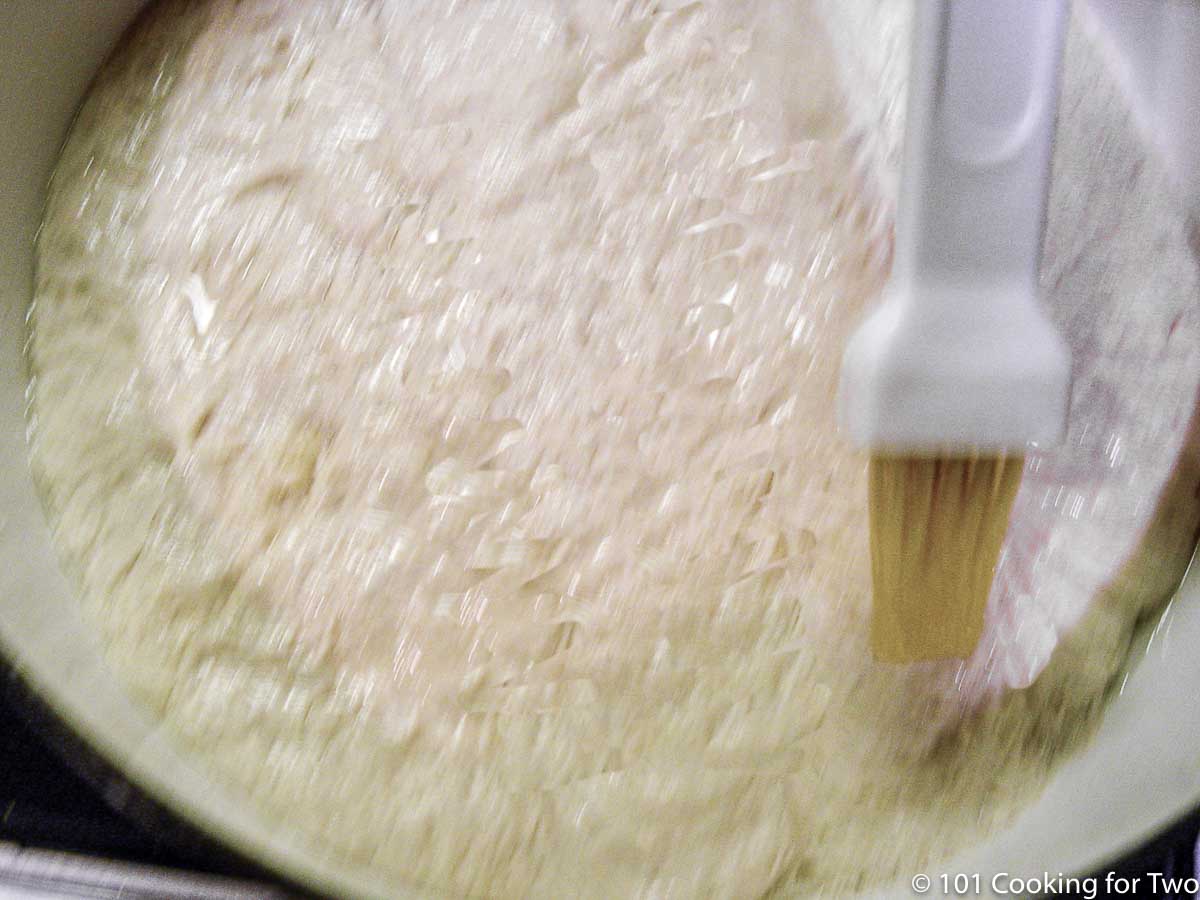
5. Preheat oven to 450°. Brush the top with some water.

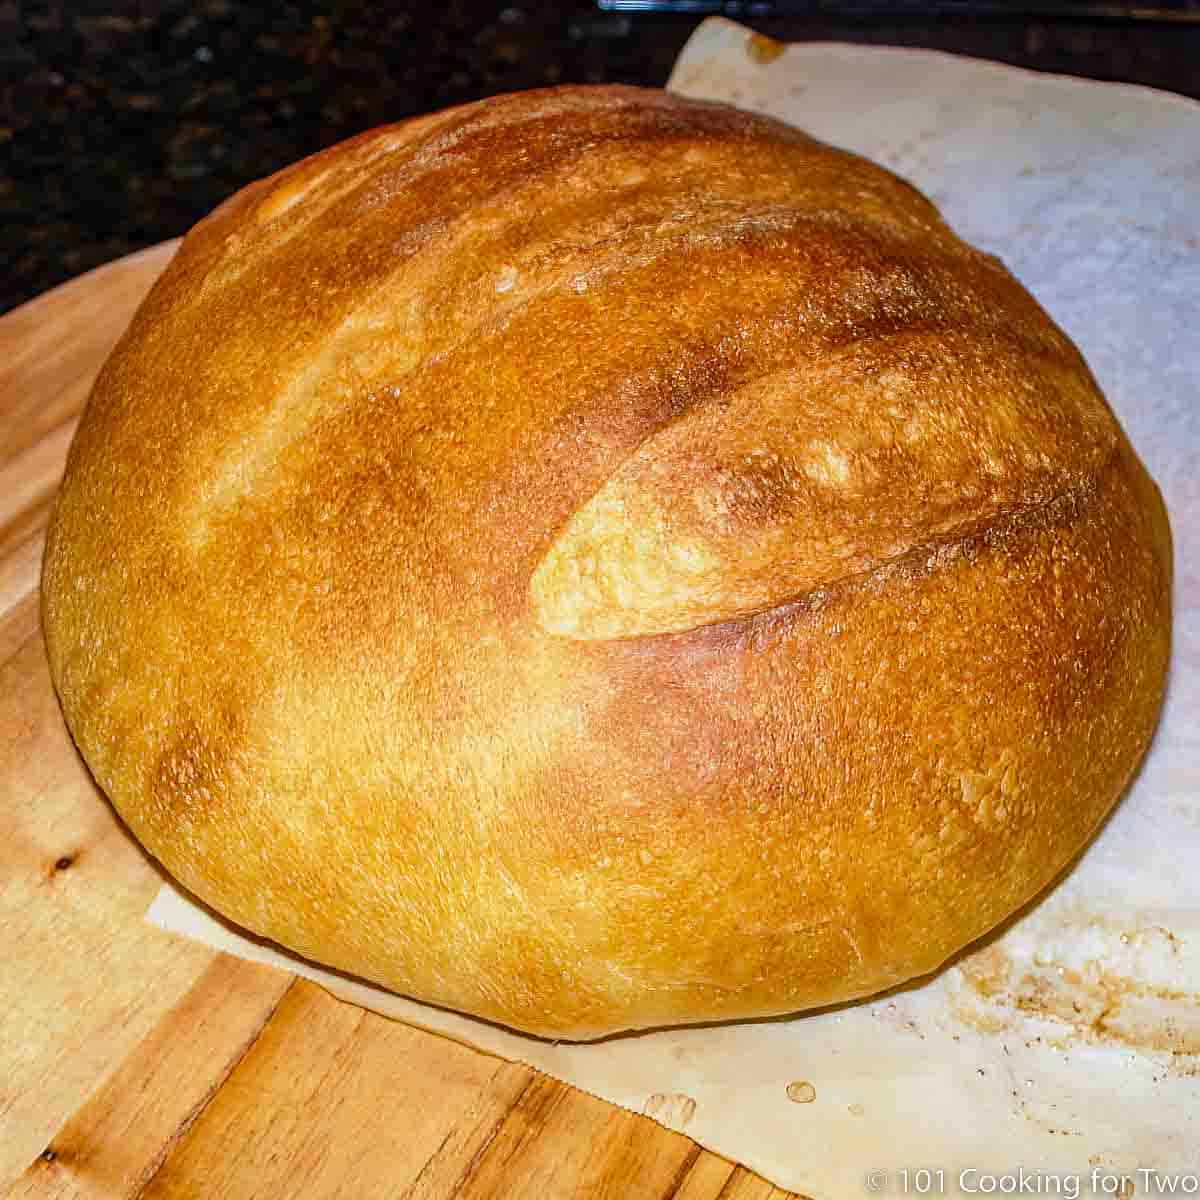
6. Bake for about 25-30 minutes until an internal temp of about 200°, a nice crust, and a hollow sound.
For more details, keep reading. See the Recipe Card below for complete instructions and to print.
Save this recipe!
😊Make it right every time
I like to "proof" yeast for two reasons. I have been burnt by bad yeast in the past (not a common thing now). I also like the yeast to dissolve in warm water for the most even distribution throughout the dough.
Keep everything warm. Use warm water, and heat all bowls and pans with hot water before using. If possible, don't expose the dough to cold air. This not only speeds things up but also helps the gluten form.
For best results, the oven needs to be at a high temperature (450° is suggested) and fully preheated, with the rack slightly below the middle.
This is a very soft dough and will not hold its shape during baking with the help of a baking pan. I used a Dutch oven to bake the bread. With this recipe, the smooth, rounded bottom gives a much nicer look, and I usually use it as the top side.
The size of the pan you use can affect the cooking time. This will not rise much with baking, and the dough is not very strong, so a deeper pan is good.
Smaller pans, like loaf pans, will yield a thicker loaf that may take a few more minutes to cook.
Brushing the top with water will help create a crunchy crust. Please put it in any pan, brush it with water, and bake until the internal temperature reaches 200°. The dough is not strong enough to be baked outside of a pan.
🥣Making it without a stand mixer
This is simple: mix by hand until everything is incorporated and skip any kneading. This is a very wet dough; you will only make a mess.
Coat your hands with oil and form the dough into a ball. Then, transfer the ball to an oiled dish and cover it for the first rise.
📖Other bread recipes you will love
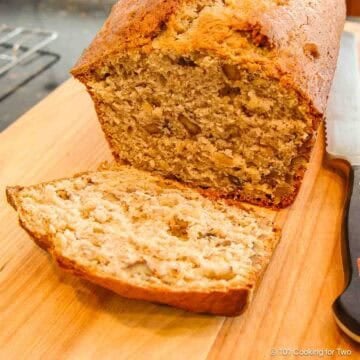
I'm a lover of homemade bread. Start with this Basic White Stand Mixer Bread—perfect for almost any use. Or try my Easy English Muffin Bread.
Julia Child's French Bread
Julia Child's French Bread recipe is the ultimate crusty artisan French bread. An excellent round bread, simplified to the essentials to get it done with less fuss. While speed was not a goal, it was 5 hours from the start to the cooling rack.
❄️Storage of leftovers
Store sealed aWnd airtight at room temperature for 3-4 days. Since it does not contain preservatives, mold may be an issue. Like most breads, it will freeze but will lose some texture and taste.
❓FAQ
Peasant bread was traditionally made by peasants in the Middle Ages, who had limited resources, using simple, readily available ingredients. Essentially, it's the bread of the poor farmer.
📖The Recipe Card

Peasant Bread with a Stand Mixer
Ingredients
- 4 ½ cup AP flour
- ¼ cup whole wheat flour
- 1 package yeast - a light tablespoon
- 1 teaspoons salt
- 1 teaspoon sugar
- 1 ¾ cup water - 110°
Step-by-Step Instructions
- In 1 ¾ cups of warm (110°) water, dissolve 1 teaspoon of sugar and 1 package of rapid-rise yeast. Wait for some bubbles to prove the yeast is good.

- Add the yeast mixture to a preheated stand mixer bowl. With a dough hook and the mixer on "2", slowly add 4 ½ cups AP flour, ¼ cup whole wheat flour, and 1 teaspoon salt. Allow the dough to mix for 10 minutes.
- Move the dough to a lightly oiled bowl, form into a bowl, cover with plastic wrap, and place in a warm spot for about 60 minutes until about tripled in size.sound.
- "Preheat" a Dutch oven with hot water, then dry and lightly coat with oil and move the dough into it. Cover and place in a warm spot and allow to double in size — about 30-45 minutes.
- Preheat oven to 450° conventional. Brush the top with some water. Bake for about 25-30 minutes until internal temp of about 200°, a nice crust, and a hollow sound.


Recipe Notes
Pro Tips
- This is an "ugly" bread, but it makes up for that in taste and texture. If you have a heavier pan with a smaller diameter, it will look better and be less flat.
- It is not a strong dough, so you need to use a pan with high enough sides to contain it.
- You can change the proportions of different flours.
- Cooking time will vary depending on the pan used and its thickness, so it's a good idea to check the internal temperature to determine the endpoint.
- I like to use a Dutch oven, but other pans can be used. I usually use a six-quart Dutch oven that will give about a 2-inch high loaf. A smaller pan will yield a thicker loaf but will take longer to cook.
- Cook UNCOVERED.
- The water on the crust will help crustiness.
- It is good for 3 days but will mold fast due to no preservatives.
Your Own Private Notes
To adjust the recipe size:
You can adjust the number of servings above; however, only the amount in the ingredient list is adjusted, not the instructions.
Nutrition Estimate (may vary)
Editor's Note: Originally published November 12, 2011. Updated with expanded options, refreshed photos, and a table of contents to help navigation.


Brian Mooney says
What attachment(s) do you use on the mixer -paddle or dough hook?
Thanks!
Dan Mikesell AKA DrDan says
Hi Brian,
With a dough hook. The wrong image was in the post—fixed. And wording updated for clarification.
Dan
Heidi says
Do you have to refrigerate the loaf?
Dan Mikesell AKA DrDan says
Hi Heidi,
Welcome to the blog.
There are no preservatives so it will last about 3 days, at room temperature. But like all breads, refrigeration seems to change the texture some but it will extend the life by several days. To me, bread freezes better than refrigerating. So if I make more than will be consumed in 2-3 days, I will freeze a few slices. But we always consume it.
Hope that helps.
Dan
Tamera says
This bread came out lovely. I will definitely make it again.
Kate J says
This came out beautiful & so good! Will definitely make again....although Here in So Cal, no need to preheat anything when it's 78 degrees in January.
Annie Solomon says
Bread turned out great! Thanks for the detailed recipe.
Annie Solomon says
Thanks! Going to try today.
Dan Mikesell says
Don't go over the 450 or you start melting things like knobs on dutch ovens. Go with the straight 450 and leave covered for 15 minutes then uncover. Go for the 200 degrees internal temp which should take 20-25 minutes from this point. (all this is guesses but I'm usually about right on.)
Annie Solomon says
You say to bake at 450 convection. I don't have a convection oven. Do you know what temperature to bake it in a standard oven?
Chris says
60 degrees? Are you mad? I'd be wearing long johns all the time! I guess that's the Florida boy in me.
The bread looks exceptionally good and sounds even easy enough for a non-baker like me to make.