
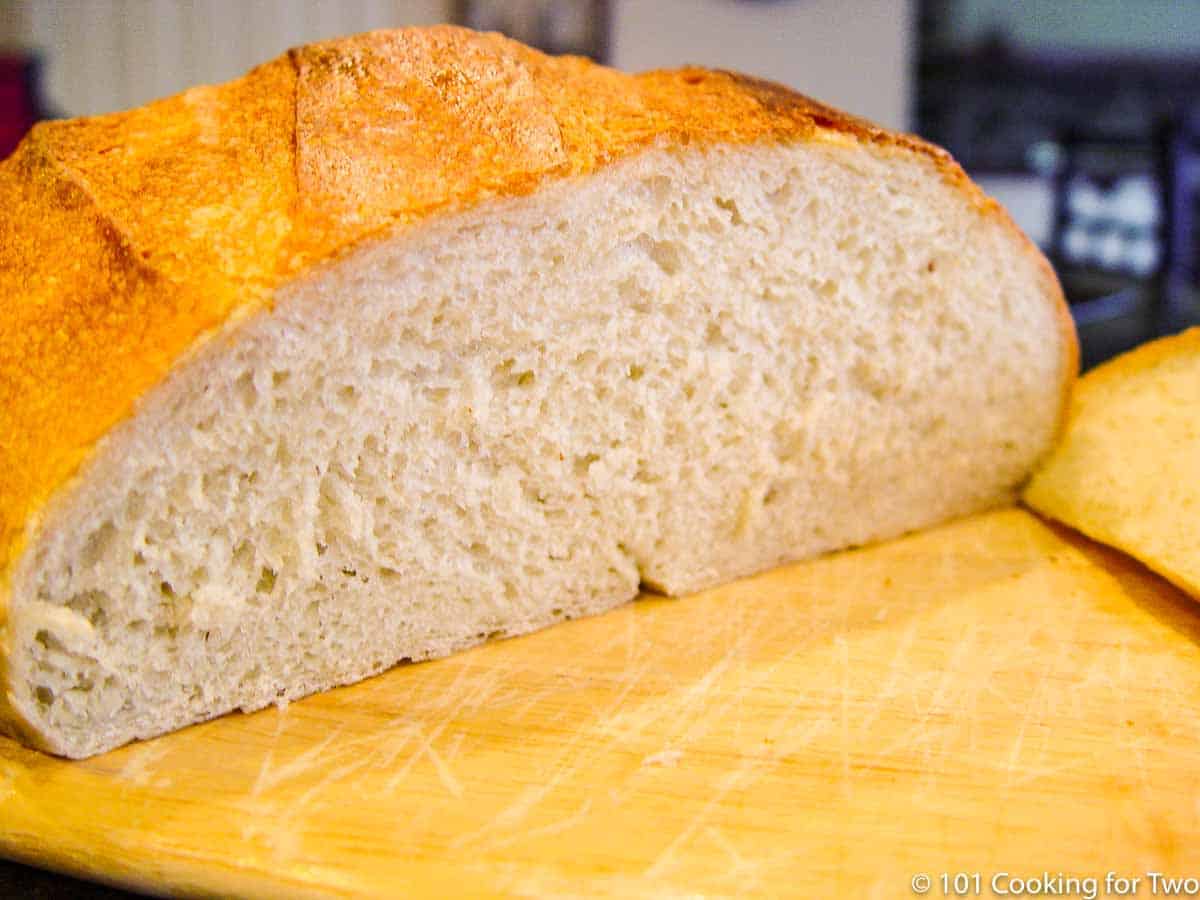
Julia Child's French Bread recipe is the ultimate crusty artisan French bread. An excellent round bread, simplified to the essentials to get it done with less fuss. While speed was not a goal, it was 5 hours from the start to the cooling rack.
Ingredients
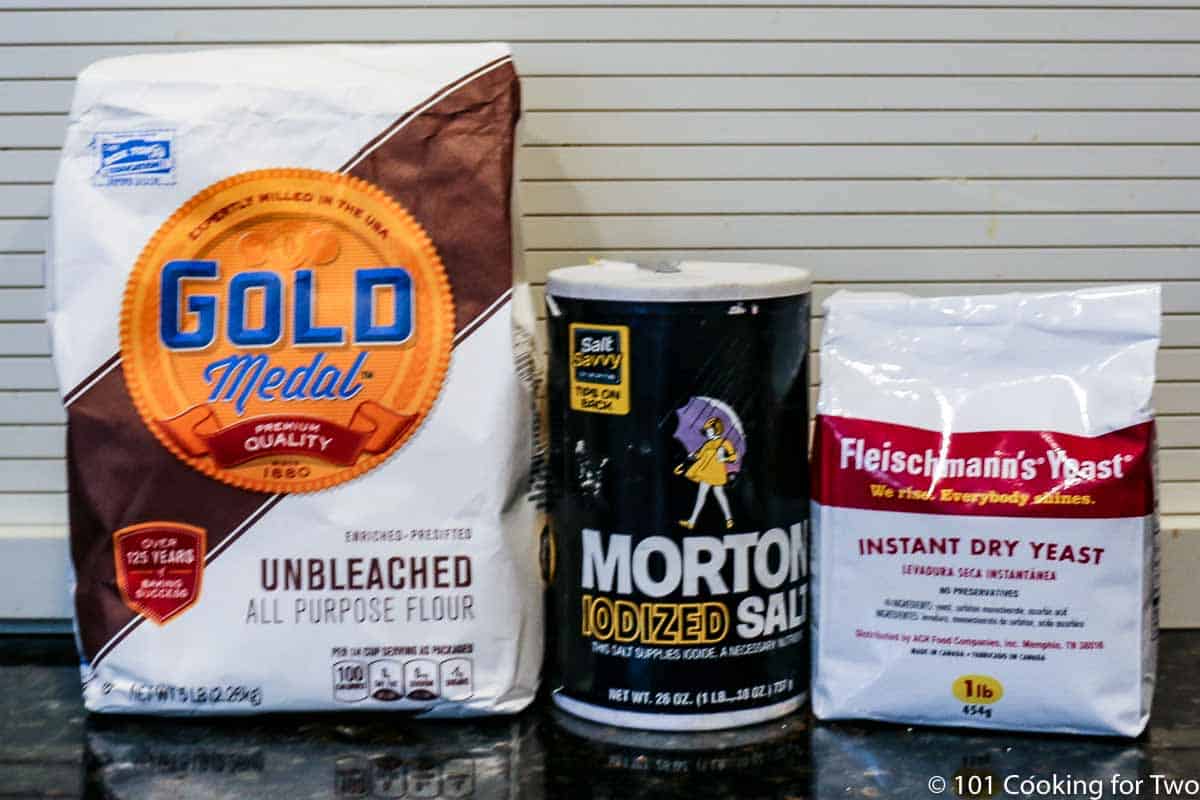
All-purpose flour
Yeast
Salt

Jump To (scroll for more)


Featured Comment from wefishallday :
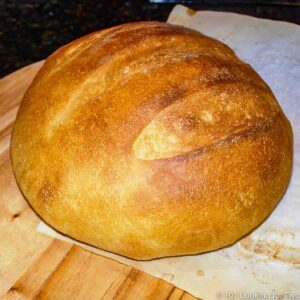
"Your loaf is beautiful. I have this exact formula in my old Julia Child cookbooks. Your shorter version is certainly easier to follow, and I like the round loaf…"
⭐⭐⭐⭐⭐
I love a loaf of round French bread, and nobody does it better than Julia Child and her book The Art of French Cooking.
Her classic round French bread recipe was nine pages long. After multiple attempts, I felt I had modernized it, including a stand mixer, and cut down to only the essential points, eliminating things that were "just the way it was done." I now had just over a page of instructions.

The essential points of this recipe you should not skip.
- The rest of the dough before kneading.
- The short amount of hand kneading.
- The large initial rise.
- The use of tripling, not doubling, in size for all dough rises.
- And finally, the baking method. While you could cook in a Dutch oven, the pizza/baking stone is better but fussier. The moisture with the pan and brushing is critical to the crust.
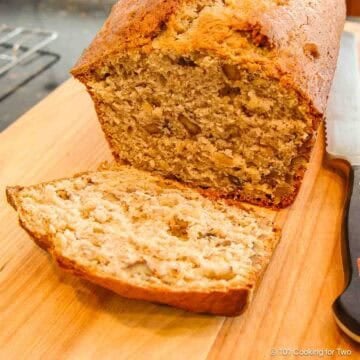
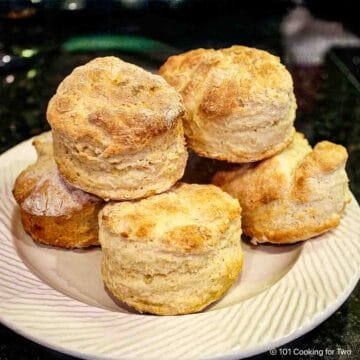
Try some other useful bread recipes, such as Basic White Stand Mixer Bread or Stand Mixer Rustic Peasant Bread. Or this easy English Muffin Bread is a great way to start the day.
👨🍳How to Make Julia Child French Bread—Step by Step
1. Preheat the stand mixer bowl with warm water. Dry bowl and add 3 ½ cups AP flour and 2 ¼ teaspoon salt. Mix well.
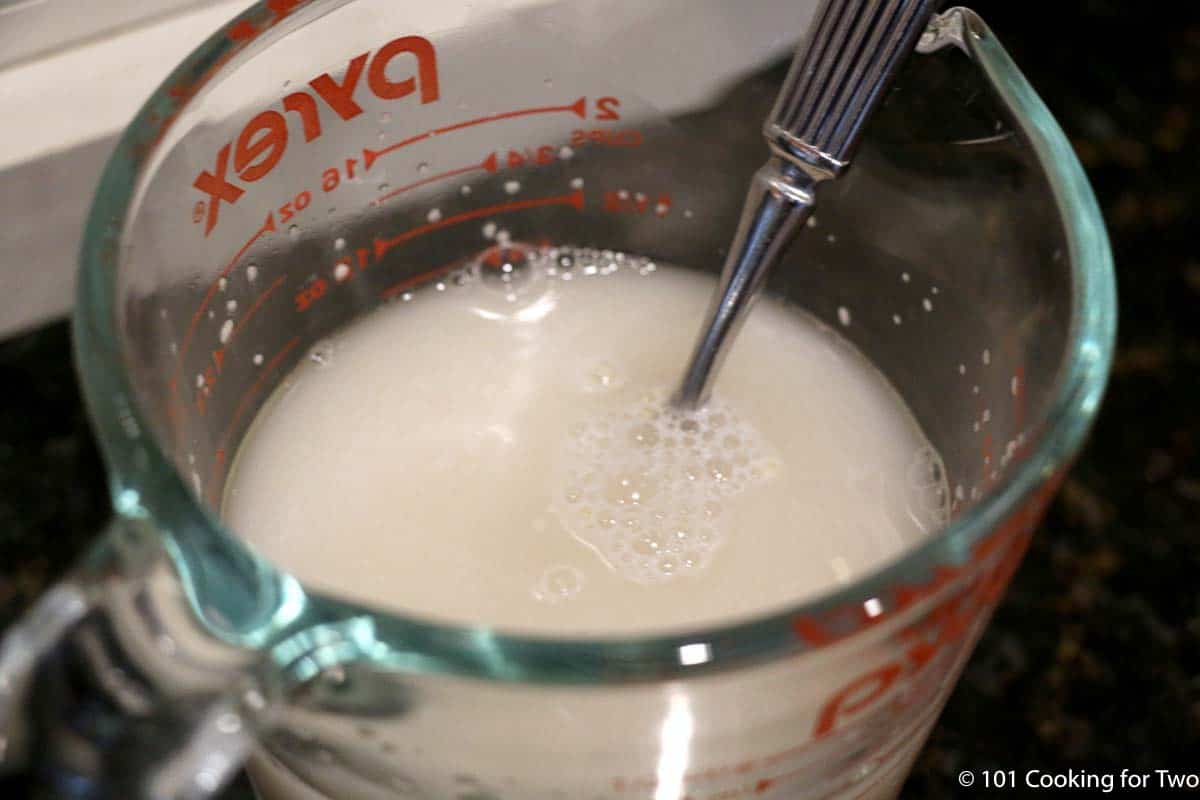
2. Combine 1 ½ cups 105° water with yeast and mix well. Wait for the yeast to "proof." Those are the bubbles that prove your yeast is good.
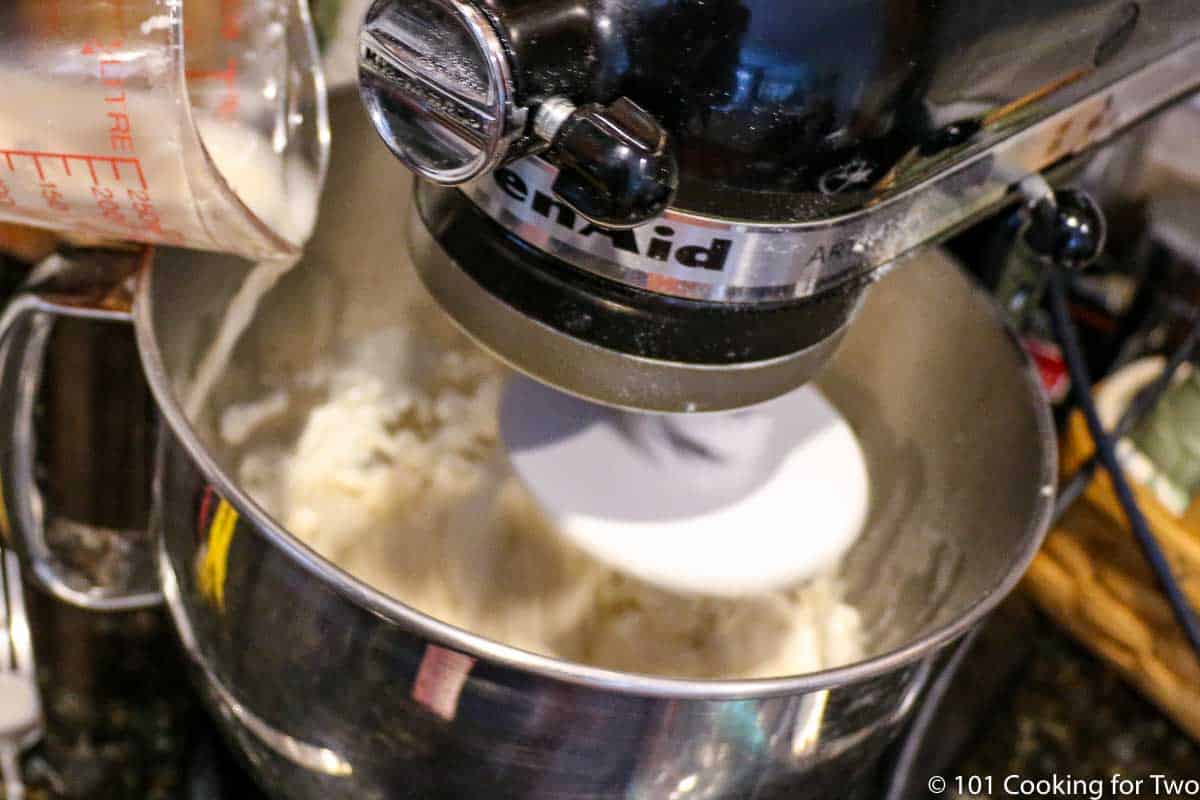
3. Add the yeast mixture to the mixer and uses one additional tablespoon of water to rinse the measuring cup and add that water to the mixer. With the dough hook, mix on "2". Continue to mix until the ball forms. Be sure to scrape the sides and bottom. The dough should pull away from the sides and have about 2 inches sticking in the bottom. Add flour 1 tablespoon at a time if needed. Time: about 2 minutes.
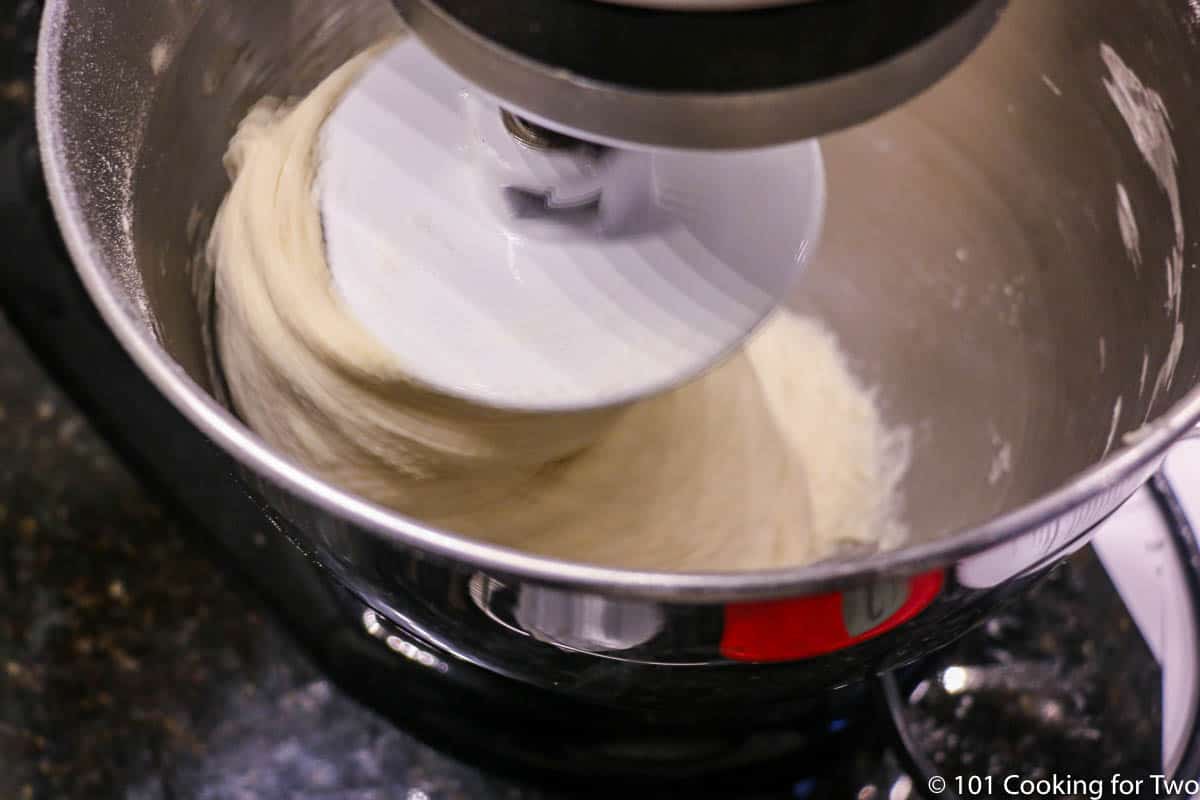
4. Stop the mixer and allow the dough to rest for 2 minutes, then restart kneading on 2. At 5 minutes into kneading, stop the mixer and check for "spring" by pressing your finger on the dough. It is done when this springs back. Keep checking every 2 minutes of kneading. It will usually take 5-7 minutes in total.
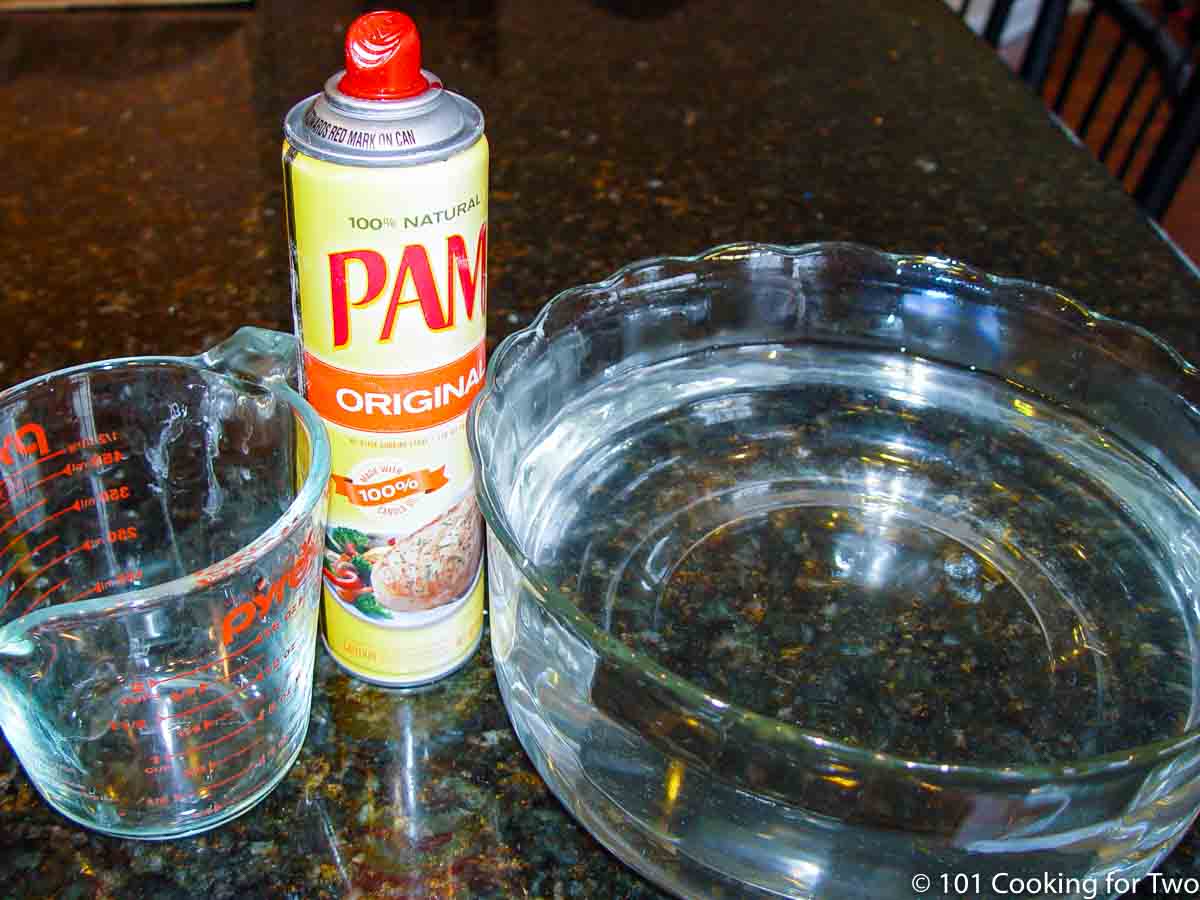
5. While the dough kneads, measure 10 ½ cups of warm water into the large bowl with straight sides. Mark the top of the water for reference and pour out the water, dry the bowl, and spray lightly with Pam, oil, or butter.
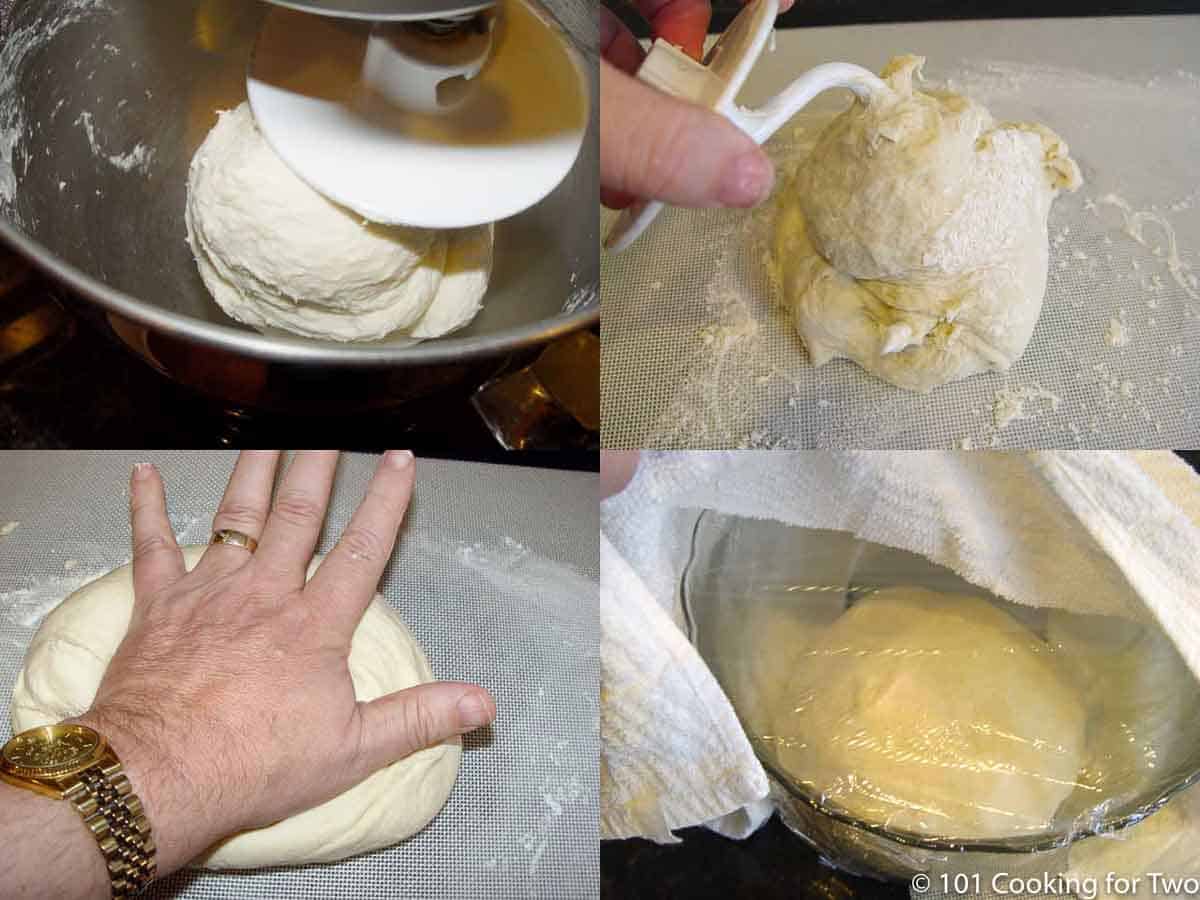
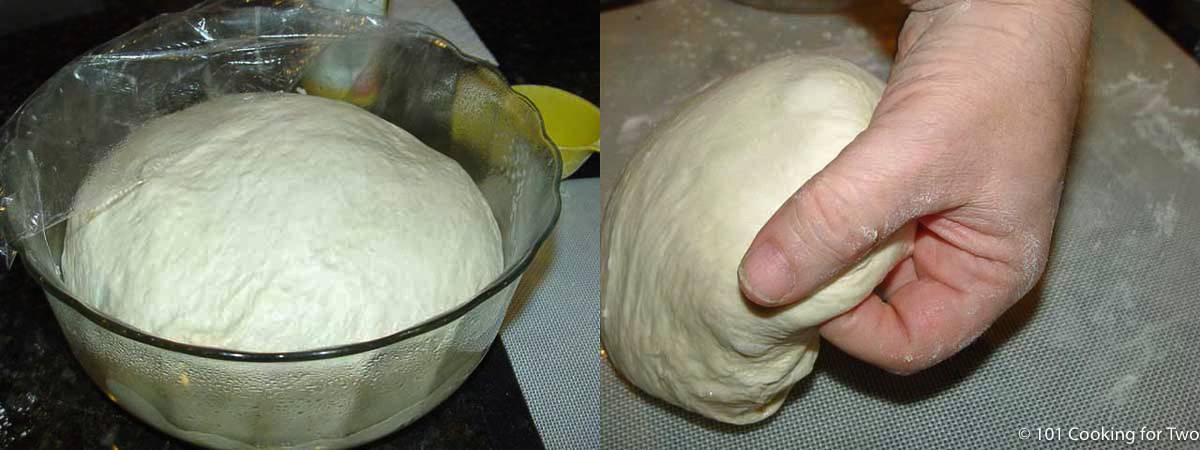
6. Place on a floured surface and hand knead for 2 minutes. Place dough in the bowl. Cover with plastic and a towel. Place in a warm spot until raised to your mark. It takes about 2-3 hours.
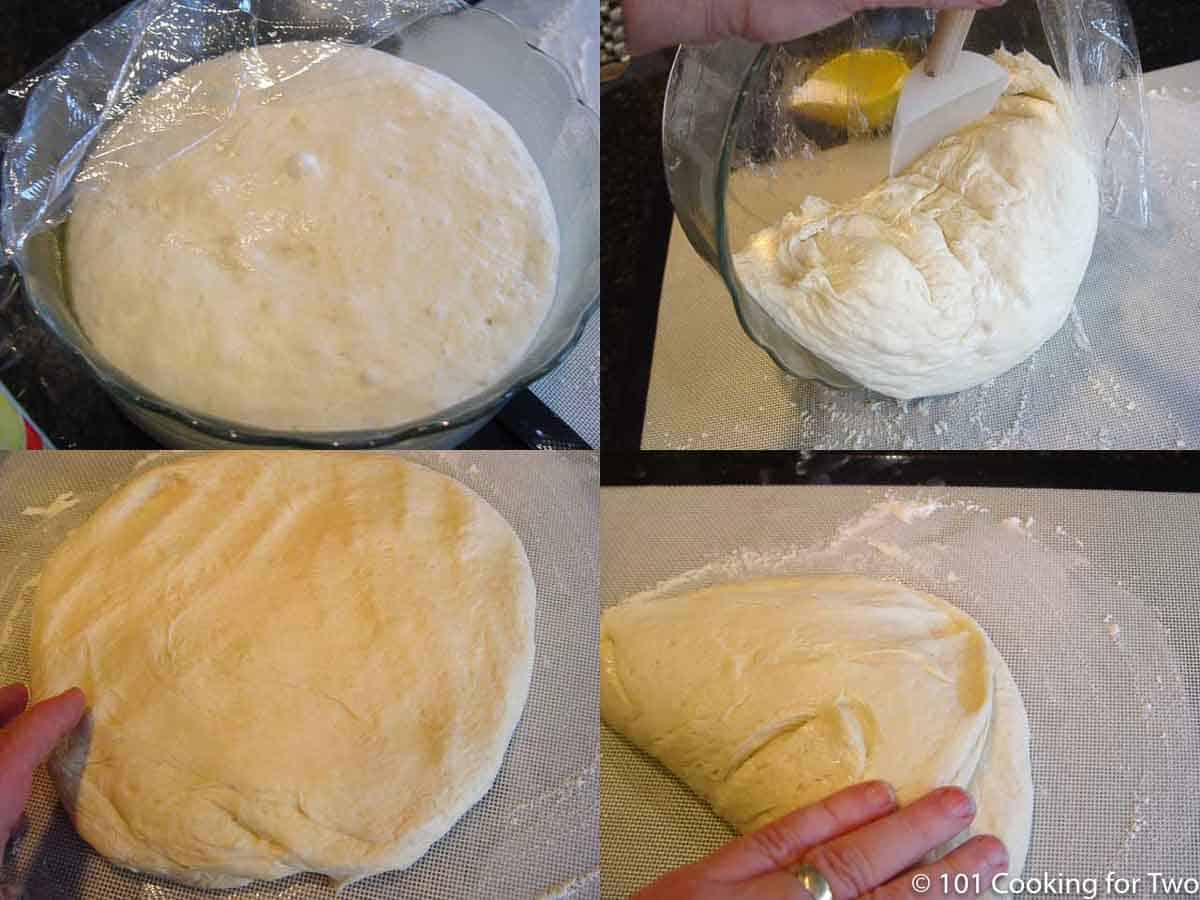
7. Turn dough onto a lightly floured surface with a rubber spatula sprayed with Pam. If the dough seems very wet, sprinkle it with a tablespoon of flour. Press to somewhat flatten and form about 12-inch square. Fold the lower-left corner to the upper right.
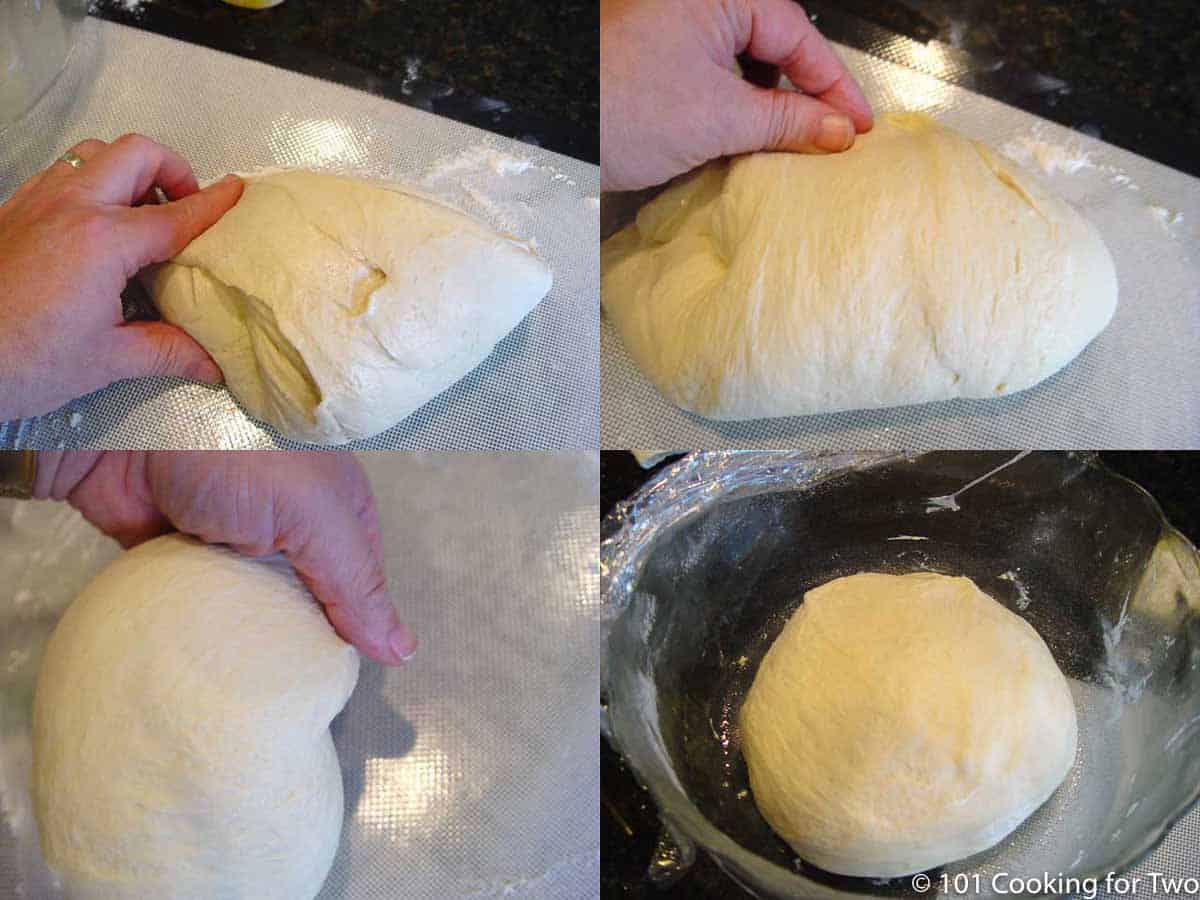
8. Lower right to the upper left. Fold on itself several more folds. Then form into a rounded ball with folds underneath, and the top rounded like a cushion. Respray the large mixing bowl with Pam, place dough, and cover again with plastic wrap and a towel. Place in a warm spot to rise to about triple in size. About 1 hour.
9a. Turn the risen dough onto a lightly floured surface again. Flatten slightly and gently into a round loaf. Start turning edges underneath, forming a rounded ball, stretching the "skin" to form a firmer ball of dough but not deflating the rise completely.
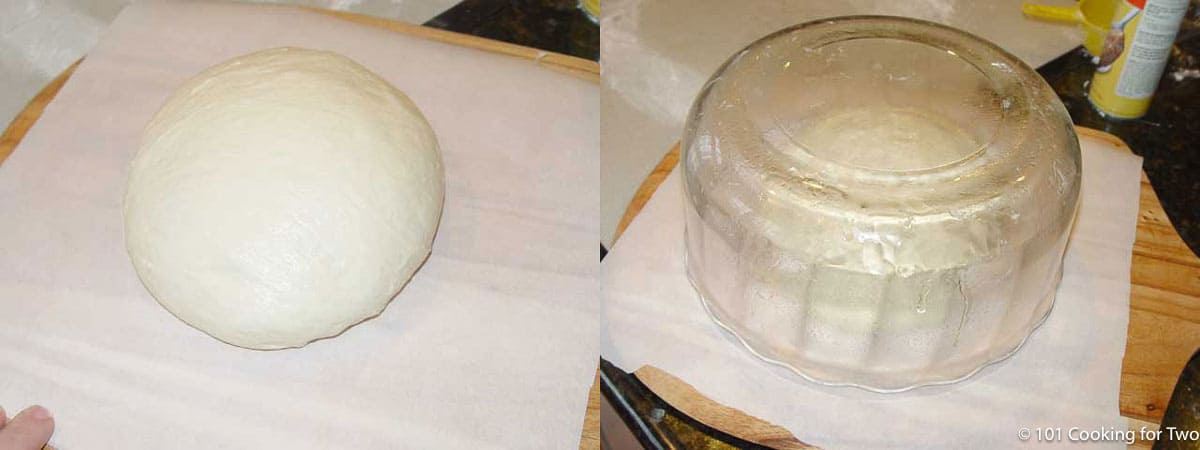
9b. Place a square of parchment paper on a large wooden peel or a cookie sheet with no edge. Place dough in the center and cover (I used the bowl I used for raising after you respray it with Pam to prevent any sticking if it touches the dough). Allow rising until approximately triple in size again.
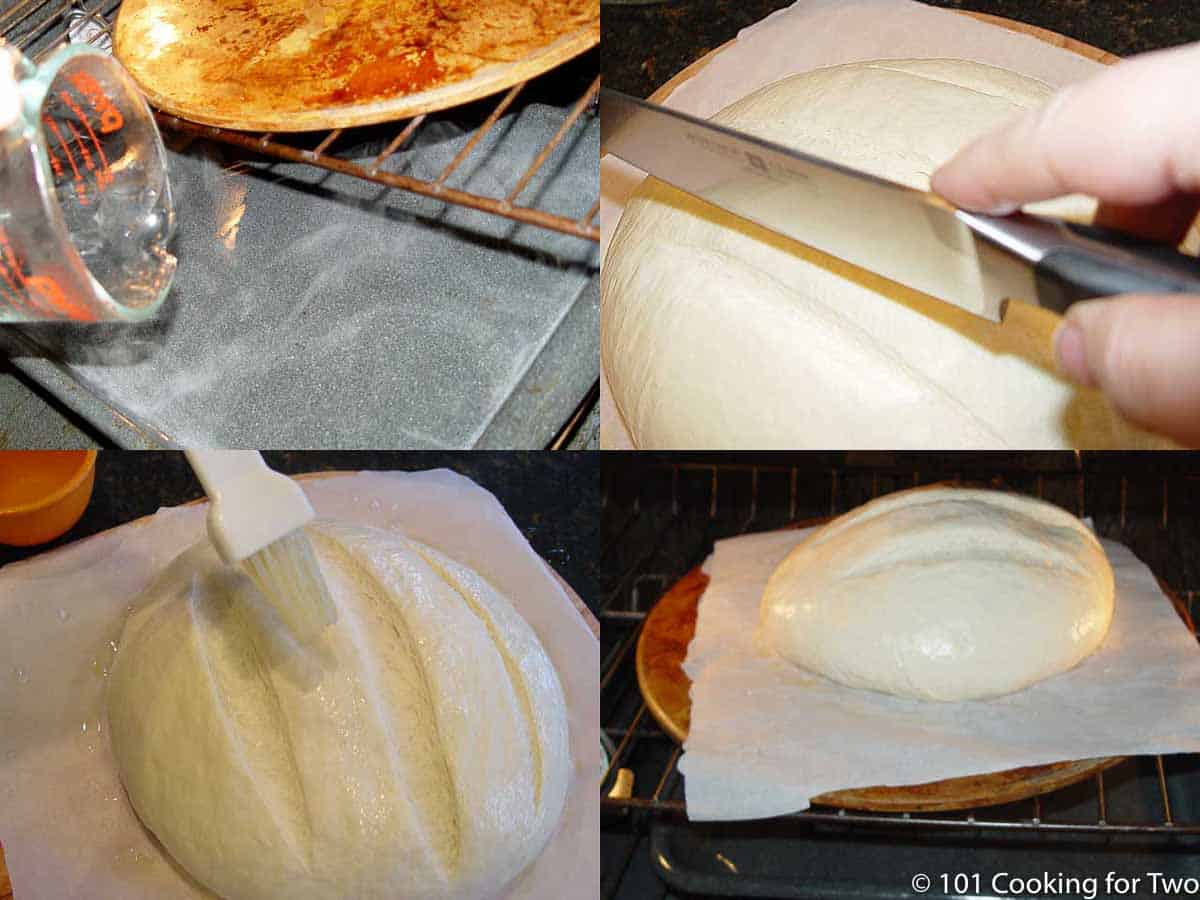
10. Preheat oven to 450° (not convection) with a baking stone on the middle rack and pan for water on the bottom rack for at least 30 minutes.
Score the top of the dough about ¼ inch deep with three cuts. Brush the top liberally with water. Transfer on parchment paper to the baking stone.
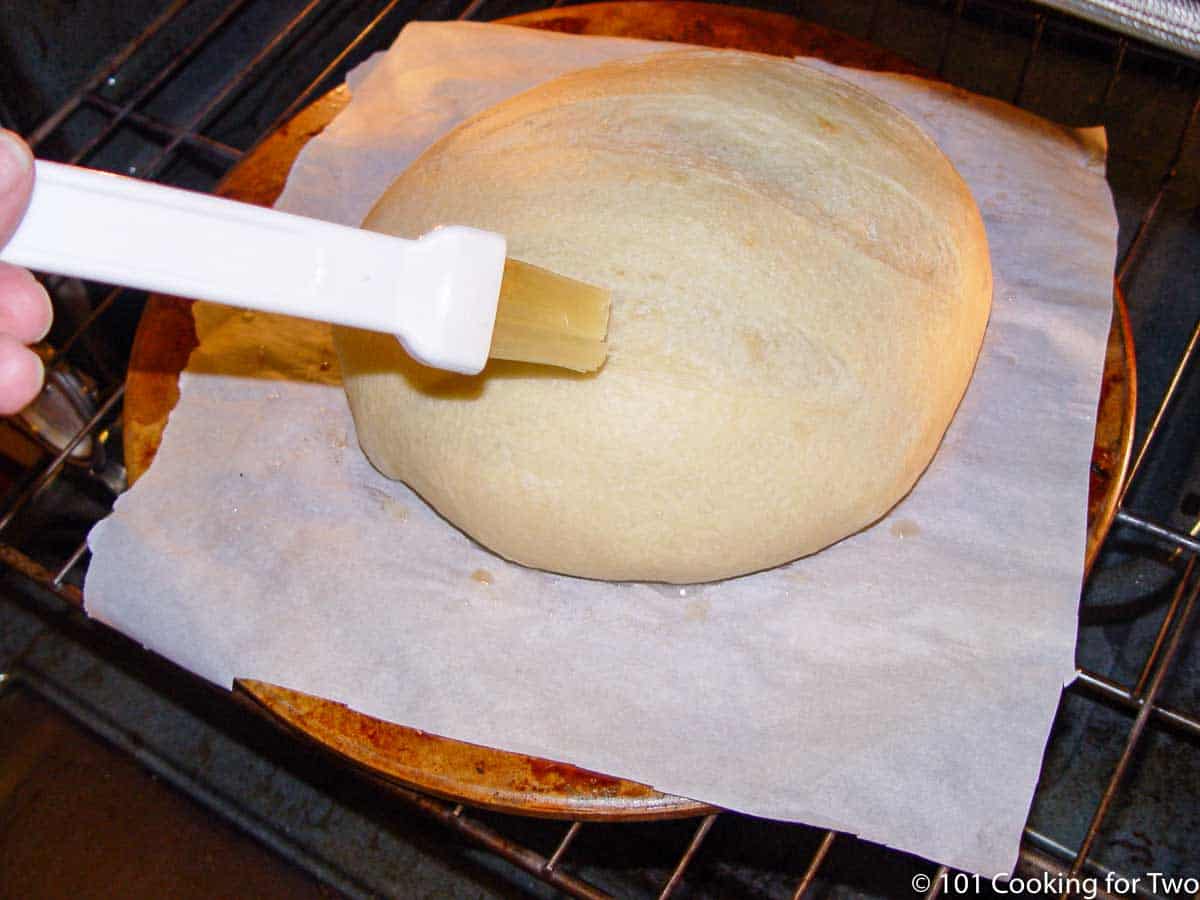
11. Brush the dough with water at 3, 6, and 9 minutes. Add 1 cup of water to the pan at 6 minutes. Continue to bake until the top is browned, thumping produces a hollow sound, and the internal temp 200°-205°. It takes about 25-30 minutes in total. Note: A spray bottle would work great instead of a brush for watering the dough in the oven.
Save this recipe!
12. Continue to bake until the top is browned, thumping produces a hollow sound, and the internal temp 200°-205°. It takes about 25-30 minutes in total. Note: A spray bottle would work great instead of a brush for watering the dough in the oven.
13. Remove from oven and cool on a rack for 2 hours before cutting.
For more details, keep reading. See the Recipe Card below for complete instructions and to print.
🥣Dough Tips
- Keep everything warm, heating the mixing bowls with warm water.
- Mix the yeast with warm water before adding it. I like this because it distributes the yeast throughout the dough with water and proves it is good.
- Use rapid-rise or instant yeast. It's the same organism as active dry yeast but produced differently, and more organisms are alive. This will somewhat speed up a slow process.
- A large glass serving bowl was used for the rising bowl. The straight sides and larger volume are necessary to judge the rise, and it was convenient to cover the last rise so nothing stuck to the dough. Also, keep the bowl coated with cooking spray to keep the side of the dough from sticking.
♨️Baking Tips
I used a sheet of parchment paper to make the dough transfer easier. A large pizza stone was my baking stone. We all have one of those.
I have a large pizza peel handy to slide the loaf and parchment paper onto the stone, but a baking sheet without an edge should work, or pick up the raised dough by the parchment paper edges and move it that way.
Brushing with water and having moisture in the oven helps a crispy crust.
FAQs
Sure, you will need to divide the dough into equal pieces before the final rise and use a canvas or linen dough cloth. Baking time will be a bit less.
This recipe is listed in these categories. See them for more similar recipes.
Have you tried this recipe, or have a question? Join the community discussion in the comments.
📖The Recipe Card
Julia Child's French Bread - Simplified
Ingredients
- 3 ½ cup flour
- 2 ¼ teaspoon salt
- 1 ½ cup water - at 105 degree
- 1 pack instant dry yeast
- 1 tablespoon water
Step-by-Step Instructions
- Preheat the stand mixer bowl with warm water. Dry bowl and add 3 ½ cups AP flour and 2 ¼ teaspoon salt. Mix well.

- Combine 1 ½ cups 105° water with yeast and mix well. Wait for the yeast to "proof." Those are the bubbles that prove your yeast is good.

- Add the yeast mixture to the mixer and uses one additional tablespoon of water to rinse the measuring cup and add that water to the mixer. With the dough hook, mix on "2". Continue to mix until the ball forms. Be sure to scrape the sides and bottom. The dough should pull away from the sides and have about 2 inches sticking in the bottom. Add flour 1 tablespoon at a time if needed. Time: about 2 minutes.
- Stop the mixer and allow the dough to rest for 2 minutes, then restart kneading on 2. At 5 minutes into kneading, stop the mixer and check for "spring" by pressing your finger on the dough. It is done when this springs back. Keep checking every 2 minutes of kneading. It will usually take 5-7 minutes in total.
- While the dough kneads, measure 10 ½ cups of warm water into the large bowl with straight sides. Mark the top of the water for reference and pour out the water, dry the bowl, and spray lightly with Pam, oil, or butter.
- Place on a floured surface and hand knead for 2 minutes. Place dough in the bowl. Cover with plastic and a towel. Place in a warm spot until raised to your mark. It takes about 2-3 hours.
- Turn dough onto a lightly floured surface with a rubber spatula sprayed with Pam. If the dough seems very wet, sprinkle it with a tablespoon of flour. Press to somewhat flatten and form about 12-inch square. Fold the lower-left corner to the upper right.
- Lower right to the upper left. Fold on itself several more folds. Then form into a rounded ball with folds underneath, and the top rounded like a cushion. Respray the large mixing bowl with Pam, place dough, and cover again with plastic wrap and a towel. Place in a warm spot to rise to about triple in size. About 1 hour.
- Turn the risen dough onto a lightly floured surface again. Flatten slightly and gently into a round loaf. Start turning edges underneath, forming a rounded ball, stretching the "skin" to form a firmer ball of dough but not deflating the rise completely.
- Place a square of parchment paper on a large wooden peel or a cookie sheet with no edge. Place dough in the center and cover (I used the bowl I used for raising after you respray it with Pam to prevent any sticking if it touches the dough). Allow rising until approximately triple in size again.
- Preheat oven to 450° (not convection) with a baking stone on the middle rack and pan for water on the bottom rack for at least 30 minutes.
- Score the top of the dough about ¼ inch deep with three cuts. Brush the top liberally with water. Transfer on parchment paper to the baking stone.
- Brush the dough with water at 3, 6, and 9 minutes. Add 1 cup of water to the pan at 6 minutes. Continue to bake until the top is browned, thumping produces a hollow sound, and the internal temp 200°-205°. It takes about 25-30 minutes in total. Note: A spray bottle would work great instead of a brush for watering the dough in the oven.
- Remove from oven and cool on a rack for 2 hours before cutting.


Recipe Notes
Pro Tips
- This is not a recipe where you can just read the recipe card and do it. Please review the step-by-step photo instructions in the recipe post to get this right. I have now included the photos in the recipe card to help.
- Never do a recipe like this by time. If it says triple in size, then wait for it.
- This must be kept in a warm environment to rise correctly.
- Store at room temperature for 2-3 days in an airtight container. There are no preservatives, so it will mold quickly.
Your Own Private Notes
To adjust the recipe size:
You can adjust the number of servings above; however, only the amount in the ingredient list is adjusted, not the instructions.
Nutrition Estimate (may vary)
Editor note: This recipe was first published on April 4, 2010. I was a "baby blogger" with only three months of blogging. This was my first adventure into a major project. It is still one of my favorite recipes but has been long neglected by me—time to fix that. I have updated the text, clarified some wording, re-edited and added some photos (some backgrounds may not match), and added a dog photo. Please enjoy this "simplified" version of a classic Julia Child recipe.


Amber says
This worked remarkably well - best bread I've ever made. The instructions were really great and you should just follow all of them exactly. The one thing I would say is that I like to measure flour by weight and this was probably more like 500 gm rather than the 420 you would calculate with 120 gm for each cup of AP flour (which I now see was in other comments). Also, I didn't have a big enough bowl, so I just chopped a piece off at some point and made a roll out of it. If you go by the goal each time and use your senses, you'll still be fine. I used a spouted watering can to add water to a pan that was under the pizza stone and slightly to the side so I could pour water in - that worked great. I also used a fresh knife blade for my box cutter to cut the top. Finally, it took longer in the oven than I thought to get to 205, so I just loosely put a piece of foil on top to keep it from burning, that worked great. Many thanks for this fantastic recipe. Although I tend to do more cooking than baking, this will now be a staple and is really impressive.
wefishallday says
Your loaf is beautiful. I have this exact formula in my old Julia Child cookbooks. Your shorter version is certainly easier to follow, and I like the round loaf vs the longer french style loaf idea.
My question is this: Have you ever tried to calculate Bakers Percentages on this Julia Child recipe. When I do, I get an 84.3% hydration rate, which is very high. (using 120g flour/cup and 236g water/cup.) I can only assume that because her recipe calls for flour 3.5C "or more as needed", that it almost always requires the addition of extra flour beyond the 3.5 Cups. I see many other "Julia Child recipes" that say it's about a 73% hydration rate. Am I using the wrong g/C on either the flour or the water? Your thoughts? Thanks for the shortened version.
Dan Mikesell AKA DrDan says
Welcome to the blog.
The hydration of flour varies a bit. See https://www.cupcakeproject.com/how-much-does-a-cup-of-flour-weigh/ . After a lot of testing, she recommends 128gm average for the flour. King Arthur came in at 138. King Authur alone makes the ratio 74.5 . Also, all cups are not equal.
So unless all us Americans can start weight ingredients (like most of the world) variations in ingredients and measuring instruments will introduce some variability. But it is not rocket science (or medicine) so that is OK.
We are adding some extra flour during the initial mixing and with the kneading. I would prefer to go light to begin with since I find it easier to add some more flour instead of liquid.
I'm so glad you found and enjoyed this recipe. It is still one of my favorite recipes on the blog but by it's nature, it not very popular on the site, just not what people search for...
Dan
Anita, the returning Baker says
Hi Dan. I hadn't baked bread in decades but with time on my hands now I wanted to give it a try. I followed the recipe and instructions to the T and voila! A beautiful loaf of French bread. It sure was time consuming but well worth the effort. Golden, crusty and delicious. I will definitely make it again. Many thanks. Anita
Alida says
Can the dough be formed into French baguettes? How would baking time be altered? Any suggestions for forming the baguettes?
Thank you
Dan Mikesell AKA DrDan says
Hi Alida,
Welcome to the blog.
Yes, you can form into baguettes if you want. Cook similar to https://www.101cookingfortwo.com/multigrain-french-bread/ And since you are changing it up a bit, cook to an internal temperature of about 200 degrees.
Dan
Ritz says
Terrific recipe, thanks very much. Very helpful to have all the extra details so even novice bakers like me can follow. I followed DrDan’s recipe to the letter. Patience was required for the second and third rise, but well worth it. Delicious!
Bob says
Make a batch of cultured butter at home to slather on this crusty bread and you'll think you're in heaven. :-)
Dan Mikesell AKA DrDan says
Hi Bob,
Thanks for the note and sorry for the slow reply.
I do love this bread. You reminded me of this recipe and I gave it a small update yesterday.
Glad you enjoyed the bread. And thanks again for the note and rating.
Dan
Barbarainnc says
Nothing better than hot bread and butter. Oh my. 😊❤😊
DrDan says
One of my all-time favorites. I admit to bread addiction.
Thanks for the note.
Dan
TJ says
Nothing beats a homemade bread the aroma and the taste of that first bite into homemade bread mmmmmmmm it's like floating on a cloud
DrDan says
Hi TJ
I do love this recipe, I need to redo the pictures and writing though.
Thanks for the note.
Dan
Joan says
What, why are you making bread? The French buy their bread at a local bakery, whether they live in Paris or in a country village.
If you live in a town with a bakery, buy your bread there. There are perfectly good US bakeries making bread daily, from Kosher bakeries with great rye and challah, to Italian groceries with Italian bread and rolls, to Middle Eastern and Greek pita bread, to yes, French bakeries making batards.
Enjoy the variety, that is available. Bakeries have the ovens and equipment to make bread. Let the professionals do it.
Alan says
Classic French Bread recipe, non classic shape, The third rise and the triple the triple the size really let the gluten develop. Thanks for the shortened version. As to Joan who can't be bothered to bake bread because there are "professionals" that do it. Well, OK, but my three boys were raised on my home baked bread. I believe it would be a crime against nature to rob anyone the pleasure of the smell and taste of fresh baked bread at home.
DrDan says
Hi Alan,
Thanks for the note. I didn't respond to Joan's comment... I didn't know what to say. It is fun to bake bread occasionally.
You are so correct about the triple in size and the third rise. The gluten formation is great.
This is a very old post and I apologize for the pictures.
Dan
D says
But it's fun!
Beverly says
Jone Jone Jone, I really can't believe you saying something like that on a cooking website. I have to LOL at you. I treasure his knowledge and his time for doing what he does. I would say he enjoys himself making bread among other things. The Kicker is he SHARES all the best with the ones that are lucky enough to find 101
Peace Love and Happiness Always
Char says
Can you use a bread machaine
DrDan says
Hi Char,
I'm don't believe this can be adapted to a bread machine.
Dan
DrDan says
I haven't done this recipe for a few years. But it was "recipe of the year" for 2010. I can see a nice loaf in my future.
Thanks for the note.
Dan
diane dunsmore says
Absolutely perfect on the first try. Thank you vzry, very much.
Mike Normand says
I tried your Julia Child's French bread simplified recipe and !!!WOW!!! it was fantastic. Easy to make, but follow the directions carefully for best results. The round loaf lasted less than 24 hours. Making 2 more today. Thanks for your great effort to simplify this wonderful recipe. I will be making this for years to come.
DrDan says
Thanks for the note. This is one of my all time favorite posts since I worked so hard on it and it came out so good.
DrDan
Dr Dan says
My wife has requested a french onion soup recipe. That will give me a reason to make this again. I do love this bread... It's not that hard but it takes some time.
mountaineer says
Just received Julia's first cookbook for Christmas and was disappointed that there weren't any recipes for bread. Luckily, a quick search came up with this very easy recipe that created a delicious dinner alongside french onion soup! Thanks for the pictures.
Christine says
Can I just put in a little plug for this recipe? Dad (aka- DrDan) brought this to my house a while ago and it was amazing. Perfect crust with crunch but not so thick that I couldn't eat the bread. It was moist and flavorful. The only complaint I have is that the round is kinda big to cut with my bread knife!