
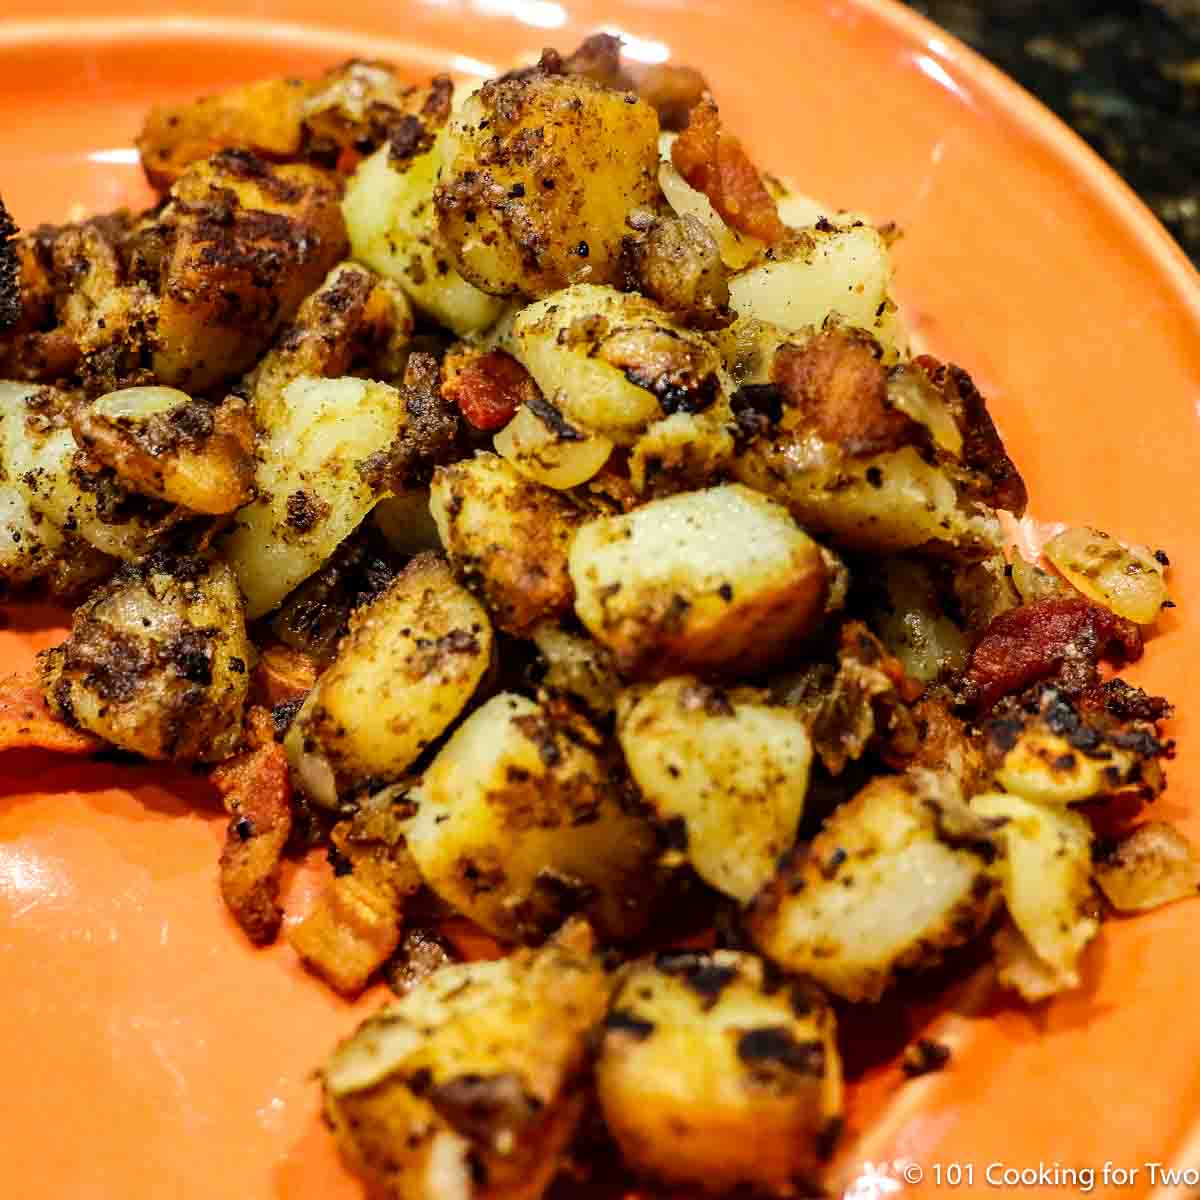
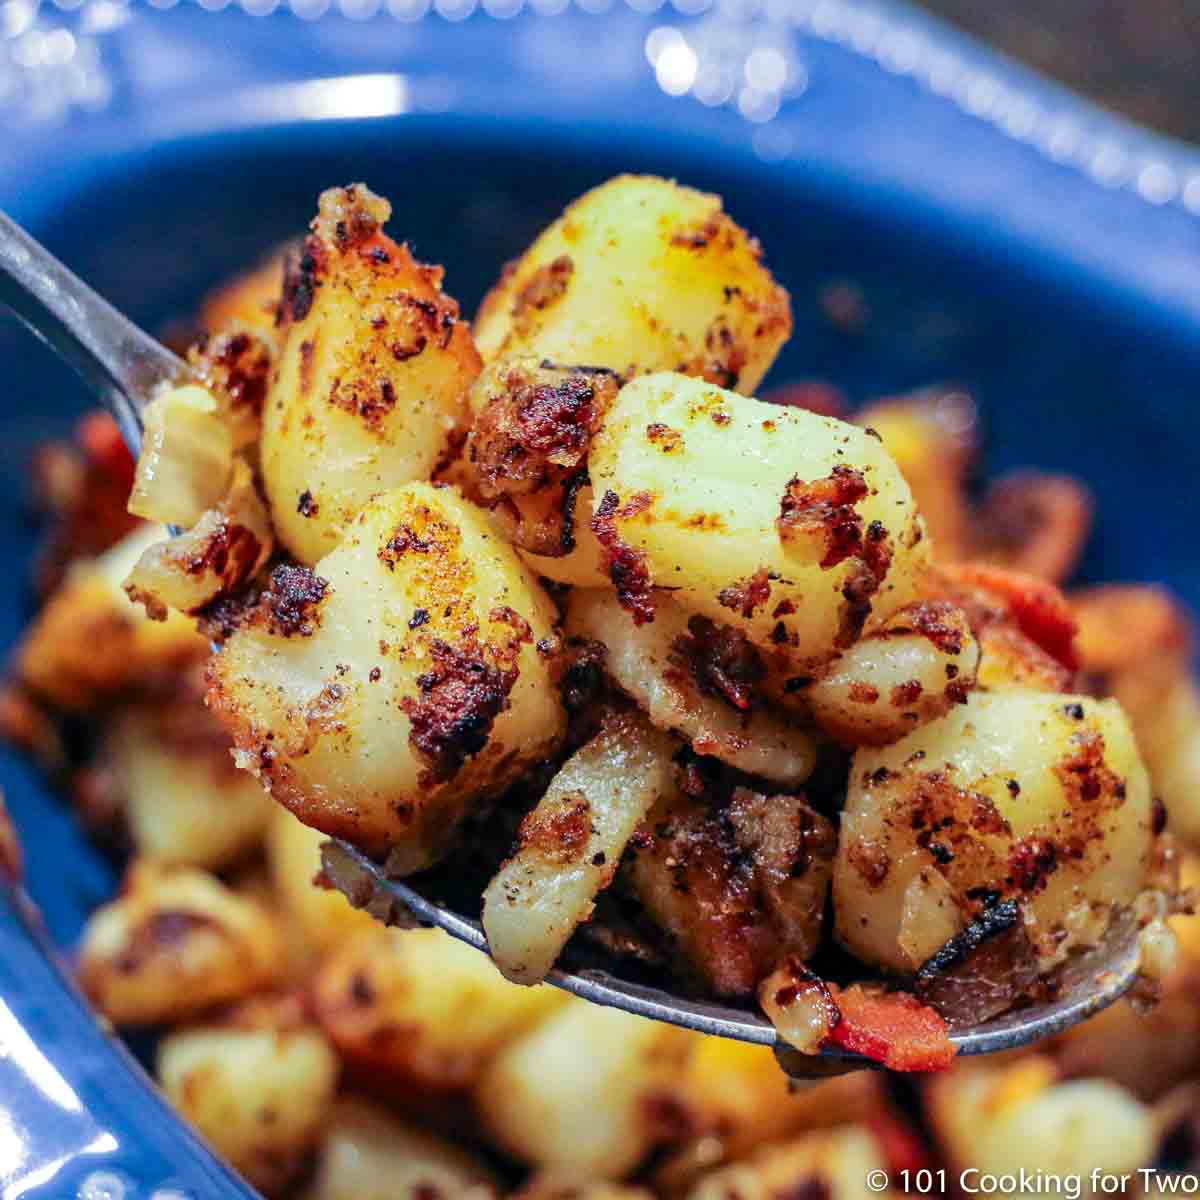
These Crispy Home Fries (AKA American fries) are easy to make with pantry ingredients. A 30-minute recipe is quick and easy to make at home. A diner classic that's perfect as a substitute for French fries or an addition to a big breakfast.
🥔Ingredients
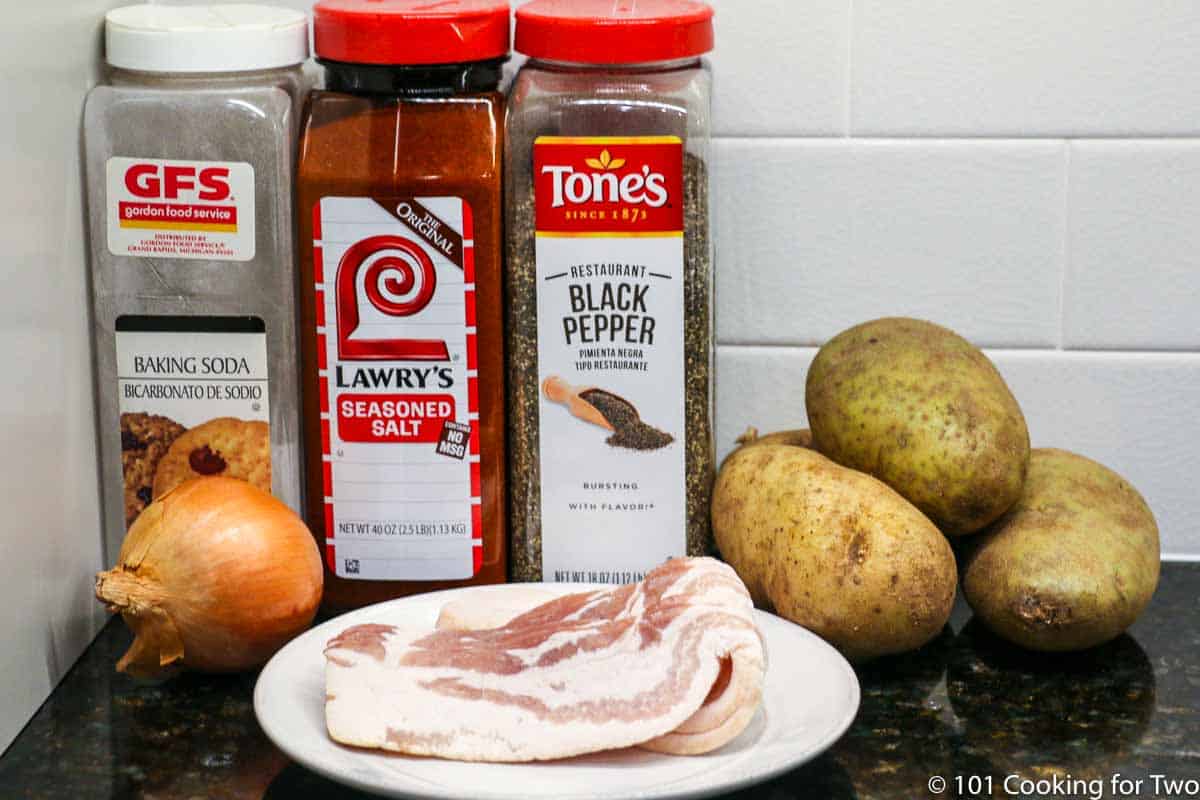
Potatoes—Russet, red, or Yukon Gold Potatoes
Onion
Bacon
Bacon fat or vegetable oil
Pantry ingredients—baking soda, salt, and black pepper
Jump To (scroll for more)

We all love crispy potatoes with a crunchy outside and that incredible creamy inside. Add some bacon with other flavors, and these classic, easy, and quick American fries (AKA Home fries) will be a favorite.
First, let's discuss the name. You could call them Home Fries, American Fries, or even Hash Browns (incorrectly.) I will use both American and Home fries since I see both used frequently.
👨🍳How to Make Crispy Home Fries (American Fries)—Step-by-Step
1. Start boiling the water in a large saucepan with ½ teaspoon baking soda.
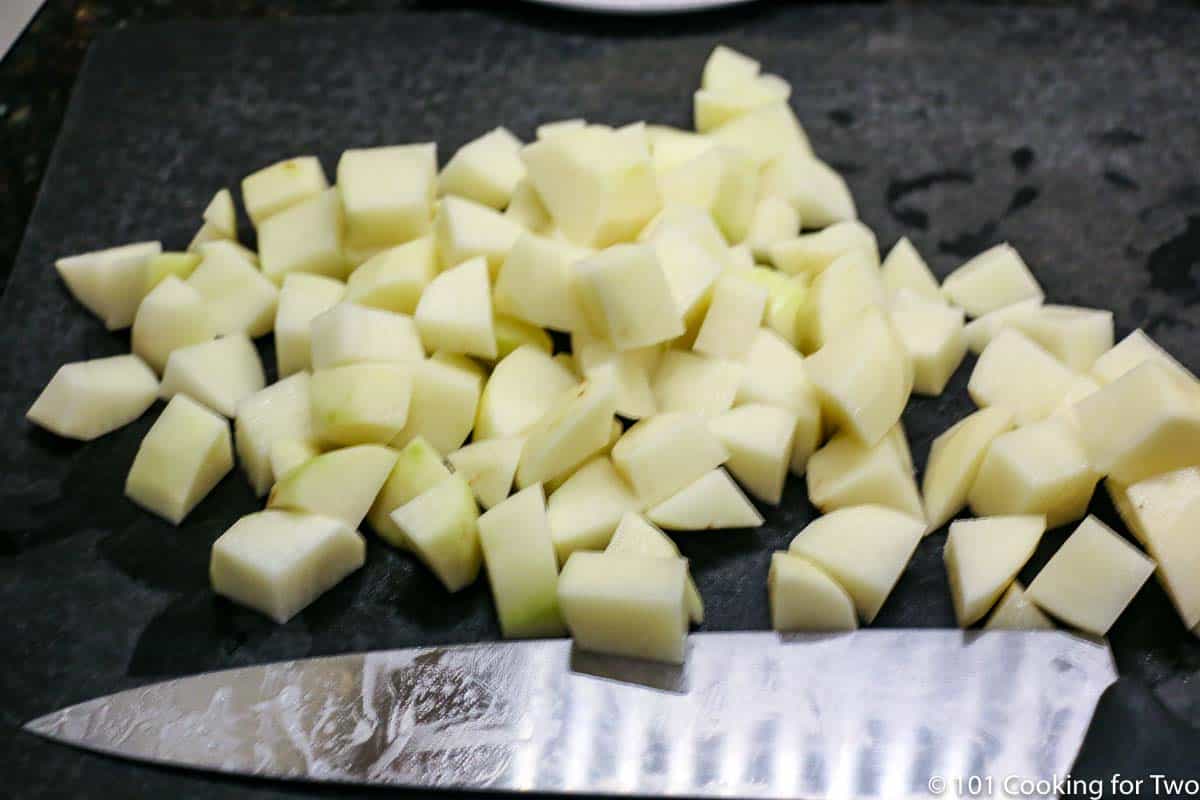
2. Prep about one pound of potatoes. That is about 4 medium potatoes. Peeling is optional, but please peel if using Russet potatoes. Chop into ½ to ¾ inch pieces. Add to boiling water and cook for 10 minutes.
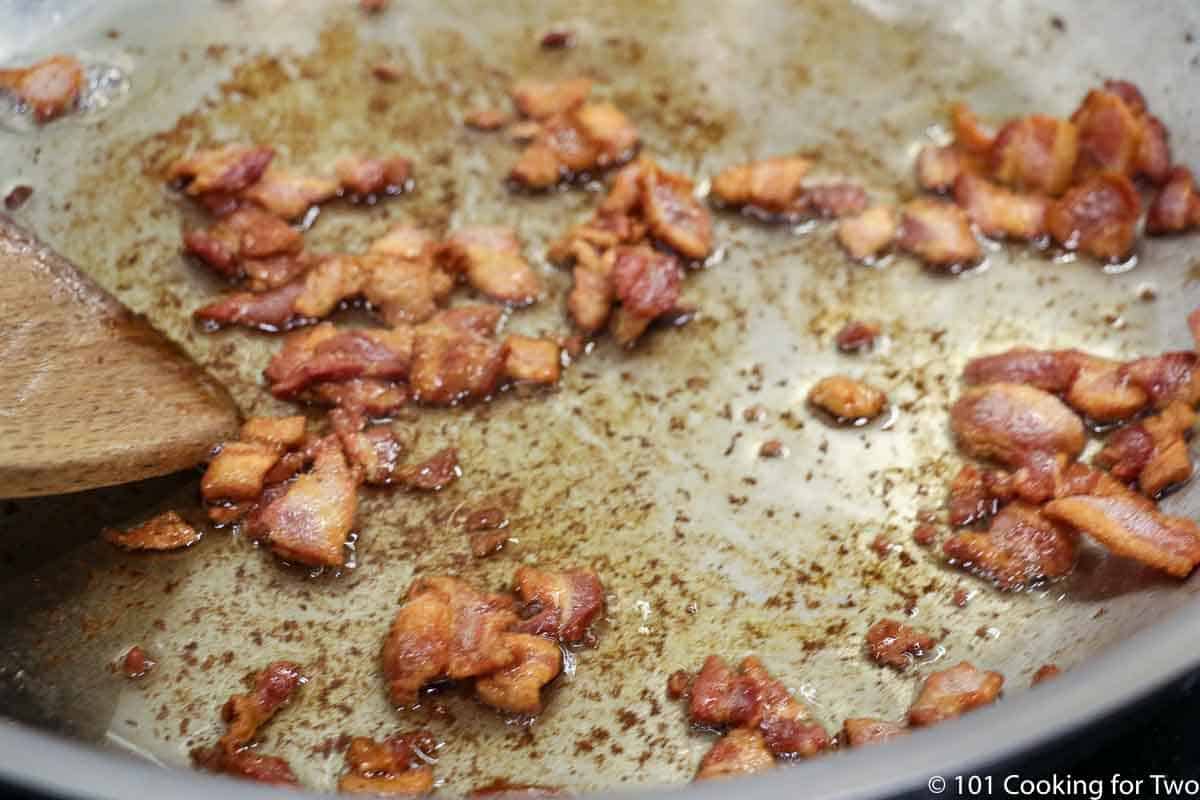
3. While potatoes are cooking, chop 4 strips of bacon ¾ inch pieces and cook in a 12-inch skillet over medium-high heat until crispy. Remove from heat, remove bacon, and leave 2-3 tablespoons of bacon fat in the pan. If not using bacon, heat 2-3 tablespoons of vegetable oil or butter in a large frying pan.
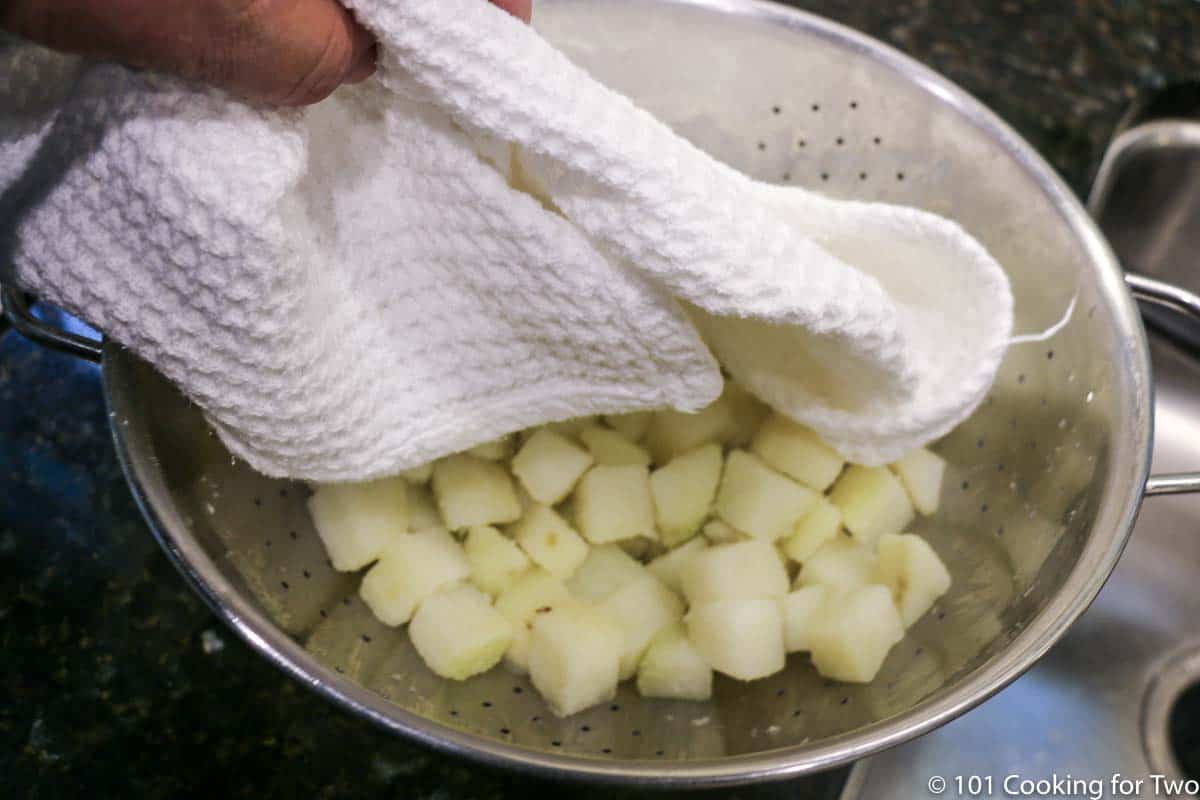
4. Drain potatoes in a colander. Using a clean dish towel, dry the potato, and as you do that, slightly rough up the surface of the potatoes.
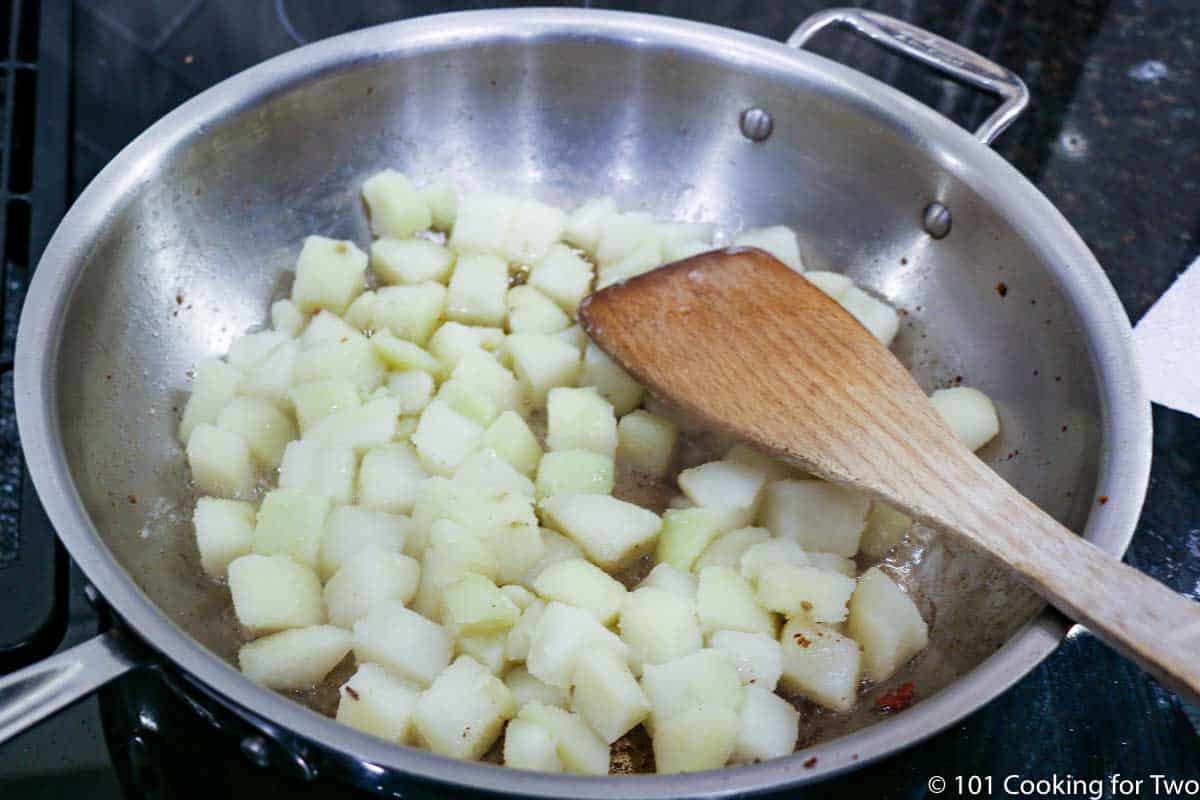
5. The oil needs to be hot but under the boiling point. A few drops of water can tell you when it is safe to proceed. Add the potatoes to the skillet in one layer and place over medium-high heat. Do not disturb for about 5 minutes until the bottom surface of the potatoes is nicely browned.
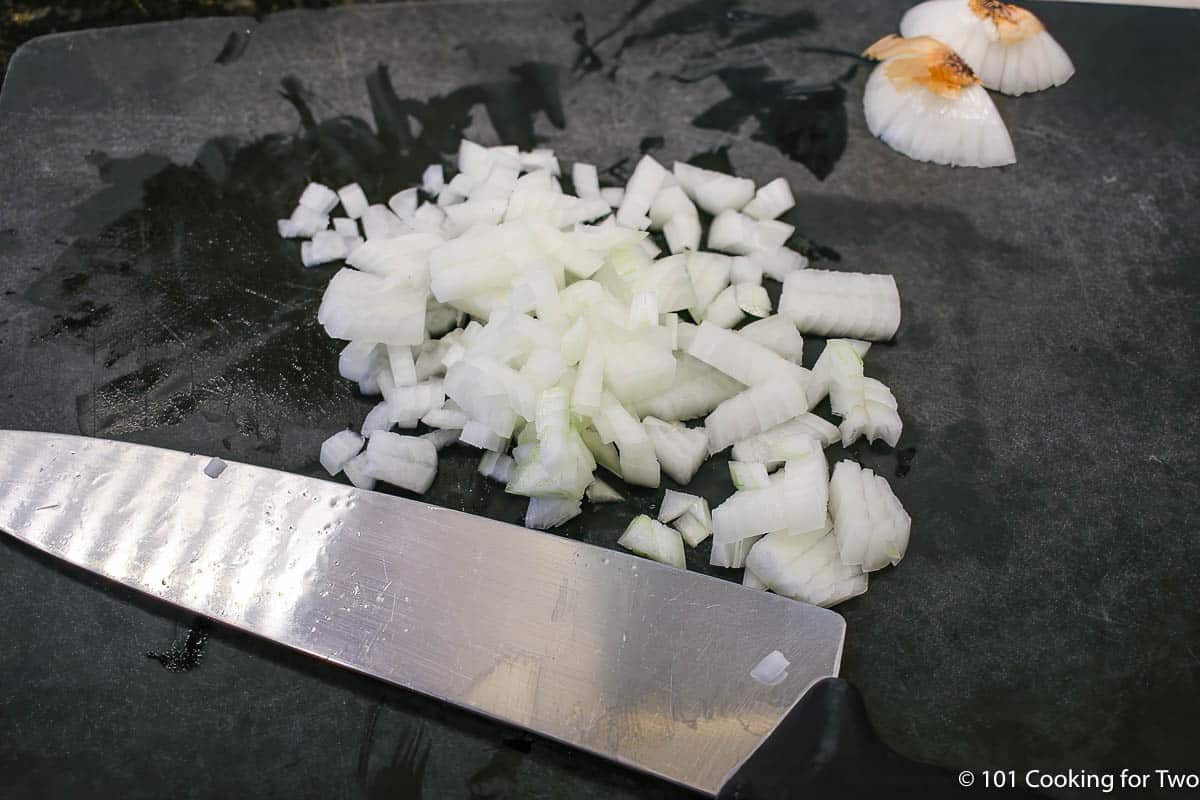
6. While the potatoes are cooking, chop one small onion. Season the potatoes with 1 teaspoon of seasoning salt and ½ teaspoon of black pepper. Now, turn the potatoes, add the onion, and mix.
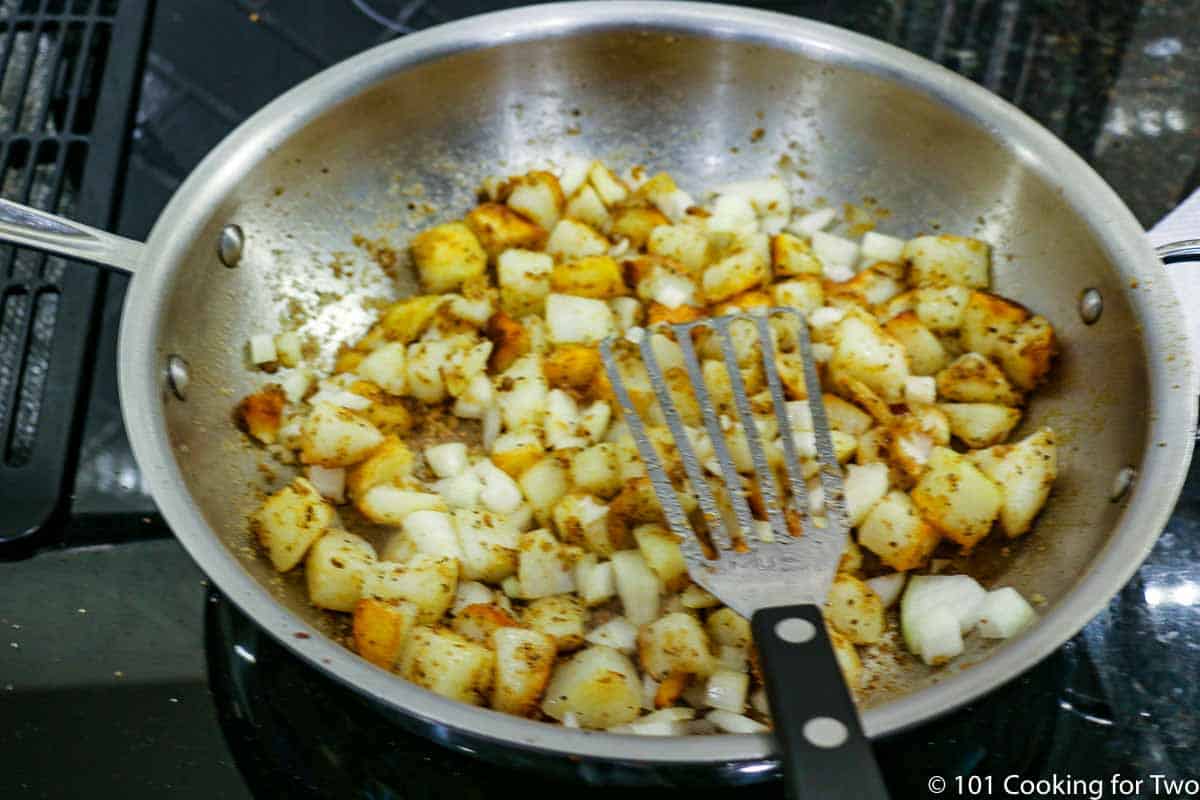
7. Flip potatoes every 2-3 minutes until nicely brown to your taste and tender—about 10 minutes in the skillet. Near the end, add the bacon back into the mix. The potato temperature should be at least 190° to be tender, but 200°+ is better.
For more details, keep reading. See the Recipe Card below for complete instructions and to print.
Tips to get it right every time
- The old saying "a potato is a potato is a potato" holds mostly true here. Use the potatoes you have. Russet potatoes should be peeled, but thinner-skinned potatoes like Yukon Gold or Red potatoes may keep their peel if you want.
- When cutting the potatoes, keep the size reasonably uniform in the ½ to ¾ inch.
- The baking soda in the water helps break down the surface of the potato chunks and will increase the browning. There is no need to rinse or soak the potatoes before boiling.
- Cook the bacon while the potatoes boil. You don't have to use bacon and can use 2 to 3 tablespoons of vegetable oil or butter to cook the potatoes instead of the bacon fat.
- Pat dry the potatoes before adding them to the hot oil. When adding the potatoes, the oil or fat should be hot but not over the boiling point, or it will splatter and could burn you. Drop in a few drops of water as a test before adding the potato.
- The exact time in the skillet has many variables. Cook until they look done and are tender. The internal temperature should be at least 190°, but 200°+ is better.
Variations and options
Use sweet potatoes if you wish. They will cook about the same and the same endpoint (do not cook by time.)
Add some other flavor with cilantro, garlic, chives, or fresh thyme. Add more veggies with a chopped green bell pepper when the potatoes go in the pan (use about half a pepper.) Or change the heat level with some cayenne pepper or hot sauce.
Make them chessy by adding some shredded cheddar cheese at the end of cooking with the bacon. Other cheeses may also be used.
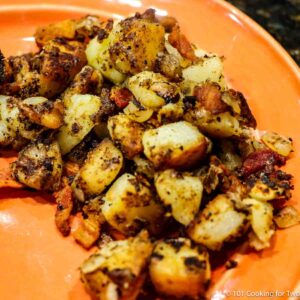
How to serve
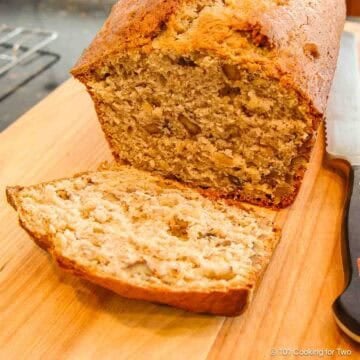
These American fries go well with Bacon in the Convection Oven, breakfast sausage in the oven, Small Cinnamon Coffee Cake, and Oven Baked Blueberry Pancakes.
Save this recipe!
Can I make Home fries and store them ahead of time?
Yes, but they are much better cooked fresh. So, if possible, prep the ingredients ahead, including boiling the potatoes and cooking the bacon. Seal tightly in airtight containers and refrigerate for 2-3 days.
Storage and reheating leftovers
If you have leftovers, let them cool completely, then seal them in an airtight container for 4 days of refrigeration or 3 months in the freezer.
To reheat, first thaw overnight in the refrigerator if frozen. Then reheat on the stovetop with a bit of oil in a skillet. You can also use an air fryer or convection oven. A microwave will heat them, but they will be less crispy.
❓FAQs
French Fries a long strips of potatoes, usually deep-fried.
American Fries and Home Fries are the same thing. They are cubes of potatoes, usually pan-fried with onion and sometimes green bell pepper.
Hash browns are shredded potatoes with moisture squeezed out to increase crispiness. They usually use more oil than American fries.
This recipe is listed in these categories. See them for more similar recipes.
Have you tried this recipe, or have a question? Join the community discussion in the comments.
Flip potatoes every 2-3 minutes until nicely brown to your taste and tender—about 10 minutes in the skillet. Near the end, add the bacon back into the mix. The potato temperature should be at least 190° to be tender, but 200°+ is better.
📖The Recipe Card
Crispy Home Fries (American Fries)—Quick and Easy
Ingredients
- 1 pound potatoes - About 4 medium
- 1 onion - small
- 4 slices bacon
- ½ teaspoon baking soda
- 1 teaspoon seasoning salt
- ½ teaspoon pepper
- 2 tablespoons bacon fat - or vegetable oil or butter
Step-by-Step Instructions
- Start boiling the water in a large saucepan with ½ teaspoon baking soda.

- Prep about one pound of potatoes. That is about 4 medium potatoes. Peeling is optional, but please peel if using Russet potatoes. Chop into ½ to ¾ inch pieces. Add to boiling water and cook for 10 minutes.
- While potatoes are cooking, chop 4 strips of bacon ¾ inch pieces and cook in a 12-inch skillet over medium-high heat until crispy. Remove from heat, remove bacon, and leave 2-3 tablespoons of bacon fat in the pan. If not using bacon, heat 2-3 tablespoons of vegetable oil or butter in a large frying pan.
- Drain potatoes in a colander. Using a clean dish towel, dry the potato, and as you do that, slightly rough up the surface of the potatoes.
- The oil needs to be hot but under the boiling point. A few drops of water can tell you when it is safe to proceed. Add the potatoes to the skillet in one layer and place over medium-high heat. Do not disturb for about 5 minutes until the bottom surface of the potatoes is nicely browned.
- While the potatoes are cooking, chop one small onion. Season the potatoes with 1 teaspoon of seasoning salt and ½ teaspoon of black pepper. Now, turn the potatoes, add the onion, and mix.
- Flip potatoes every 2-3 minutes until nicely brown to your taste and tender—about 10 minutes in the skillet. Near the end, add the bacon back into the mix. The potato temperature should be at least 190° to be tender, but 200°+ is better.


Recipe Notes
Pro Tips
- An easy recipe to scale to your needs.
- Use the potatoes you like but if you use Russet potatoes, please peal since the skin is thick.
- Season to your taste.
- The baking soda in the water helps break down the surface of the potatoes and increase the browning. Option if you wish.
- Use a large frying pan so you only have one layer of potatoes.
- These will store nicely refrigerated for 3-4 days. And should also freeze well for 3 months.
- Done potatoes have an internal temperature of 200°-210° and that is your goal, along with a crispy surface. But 190° will do if the surface is done.
- Covering the pan near the end will help with the internal temperature if you are having problems with getting the temperature high enough in the potatoes.
Your Own Private Notes
To adjust the recipe size:
You can adjust the number of servings above; however, only the amount in the ingredient list is adjusted, not the instructions.
Nutrition Estimate (may vary)
Loosely based on a Cooks Illustrated Home Fries (subscription required), but I added a bacon option and changed to the more classic stovetop method.
Editor's Note: Originally Published October 16, 2016. Updated with expanded options, refreshed photos, and a table of contents to help navigation.

Bob Pulley says
Cooks Illustrated states 2 1/2 quarts (10 cups) water for their recipe. Do you use the same proportion of water and baking soda here? I only see the baking soda measurement. Thanx
bp
DrDan says
Hi Bob,
The baking soda exact amount doesn’t matter much (as long as it is small). It will change the pH a little and breaks down the cell walls. Actually, I used about two qts of water. Just fill a good size saucepan with water and add a small amount of the baking soda.
CI is not the first to use this trick and most will say “a pinch” or “a little”. The CI recipe is the first place I saw an actual amount.
Dan
Chris says
What is the purpose of adding baking soda to the water while boiling? That's a new technique to me and you have my curiosity up.
DrDan says
It is one of those Cooks Illustrated things. It helps break down the protein and starches so the surface is rougher and will crisp better. I thought it was interesting and wanted to try it.
I believe it was successful and they crisped up better. It was a rough crisp and not that shiny smooth surface.