
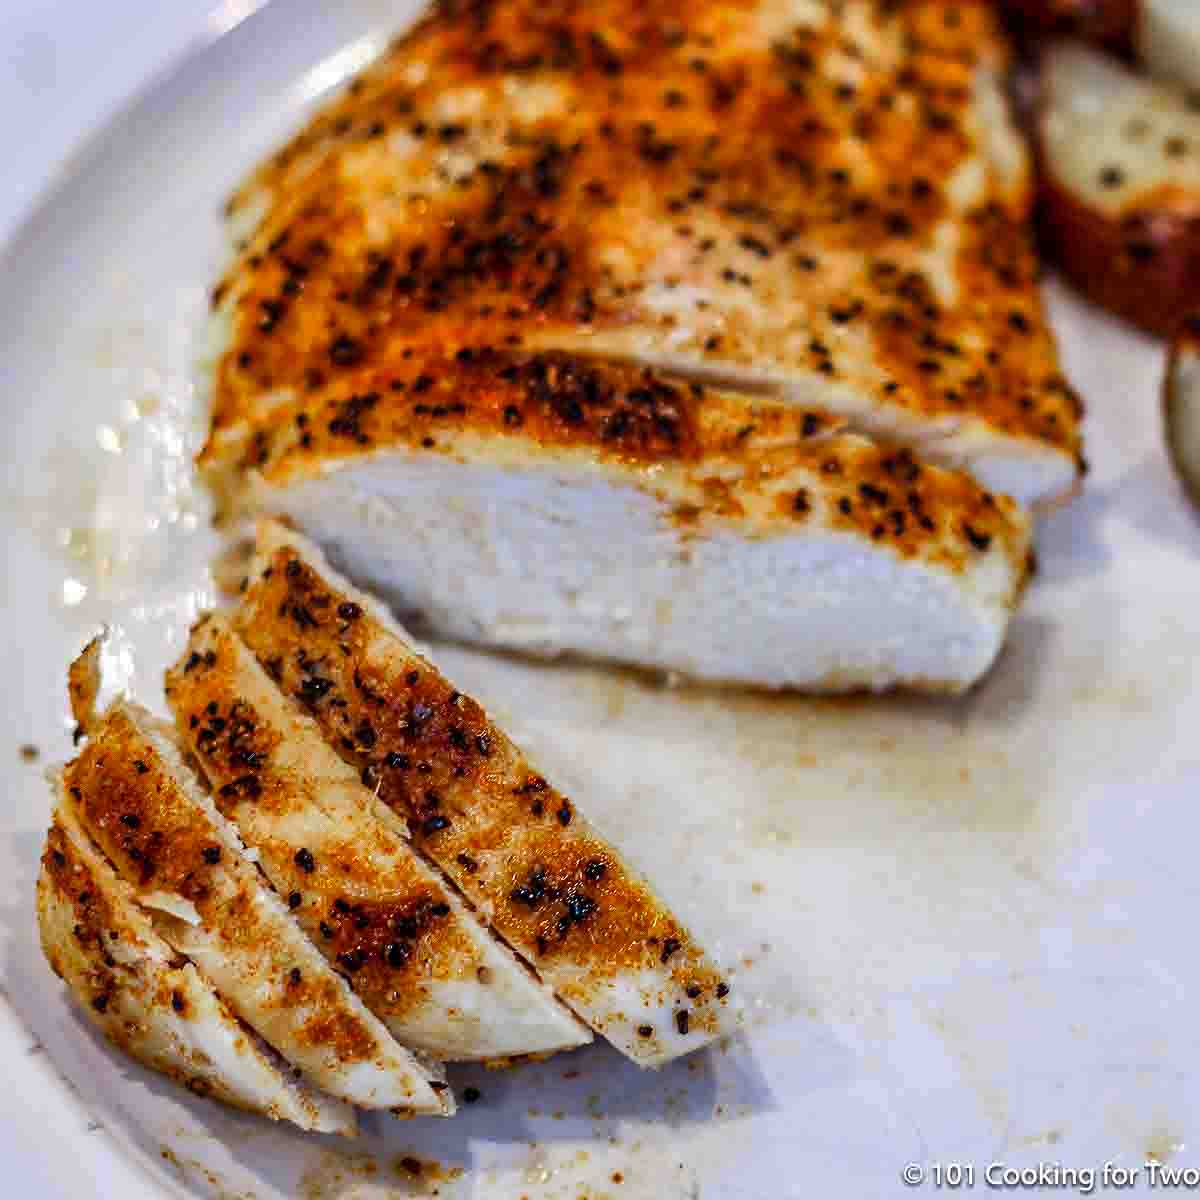
The best way to bake chicken breasts is with your convection oven, but you can bake them in any type of oven. Your dinner will be ready in about 30 minutes and will be healthy, moist, and tender every time. Quick and easy with just a few easy secrets any home cook can master.
⏱️ Quick Answer: How Long to Bake Chicken Breasts
Bake boneless, skinless chicken breasts until they reach 165°F in the thickest part.
- 400°F convection: 23–26 minutes
- 425°F regular oven: 25–30 minutes
Jump To (scroll for more)
- ❤️ Why You’ll Love This Recipe
- 🐓 Ingredinents
- 👨🍳 Quick Overview: How to Bake Chicken Breasts
- ⏰ How Long to Bake Chicken Breasts
- 🧂 Seasoning Tips
- 💡 Tips for Juicy, Tender Chicken
- 🥩 How to Flatten Boneless Skinless Chicken Breasts
- 🍽️ How to Serve
- 🧊 Storage and Reheating
- 🍗 Boneless Skinless Chicken Breast Recipes
- ❓ FAQs
- ⚕️ Chicken Food Safety
- 📖The Recipe Card

Featured Comment by shirt:
⭐⭐⭐⭐⭐
"Hi Dan, I followed your recipe and cooked the best chicken breasts ever!"
❤️ Why You’ll Love This Recipe
- No dry chicken. Even thickness and a convection (or regular) oven cook it evenly to a perfect 165°.
- Simple prep. Just trim, season, and bake — optional brining if you wish.
- Healthy and quick. Lean protein, minimal fat, and dinner ready in about 25 minutes with juicy, tender results every time.
- Everybody needs great chicken recipes, and this is one.
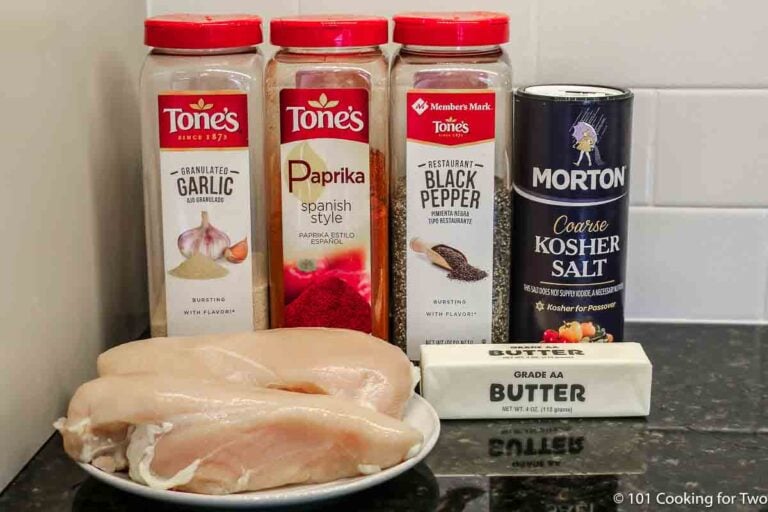
🐓 Ingredinents
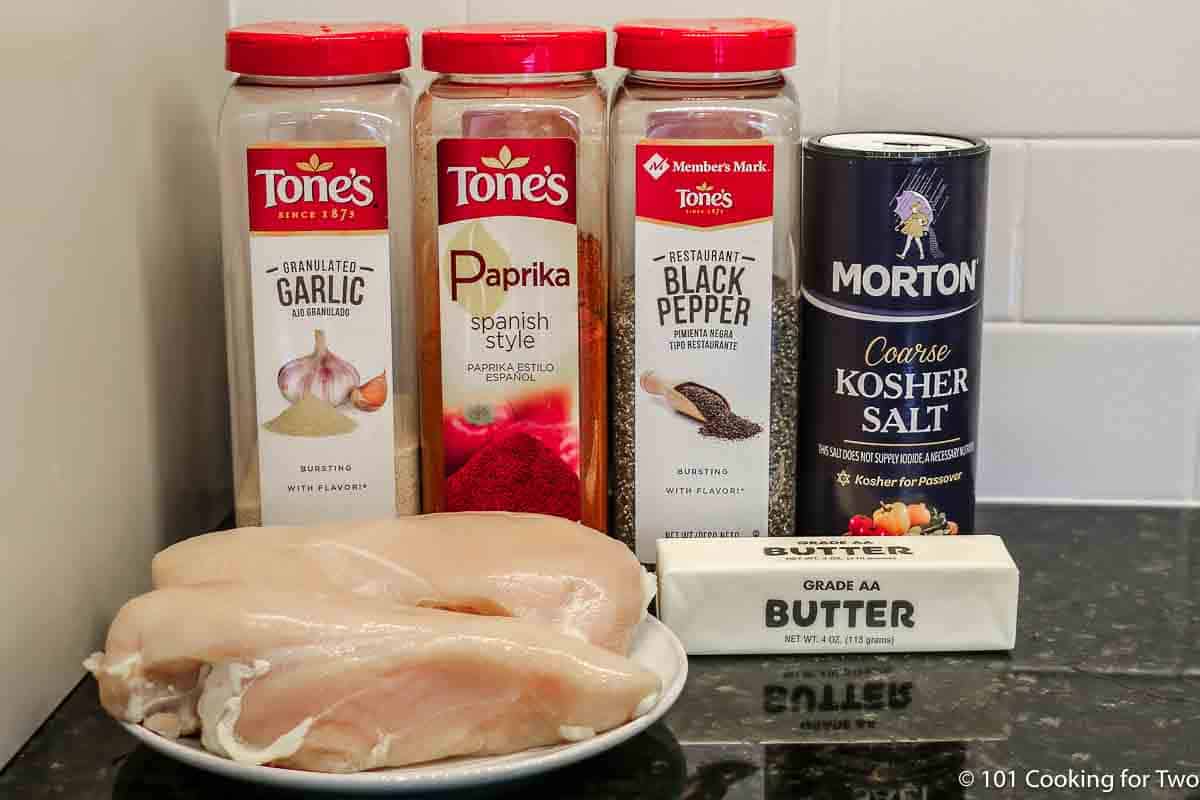
Simple ingredients—nothing fancy, just dependable results for juicy baked chicken breasts every time.
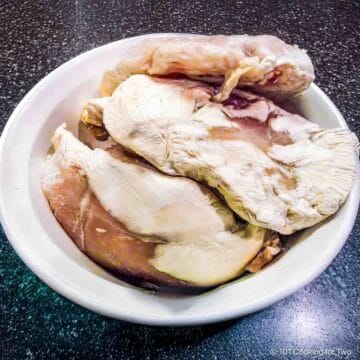
- Chicken – Boneless, skinless chicken breasts; try to use evenly sized pieces.
- Butter or olive oil – Helps with browning and moisture.
- Seasoning – Paprika, garlic powder, kosher salt, and black pepper (or your favorite mix).
- Optional brine – Water and salt for 15–30 minutes adds moisture, especially for previously frozen chicken.
👨🍳 Quick Overview: How to Bake Chicken Breasts
The three secrets of juicy baked chicken breast: even thickness, the right temperature, and a short rest.
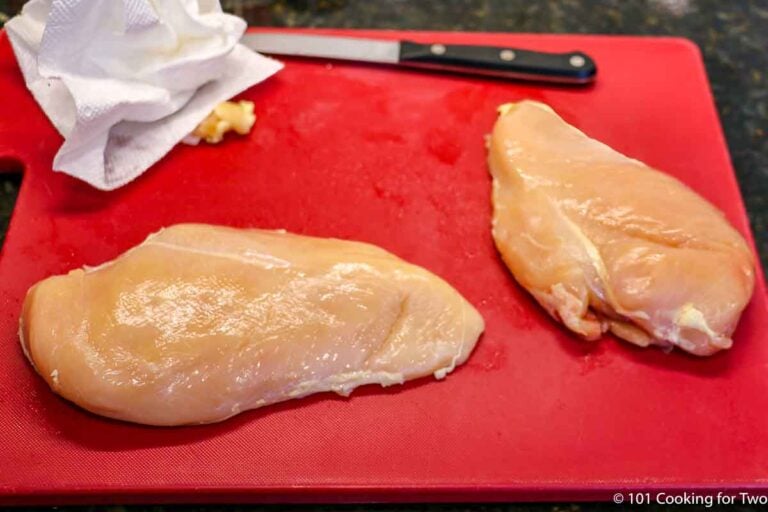
1. Trim boneless, skinless chicken breasts of any excess fat. If over ¾ inch thick, flatten slightly for even cooking. Brine if you wish.

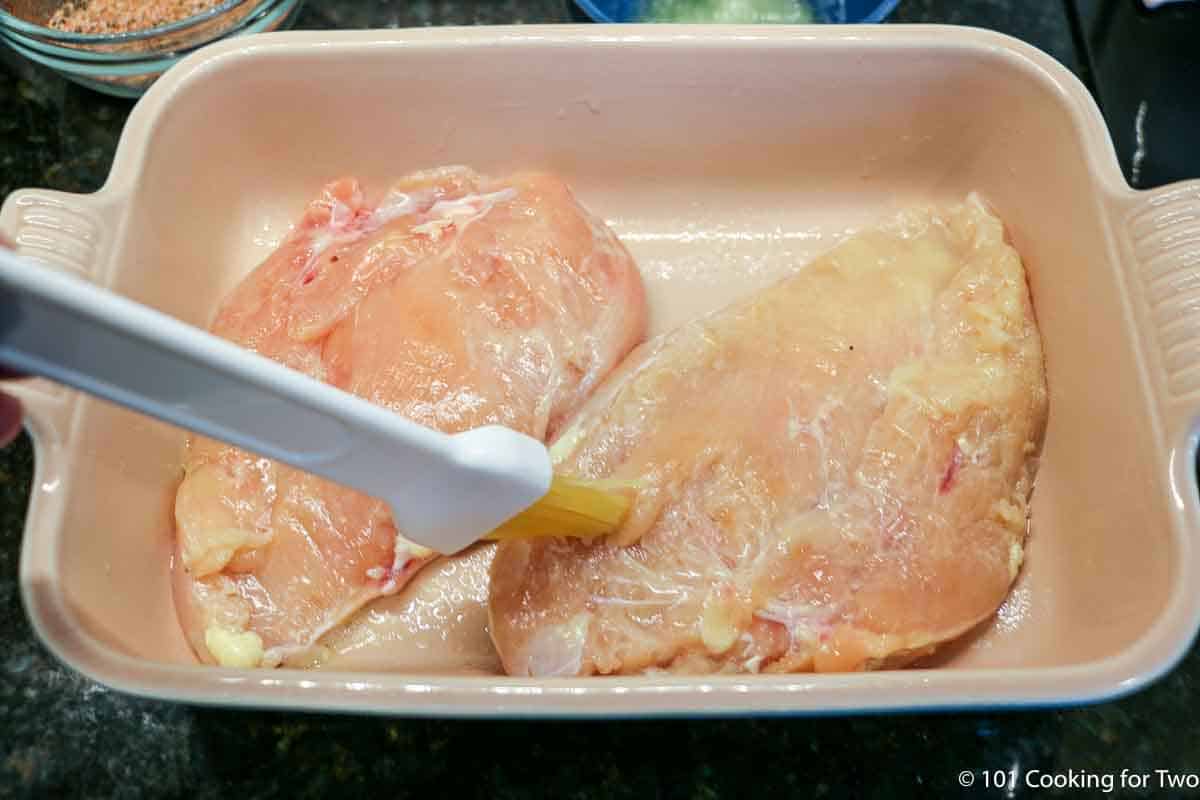
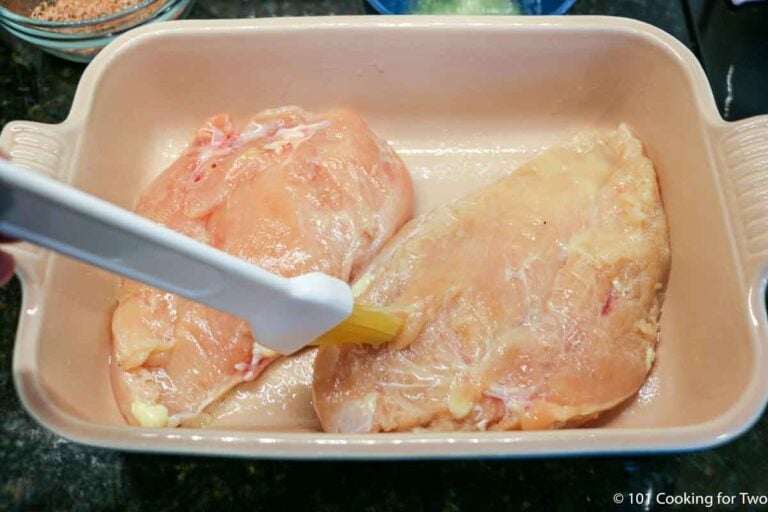
2. Pat dry, place in a prepared baking dish, brush with melted butter, and season to taste.
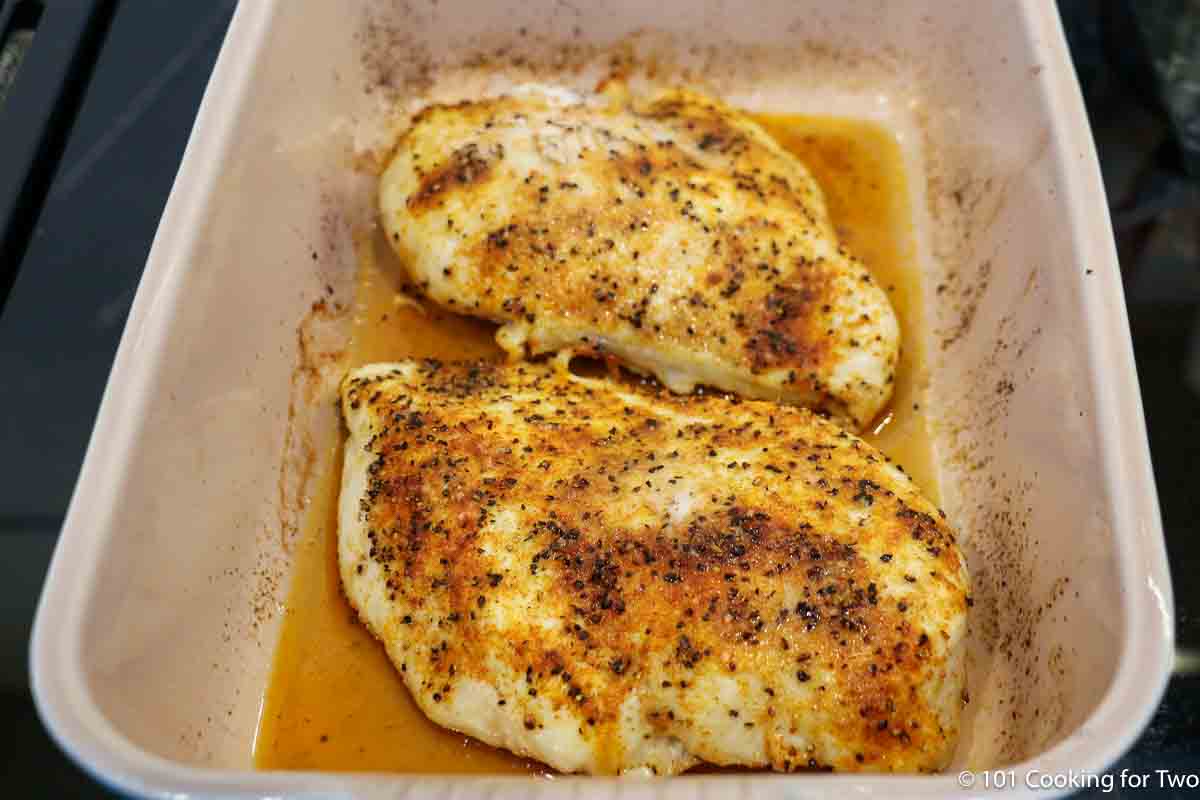
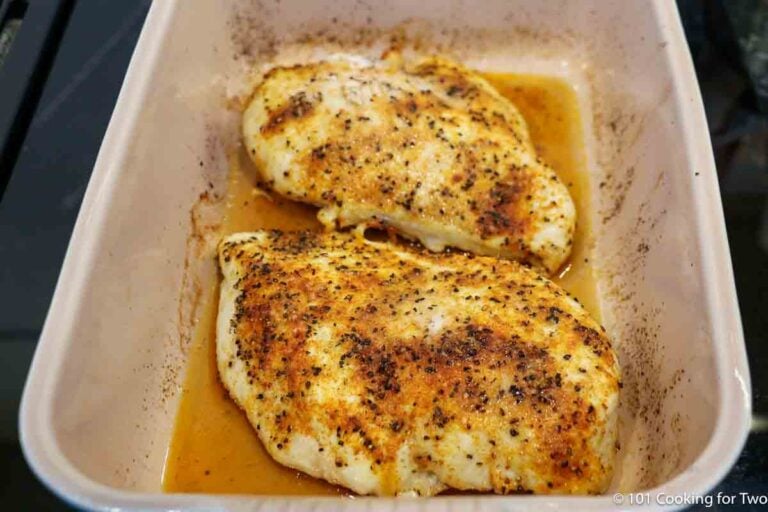
3. Bake in a preheated oven at 400°F convection or 425°F regular oven until the internal temperature reaches 165°F—about 23–26 minutes.
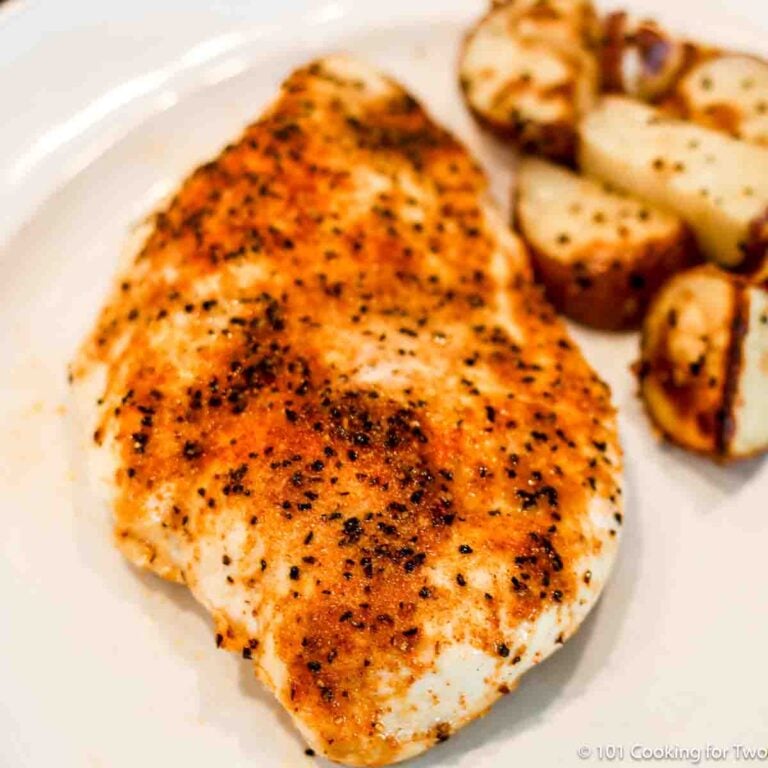
4. Rest for 5 minutes before serving for the juiciest results.
For more details, keep reading, or see the Recipe Card below for complete instructions and a printable version.
⏰ How Long to Bake Chicken Breasts
Baking time depends on the oven type and the size of the chicken breasts. A convection oven cooks faster and more evenly, while a regular oven takes just a few minutes longer. Other ovens, like toaster ovens or air fryers, also work.
Estimated baking times:
- 350°F convection (375°F regular) — about 30–35 minutes
- 375°F convection (400°F regular) — about 26–30 minutes
- 400°F convection (425°F regular) — about 23–26 minutes (suggested)
- 425°F convection — about 20–23 minutes
Times are only guides—thickness, oven variation, and starting temperature all matter. Use an instant-read thermometer for accuracy and pull the chicken as soon as it reaches 165°F in the thickest part for juicy, tender results.
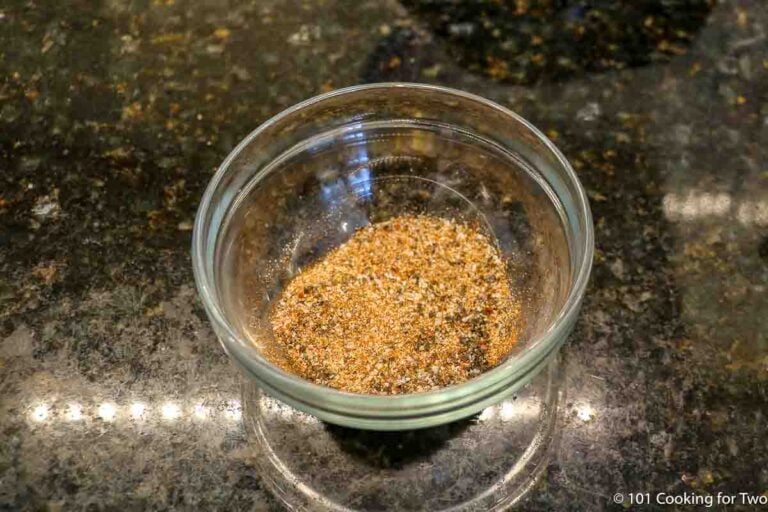
🧂 Seasoning Tips
Start with a light brush of melted butter or olive oil to help browning and hold the seasoning. Keep it simple with paprika, garlic powder, kosher salt, and black pepper, or use your favorite spice mix.
Skip the salt if you brined the chicken. For extra flavor, try Italian seasoning, BBQ rub, Black Magic Seasoning, or my Chipotle Seasoning Recipe. Fresh herbs like thyme, oregano, or rosemary also work well.
Want a little heat? Swap the paprika for chili powder or add a pinch of cayenne pepper.
Save this recipe!
💡 Tips for Juicy, Tender Chicken
- Choose similar-sized breasts so they cook evenly.
- Flatten thicker pieces to about ¾ inch for consistent results.
- Use an instant-read thermometer and remove the chicken at 165°F in the thickest part.
- Let it rest for 5 minutes before cutting so juices stay in the meat.
- Previously frozen chicken may be a little drier — brining helps restore moisture.
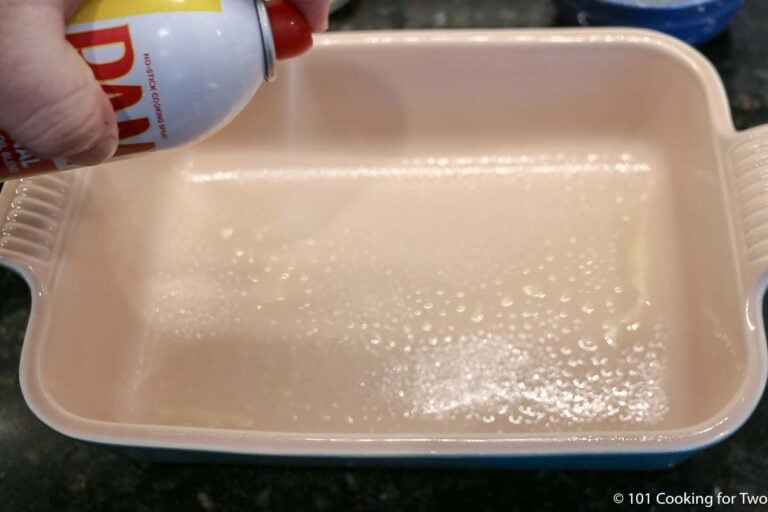
- Use a rack or a prepared pan. A rack allows better airflow, but a light spray of PAM or foil lining makes cleanup easy either way.
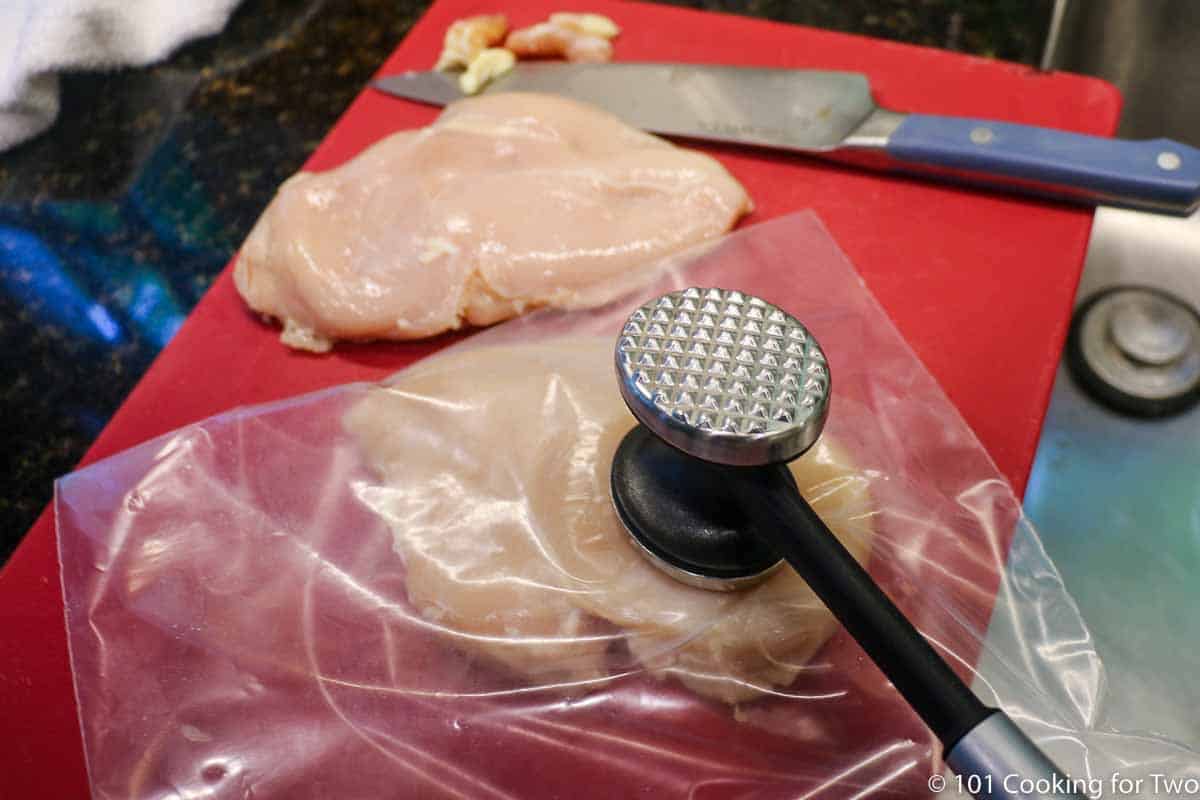
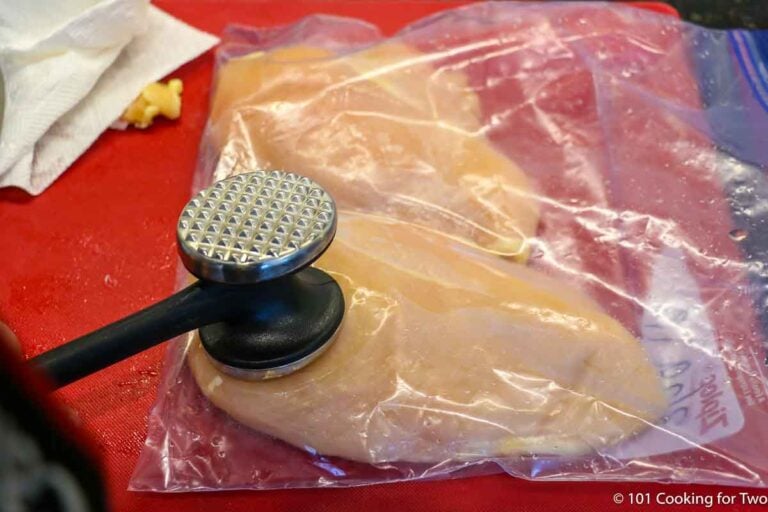
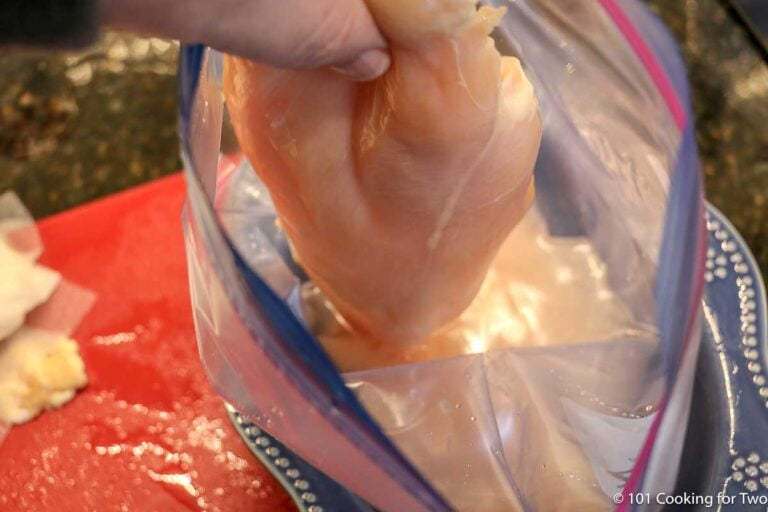
🥩 How to Flatten Boneless Skinless Chicken Breasts
Flattening helps the chicken cook evenly and stay juicy. Place each boneless, skinless chicken breast inside a plastic bag or between sheets of plastic wrap, then gently pound the thickest part with a meat mallet or the bottom of a heavy pan until about ¾ inch thick.
Always protect your work area from raw chicken splatter—assume it’s contaminated and clean carefully afterward.
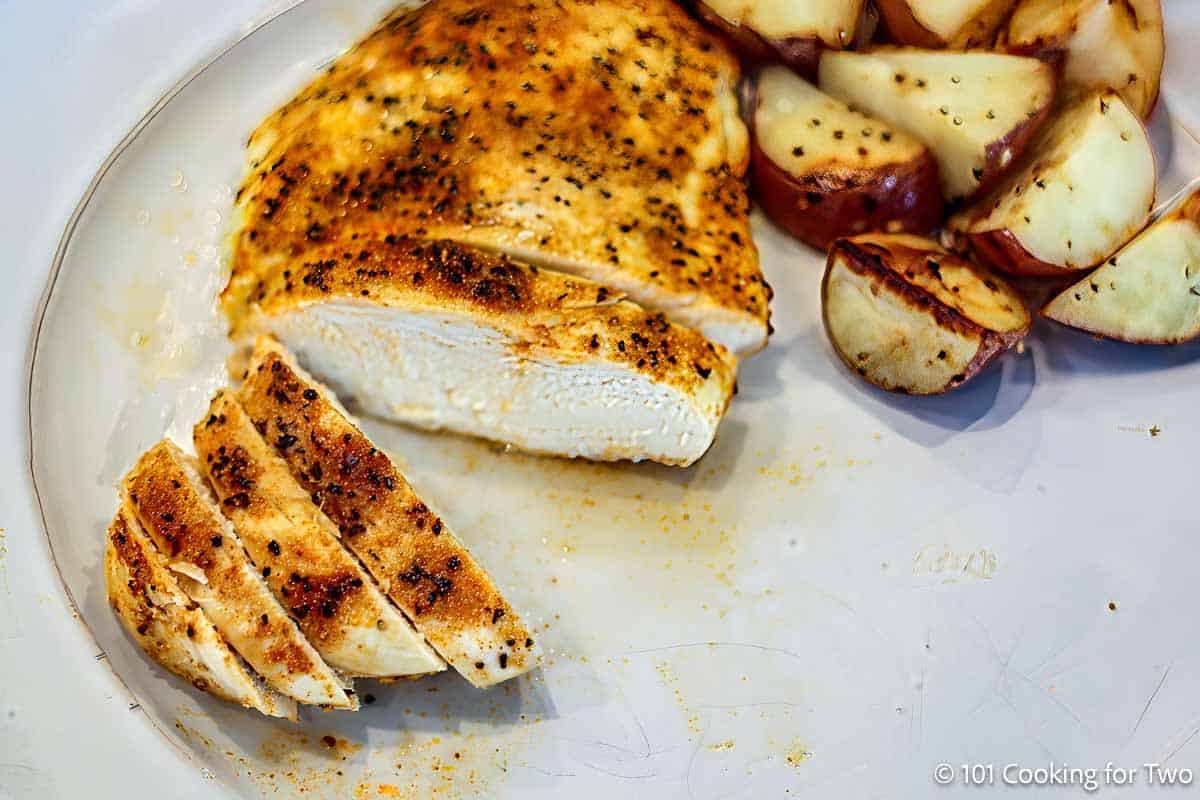
🍽️ How to Serve
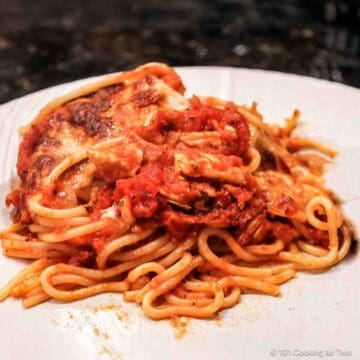
Serve with simple sides like roasted potatoes, rice, or a fresh salad. Add a green vegetable, such as roasted asparagus or green beans, for color and balance.
Add some of my Easy Dinner Rolls and finish with an Apple Crumb Pie or Berry Crisp to round out the meal.
This baked chicken also works for meal prep—slice it for sandwiches, wraps, or salads through the week. Or shred and freeze it for later use, like crock pot chicken chili or a broccoli chicken casserole.
🧊 Storage and Reheating
Store leftovers in an airtight container in the refrigerator for up to 4 days or freeze for up to 4 months.
Reheat gently in the microwave or covered in the oven at 350°F until warmed through—avoid overcooking to keep it juicy.
🍗 Boneless Skinless Chicken Breast Recipes
Try Pan Seared Oven Baked Chicken Breast, which adds a little sear flavor with a cast iron skillet for a fast, easy dinner.
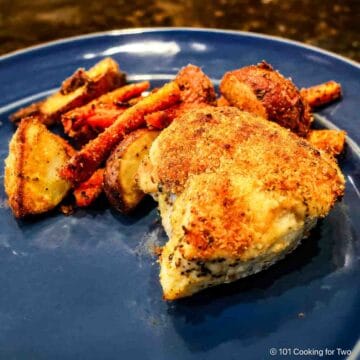
For a fancy dinner, serve Baked Parmesan Crusted Chicken, Crispy Oven Fried Chicken, or Melt in Your Mouth Chicken. Or take it to the grill with How to Grill Chicken Breasts.
❓ FAQs
No, bake uncovered to let the oven’s heat brown the surface and keep the texture light. Covering traps steam and can make the chicken rubbery.
Yes. Convection cooks a little faster and browns more evenly because the fan circulates hot air. It’s helpful for chicken breasts, which tend to be pale, but not required—a regular oven works just as well with a few extra minutes of baking time.
Yes, but it may cook faster and brown more deeply. The difference between convection bake and roast varies by oven, but roast usually uses the broiler element in addition to the fan.
Brining is optional but can add moisture, especially if the chicken was previously frozen. Mix 2 cups of water with 1 tablespoon of salt, and brine for 15–30 minutes—no longer than 2 hours. Rinse, pat dry, and skip extra salt when seasoning.
This recipe is written for boneless, skinless chicken breasts, but for boneless, skinless chicken thighs, see Crispy Oven Baked Chicken Thighs
⚕️ Chicken Food Safety
Always handle raw chicken carefully—assume it’s contaminated. Wash your hands and surfaces after touching it, but don’t rinse the chicken itself to avoid spreading bacteria. Cook to a safe internal temperature of 165°F, and check with an instant-read thermometer in the thickest part.
📖The Recipe Card
Baked Chicken Breasts (Juicy and Tender — Convection or Regular Oven)
Video Slideshow
Ingredients
- 2 chicken breasts - boneless skinless
- 1 tablespoon butter
- 2 cups water
- 1 tablespoon table salt
- ½ teaspoon kosher salt - Skip salt if you brined
- ¼ teaspoon pepper
- ½ teaspoon garlic powder
- ½ teaspoon paprika
Step-by-Step Instructions
- Preheat the oven to 400° convection or 425° conventional.
- Trim boneless skinless chicken breasts of excess fat.
- If thick, place the chicken in a ziplock bag and flatten the breasts to about ¾-inch thickness with a meat mallet or a heavy pan.
- (Optional) Brine in 2 cups of water + 1 tablespoon of salt for 15–30 minutes. 2-hour maximum. Be sure to rinse off the brine and dry before proceeding.
- Mix seasoning of ½ teaspoon each of kosher salt, garlic powder, and paprika, plus ¼ teaspoon black pepper. Leave out the salt if using a brine. You may use any seasoning you want.
- Prep a small baking dish with a spray of PAM. Use a rack if you have one.
- Melt 1 tablespoon of butter in the microwave and brush both sides of the chicken. Apply your seasoning to your taste.
- Bake in the preheated oven. It will take about 23–26 minutes and is done when the internal temperature is 165°F in the thickest part of the breasts. Check the chicken temperature 4–5 minutes early to avoid overcooking.
- Allow to rest for 5 minutes before serving.
Recipe Notes
Pro Tips
- The three secrets for the best results: Flatten, use the right baking and final temperature, and rest for 5 minutes before serving.
- Brining helps add moisture, especially for previously frozen chicken.
- Always cook to 165°F using an instant-read thermometer—don’t guess.
- Avoid overcooking for the best texture and juiciness.
- Store leftovers in the fridge for up to 4 days or freeze for 4 months.
Your Own Private Notes
To adjust the recipe size:
You can adjust the number of servings above; however, only the amount in the ingredient list is adjusted, not the instructions.
Nutrition Estimate (may vary)
Originally Published April 16, 2019. Updated with expanded options, refreshed photos, and a table of contents to help navigation.


Rebecca says
Thank you for this excellent recipe on cooking boneless skinless chicken breast. Well spoken & so informative. Trying it now & will study about brining for next time.
Blessings. Rebecca
Dan Mikesell AKA DrDan says
Hi Rebecca,
Welcome to the blog. Glad you enjoyed the post and recipe. When you come back, it will look a bit different. It is on the list for a rewrite BUT the recipe will be the same and all the information will still be here but hopefully organized for easier use and some of my "bah-bah" discussion may be gone.
Thanks again for the note and rating.
Dan
Jack says
Thanks. I’ll try it.
Dan Mikesell AKA DrDan says
Hi Jack,
Welcome to the blog and thanks for the note.
Dan
Milt says
Hey, thanks for the great information!
I have an Oster countertop oven and I haven't been able to figure out what the difference is between air frying and convection...
Dan Mikesell AKA DrDan says
Hi Milt,
Thanks for the note, but I will not be much help. Most "air fryers" are mini convection ovens and generally will cook about like a normal convection oven. But I stay away from the countertop oven things, not that they are bad, but every model seems different with lots of different and confusing settings to me.
So read the manual, and check their site, but I suspect they are very similar. I will say that as long as you cook to a final internal temperature, it will almost always be good.
Dan
Mary Heaven says
I was looking for a new-to-us chicken breast recipe - found yours, read thru it and decided to give it a try! So good...nothing worse than dried out chicken and this was most assuredly not! I
Will make this again - no changes to your given recipe!
sue says
lovely recipe scranned on this the kids loved it xxx
Shawna says
I am making these tonight. They sound delicious. The only problem I have is that you mention it once ,somewhere NOT TO COOK CHICKEN TO 165.They will definitely be overcooked while resting.!! . The note should be in BIG BOLD WRITING. Just my opinion. I'll let you know how they come out
joni says
What kind of pan in oven can I use we only have a few kinds want to broil are chicken breast
Dan Mikesell AKA DrDan says
Hi Joni,
Welcome to the blog.
Any oven-safe pan will be fine. Just cook at the right oven temperature and watch the internal temperature and cook to 165°.
This is not a broiler recipe, and I don't recommend broiling since the surface of the chicken will overcook and dry out before you reach a safe internal temperature. If you bake to a safe temperature and want some more color, a few minutes of broiler will be fine.
Dan
shirl says
Hi Dan
I followed your recipe and cooked the best chicken breasts ever! My Partner and I got a new toaster/convection oven and have been experimenting with it. Couldn't be happier.
Shirl
Sol says
Hello,
In step 2 of the instructions you pat dry the chicken.
Do you need to pat dry them again after step 4 if you do the brine?
Thanks
Dan Mikesell AKA DrDan says
Hi Sol,
Welcome to the blog.
You caught an op. I was writing the instructions before cooking and wanted the chicken dry before brushing with butter. But then I added the brine. I have now moved it to just before brushing which is after the brine/rinse.
Thanks for the note.
Dan
Erin Corn says
These chicken breasts look so juicy!!! I love the option of adding a bit of sugar to the seasoning for caramelization. Delicious!! Makes me want to go bake some chicken breast now....
Sara says
Hey DrDan, thank you for all of your hard work, your recipes are easy to follow - Thank You!
my question, instead of having a plain chicken breast, i have a pre seasoned, lemon garlic one (2pack) from the local grocer. in the Summer we would cook them outside on the grill but tonight i wanted to cook it inside in the oven.
i ended up searing them on the stove top then transferring the into my cast iron and finishing them in the oven, was that right? or did i make more work for myself.
(i can not use the cast iron on the glass top stove, so i used a frying pan then transferred to the cast iron)
i tried to add some bread crumbs but of course they all fell off as i transferred to the cast iron (pre warmed in the oven)
* could i have done everything in the oven in the cast iron?
thank you, any advice is welcome, a little laughing is ok too.
'still learning at 40'
Dan Mikesell AKA DrDan says
Hi Sara,
I would assume a preseasoned chicken breast is brined or injected in some way, so I would not brine.
You would be right to do these either way. Pan-seared then the oven or just bake like this recipe.
So you could have just flopped them into a pan (cast iron or not) and just bake them until 165.
The bread crumbs will not stick without some egg, flour or something else.
My stove is a glass top and I use cast iron all the time. The main thing you should not do on the glass is a "grill" pan with those ridges. That has the potential to break the top.
Hope that helps a little.
Dan
Kimberlee Kleine says
Hi Dr. Dan!
If I brine the chicken and then rinse it off, do I then pat it dry and continue with the recipe? If patting it dry, will it take away the effects of the brining? Also, should I flatten the chicken first before brining?
Thanks!
Kimberlee
Dan Mikesell AKA DrDan says
Hi Kimberlee,
The brine works by the salt going into the meat and pulling water with it, so rinsing off excess salt (the only time you should rinse poultry) and patting dry the meat does not take away the effect to the brine.
You can even the thickness out either before or after a brine.
Hope that helps.
Dan
Dan Mikesell AKA DrDan says
Hi,
This is one of those recipes I had to work on some. I needed to get to the essentials of getting them properly cooked without lots of time or work. I keep repeating it myself.
Thanks for the note.
Dan
Jenny says
Hi, I love your easy chicken recipe for moist chicken. I make both sear to oven and oven only. My question is on testing the temperature for 165. Do I pull the chicken out of the oven and check or in the oven, or after 5 minute rest? I get a high reading over 165 but when I cut it a will see a tiny bit of pinkish to the inner pieces when I cut it. So close to being done, even though the thermometer shows higher than 165. Any suggestions? I do use the red thermometer you suggested.
Dan Mikesell AKA DrDan says
Hi Jenny,
You only need to hit 165 in the thickest part of the breast.
So I open the oven and reach in or pull the rack out a bit to check. I usually check a couple of spots. If you are using a Thermapen, it will only take seconds.
If I have a larger cooking going on, I may pop it out the the oven and close the door before checking to keep the oven hot. It can take a while to check 4-6 breasts in a couple of spots each.
Generally 165 should not be pink but some chicken can have a pink stain from blood and the processing so if you are sure you got to 165, you are good. I see no reason to check after a rest.
Thanks for the note and rating.
Dan