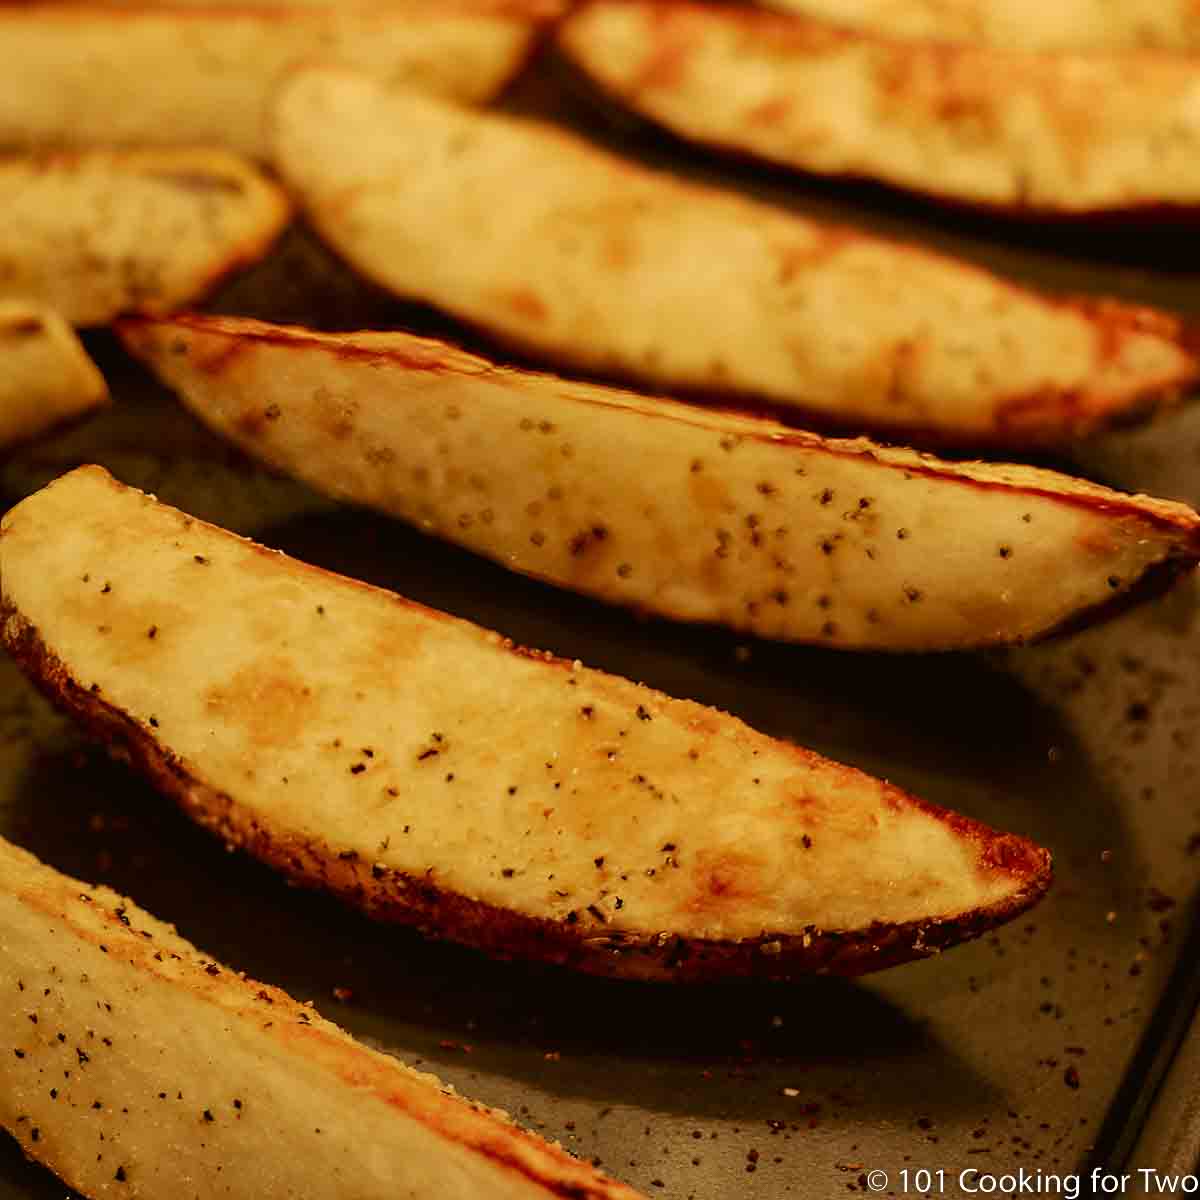
Crispy Baked Parmesan Potato Wedges—golden brown with a creamy center and coated with a Parmesan garlic coating. Easy to make and go with any meal.
🥔Ingredients
Potatoes—Russet potatoes preferred or Yukon Golds
Olive Oil
Parmesan cheese—grated
Seasoning—Kosher, black pepper, and garlic powder
Jump To (scroll for more)

Featured comment from Leslie:
"Made these tonight and served with turkey burgers, very good and easy, my kind of after work recipe!"
This recipe makes excellent potato wedges with crispy Parmesan garlic crust and a creamy tender inside. It requires only a few ingredients you usually have on hand and takes under one hour to make with almost no skill.
Some other great potato recipes to try are Twice Baked Potatoes, Oven Roasted Red Potatoes, Parmesan Baked Potatoes, or Smashed Potatoes.
👨🍳How to bake Parmesan potato wedges
- Prepare potato wedges and soak in cold water for 15-20 minutes.
- Then dry the wedges and brush with olive oil. Sprinkle with salt, pepper, and garlic powder. Dip in Parmesan cheese.
- Place potato wedges on a prepared baking tray with the skin side of the wedge down.
- Bake until golden brown—about 25-30 minutes. Internal temperature should be 200° or a little more.
This is a summary of the steps and ingredients. See the recipe card or the step-by-step photo instructions below for complete instructions.
🌡️When are potatoes done cooking?
While color is sometimes a good indicator, internal temperature with an instant-read thermometer is more accurate.
A potato is 210° internally when done. Cook’s Illustrated recommends 205° to 212°. Potatoes are very forgiving, so a little over is better than under. To me, 200° is usually okay, but 190° is not done.
How to serve
Even picky kids will love them, especially if they can dip. Much healthier than french fries or chips, it's the perfect side dish for many meals, like seared and baked New York strips, oven-roasted filet mignon, or seared pork tenderloin. It is also excellent with convection oven chicken breasts.
You don't have to use a dipping sauce, but kids love to dip. If you have a favorite dipping sauce, use it.
Everyday things you may already have are Blue cheese or Ranch dressing, ketchup, and honey mustard. Anything people use for a chip dip will likely work well.
How to make potato wedges crispy?
The most important step you can do to ensure crispy potato wedges is to remove the starchy film for the cut edges of the wedges.
Soak them in cool water for 20-30 minutes, then rinse under running water. The last step is to pat dry with paper towels or a dish towel.
Storage of leftovers
Store leftovers sealed airtight and refrigerated for 4 days or frozen for 4 months.
Save this recipe!
Reheat, after thawing overnight in the refrigerator if frozen, uncovered in the oven. You can reheat in the microwave, but they will not be as crispy.

This recipe is listed in these categories. See them for more similar recipes.
Have you tried this recipe, or have a question? Join the community discussion in the comments.
Step-by-Step Photo Instructions
Note: The discussion is for two servings, but the images are for a double recipe.
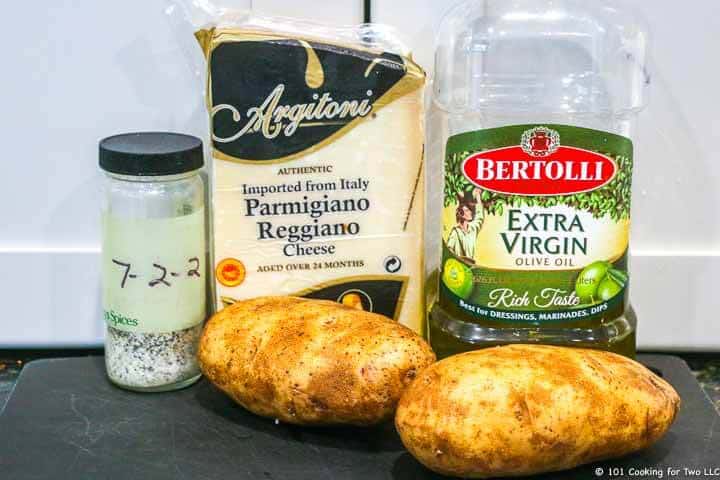
Preheat oven to 375° convection or 400° conventional oven.
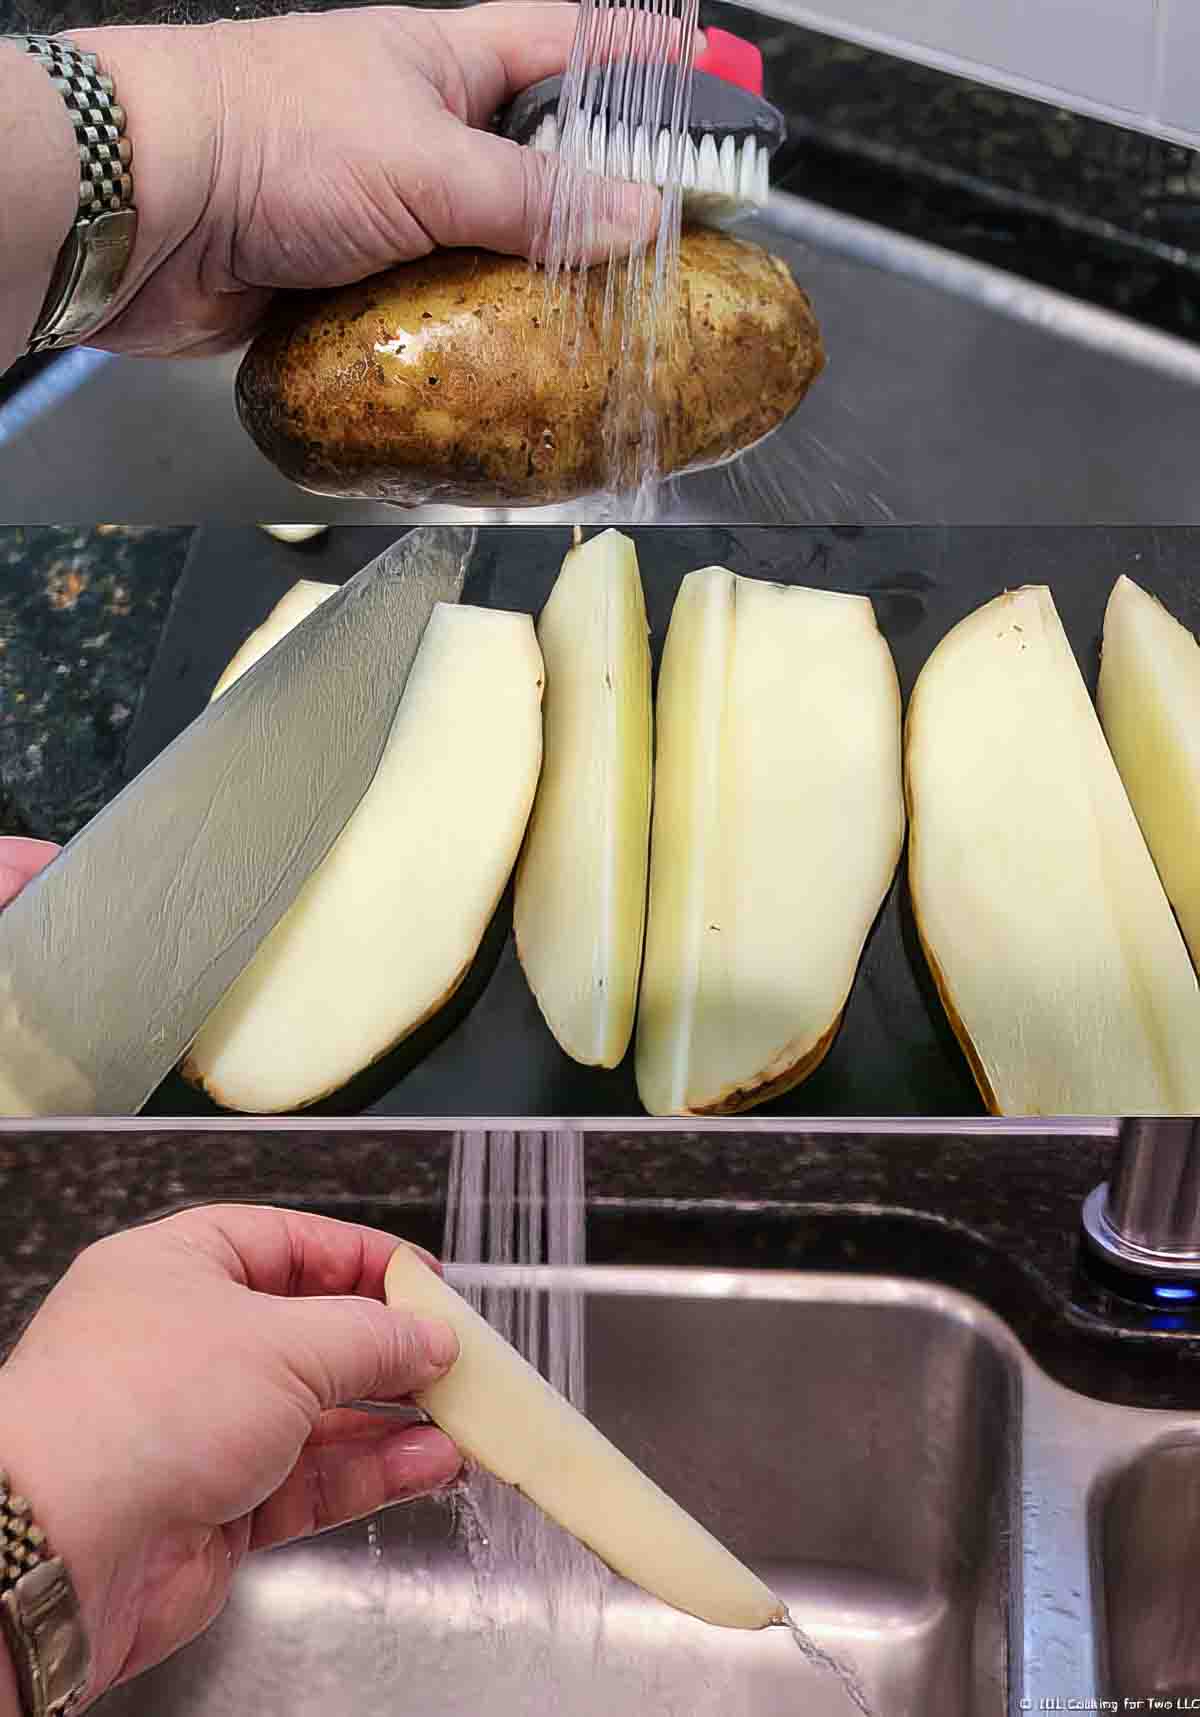
Wash one medium Russet potato and scrub well. Cut the potatoes into six equal wedges. Soak in cold water for 15-20 minutes, then rinse under running water and pat dry with a paper towel. Prepare a baking tray using some foil, parchment paper, or just a good spray of PAM cooking spray.
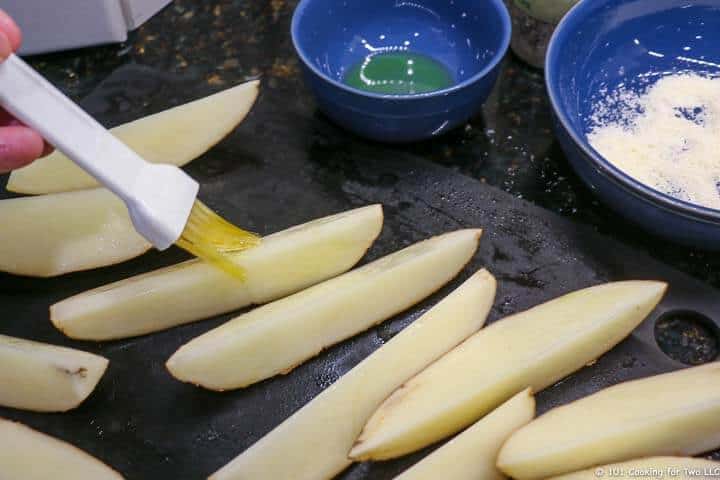
Brush with olive oil and give them a sprinkle of salt, pepper, and garlic powder. I use my homemade seasoning salt. You can use Italian seasoning or any seasoning you wish instead.
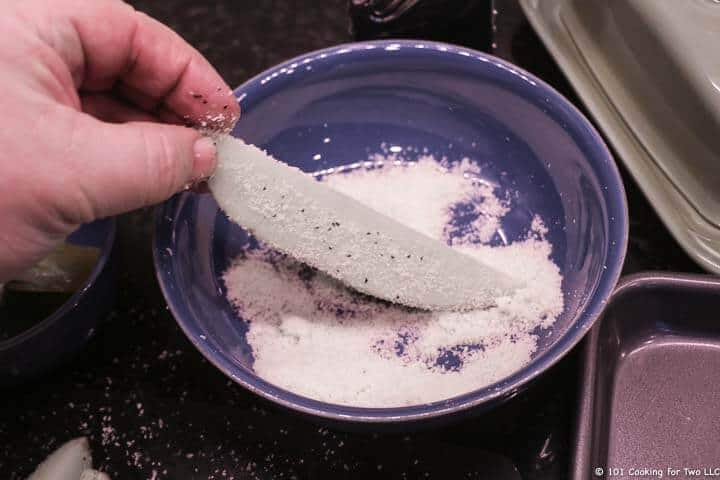
Dip into freshly grated or shredded Parmesan cheese. 2 tablespoons are enough for one potato.
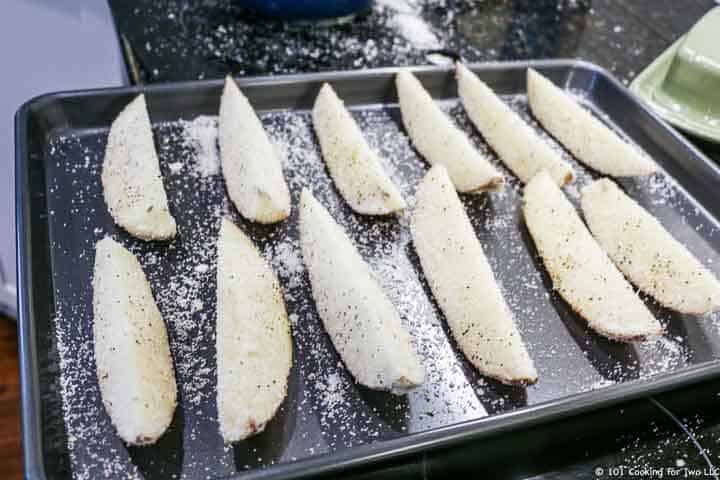
Place the potato wedges on the prepared baking sheet with the skin side of the wedge down.

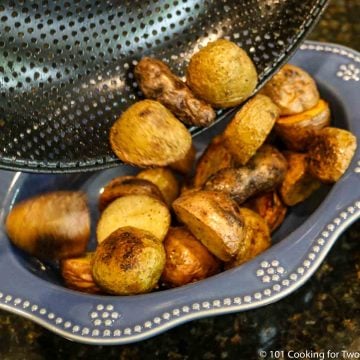
Bake until golden brown—about 25-30 minutes. The internal temperature should be 200° or a little more. Serve hot. If you want, give them an additional sprinkle of Parmesan cheese and salt, and garnish with fresh chopped parsley.
📖The Recipe Card with Step-by-Step Instructions
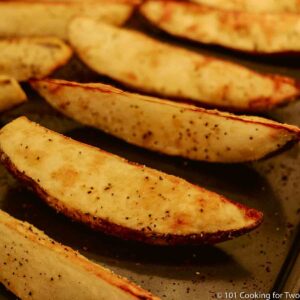
Crispy Baked Parmesan Potato Wedges
Ingredients
- 1 russet potato - medium
- 1 teaspoon olive oil
- Salt, pepper, and garlic powder to taste - I prefer my 7:2:2 seasoning or other seasoning
- 2 tablespoons Parmesan cheese - fresh grated
Step-by-Step Instructions
- Preheat oven to 375° convection or 400° conventional oven.
- Wash one medium Russet potato and scrub well. Cut the potatoes into six equal wedges. Soak in cold water for 15-20 minutes, then rinse under running water and pat dry with a paper towel. Prepare a baking tray using some foil, parchment paper, or just a good spray of PAM cooking spray.
- Brush with olive oil and give them a sprinkle of salt, pepper, and garlic powder. I use my famous 7:2:2 seasoning. You can use Italian seasoning or any seasoning you wish instead.
- Dip into freshly grated or shredded Parmesan cheese. 2 tablespoons are enough for one potato.
- Place the potato wedges on the prepared baking sheet with the skin side of the wedge down
- Bake until golden brown—about 25-30 minutes. The internal temperature should be 200° or a little more. Serve hot. If you want, give them an additional sprinkle of Parmesan cheese, salt, and garnish with fresh chopped parsley.
Recipe Notes
Pro Tips:
- Three slices (½ of a potato) was just the right size for a serving.
- The pictures are for four servings, but all instructions are for two servings.
- You can match this to something else you are cooking fairly easily. The oven temperature can be varied quite a bit, just adjust the cooking but check the final internal temperature.
- Be sure to soak and rinse after cutting, then pat dry if you want them crispy.
- Use good quality Parmesan cheese. If you use cheap cheese, there will not be much Parmesan taste.
- I like to "pack" the Parmesan on the wedges.
- A "done" potato is 200°-210° internal temperature generally, but 190° is too low.
- Good refrigerated for 3-4 days and frozen for 3-4 months.
Your Own Private Notes
To adjust the recipe size:
You can adjust the number of servings above; however, only the amount in the ingredient list is adjusted, not the instructions.
Nutrition Estimate (may vary)
Editor's Note: Originally Published May 30, 2015. Updated with expanded options, refreshed photos, and a table of contents to help navigation.




jeff k says
I use many of your recipes. They fill our requirement for simplicity (I am recently promoted to "chief-cook-and-bottlewasher"). I feel you are encouraging people to be "in" your website while accessing the recipes. Unfortunately some of us have internet connections that are less than accommodating. Logons take minutes or longer, sites are slow - usually satellite connected, and we must pay for time and every Mb of data up/down. So we don't just "sit" on your website.
Because I find very valuable your photos and the way you integrate them with text, I have for years done a Copy/Paste (to a Word or other doc) and saved many of your recipes. Your "Print" feature does not preserve the photos, (I think this is related to your relationship to Pinterest - they screw it up somehow).
Now I find the Copy/Paste no longer saves the photos.
You might reconsider how this is done. Some of us cannot have the laptop sitting in the kitchen logged into 101. You may find a lessening use of your site.
Otherwise a great site and very useful for a couple.
Best regards and Good Luck.
Dan Mikesell AKA DrDan says
Hi Jeff,
Welcome to the blog, and glad you find it useful. Here are a few comments that might help.
The step-by-step photos in the post are now formatted differently within WordPress, and depending on what you are pasting them into, it may just give you code or even just a lot of Hex digits. The recipe card is different than the post and formated a second way which is easier to copy.
The recipe card has never printed the images since most people do not usually want them printed.
So not a Pinterest or even Google conspiracy, just the march of technology.
Now for suggestions for low bandwidth situations:
1) Use an aggressive adblocker. Some of them are a couple of MB and refresh frequently. So block them. Some will breakthrough, but I don't care if you block in your situation. But the ads "pay the way," so they need to stay on the site.
2) Most of my images are well under 100K, and most pages, just raw, are well under 1 MB. I have no video like most food blogs. But there is a lot of structure around the information. If you look at the page, you have already downloaded all of that. Most browsers still have a save as function in the File menu. Just save the page to your device. You will have a copy of it all on your device without the cut and paste stuff. Close down your connection and just spend as long as you want free. Your local copy will open in the browser.
3) If the above doesn't work well for you, physically copy everything in the recipe card with the images turned on and then paste into a word processor. It works fine on Apple Pages and probably will be in MS Word. If you what the rest of the post without images (Most of them are in the card also), physically copy it and paste into a simple notepad type txt word pressor, not MS Word.
Let me know if the above works or not. I do have a few other tricks depending on your hardware and software.
Dan
Leslie says
Made these tonight and served with turkey burgers, very good and easy, my kind of after work recipe!