
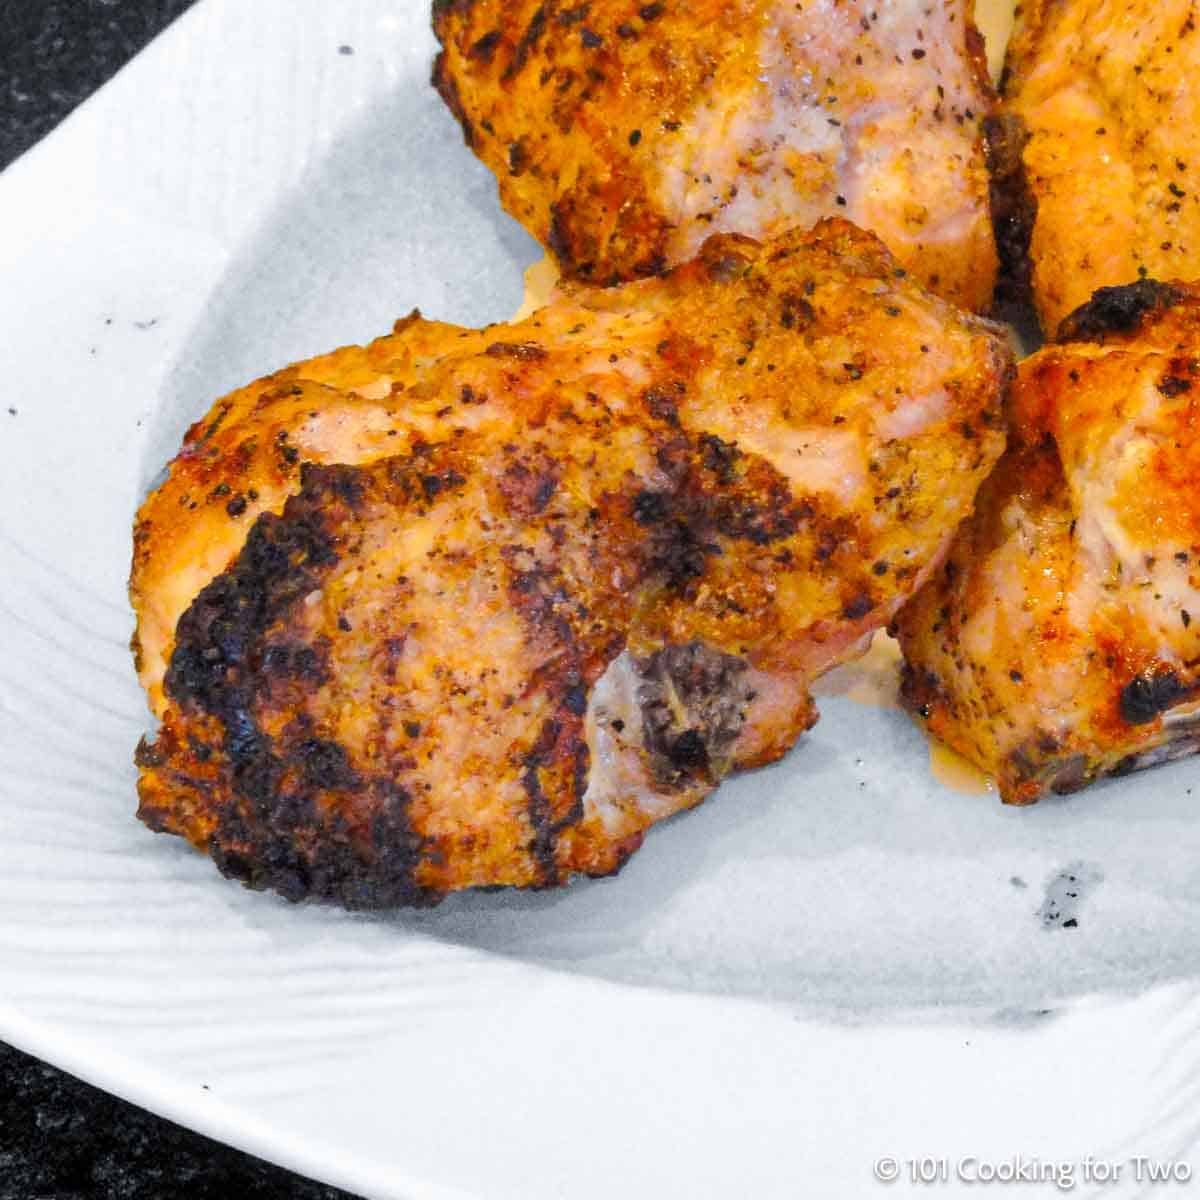
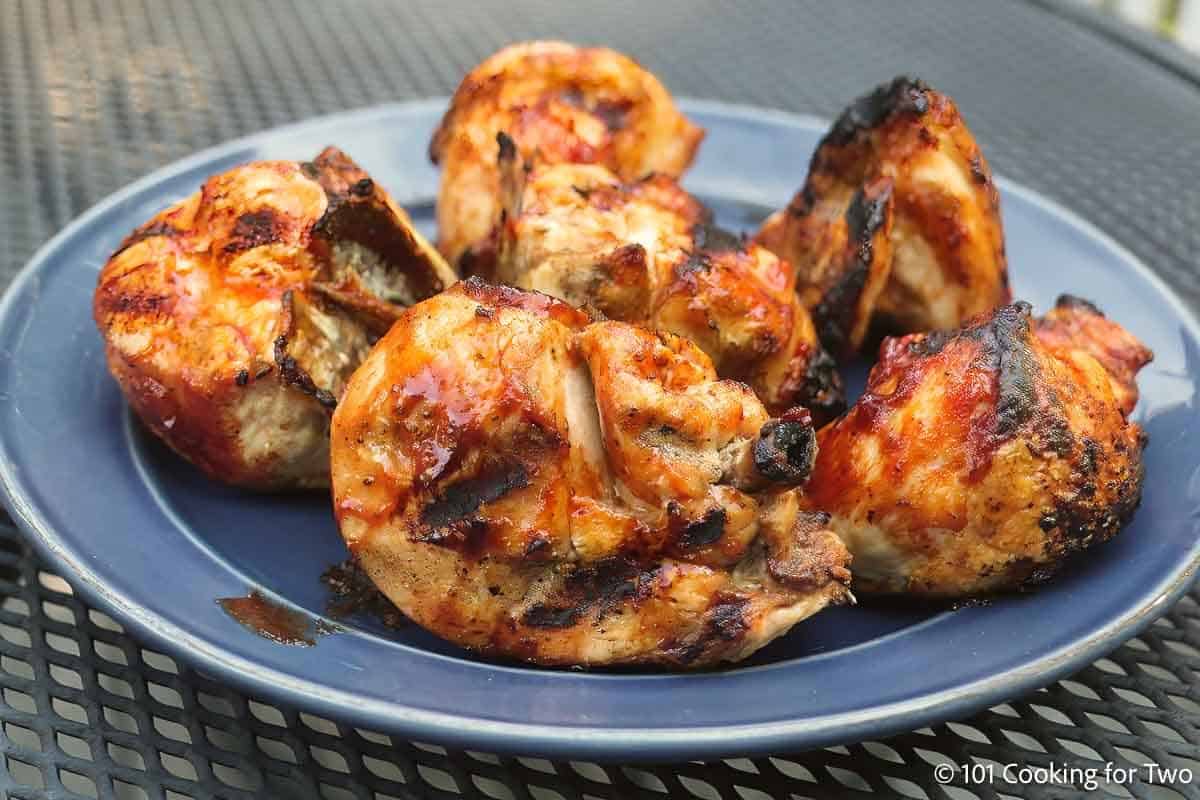
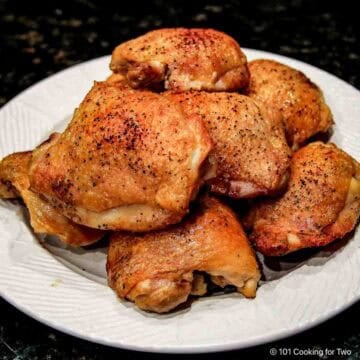
Grilled split chicken breasts can be tricky—but not with this method. Start with a little trimming, add a quick seasoning rub, and you’ll get juicy, crispy chicken every time. Want that sticky BBQ finish? Just brush on your favorite sauce near the end—no separate recipe needed.
Summarize and save this content on:
Jump To (scroll for more)
- 🧡 Why You’ll Love This Recipe
- 🐓 Ingredients
- 👨🍳Quick Overview: Grilled Bone-in Chicken Breasts
- ⏱️ How Long to Grill Split Bone-In Chicken Breasts
- 🔥 Pro Tips for Grilling Split Chicken Breasts
- 🍽️ Serving Suggestions
- ❓FAQs
- 🔪 How to Trim Split Chicken Breasts
- 🔁 More Split Chicken Breast Recipes
- 📖The Recipe Card
🧡 Why You’ll Love This Recipe
- Crispy skin and juicy meat. No soggy skin or dried-out chicken here—just the right texture on both sides.
- No marinade or brine needed. Trim and season, then let it hang out while the grill heats up.
- Budget-friendly. Bone-in split chicken breasts are still one of the cheapest cuts at the store.
- Great for BBQ fans. Brush on some BBQ sauce at the end for that sticky finish without starting a new recipe.
- Beginner-friendly method. A few trimming tricks and the right grill setup make all the difference.
🐓 Ingredients
- Split chicken breasts—also called bone-in, skin-on chicken breasts. The skin gets crispy, and the bone keeps the meat juicy.
- Pantry ingredients—garlic powder, kosher salt, black pepper, and a little cayenne if you want some heat
- Baking powder (optional)—helps dry the skin for extra crispiness
- BBQ sauce (optional)—for a sticky finish near the end of grilling
👨🍳Quick Overview: Grilled Bone-in Chicken Breasts
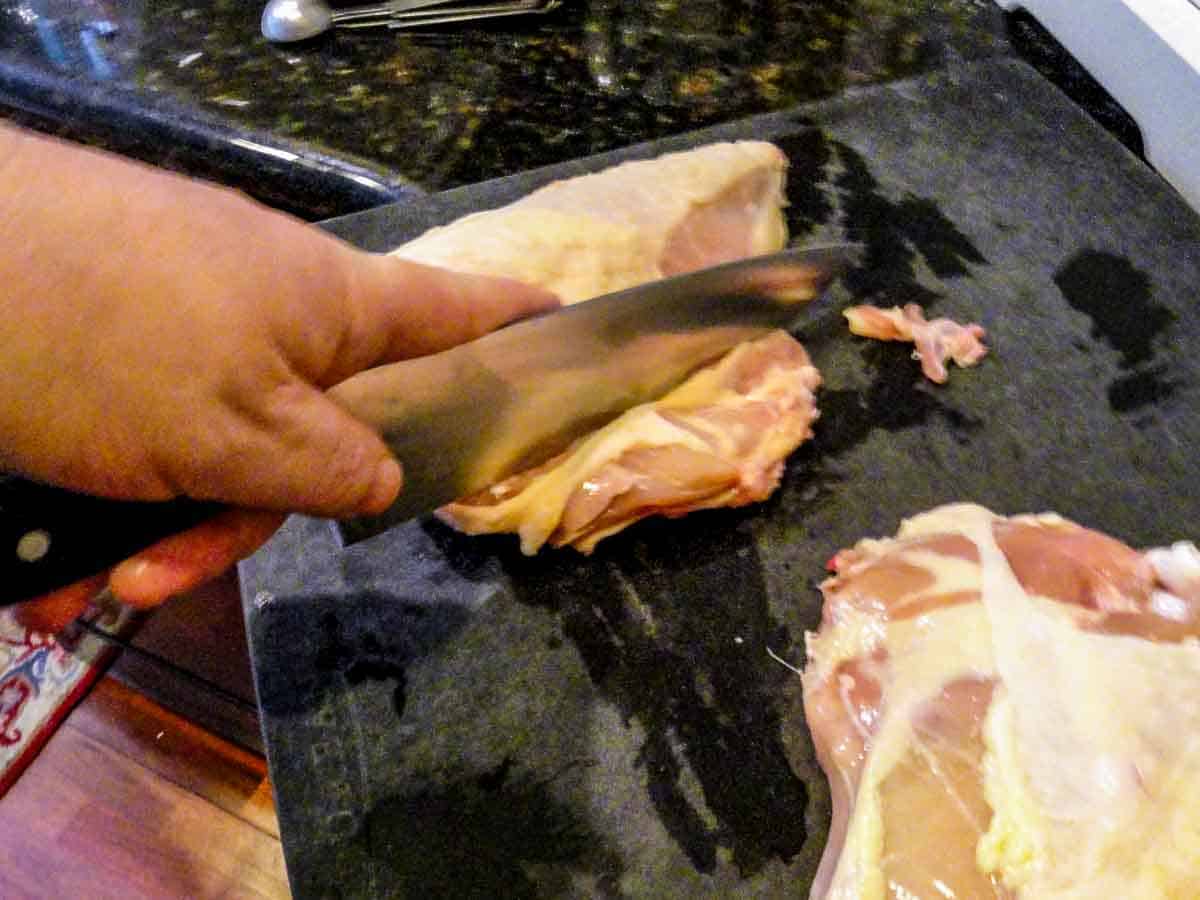
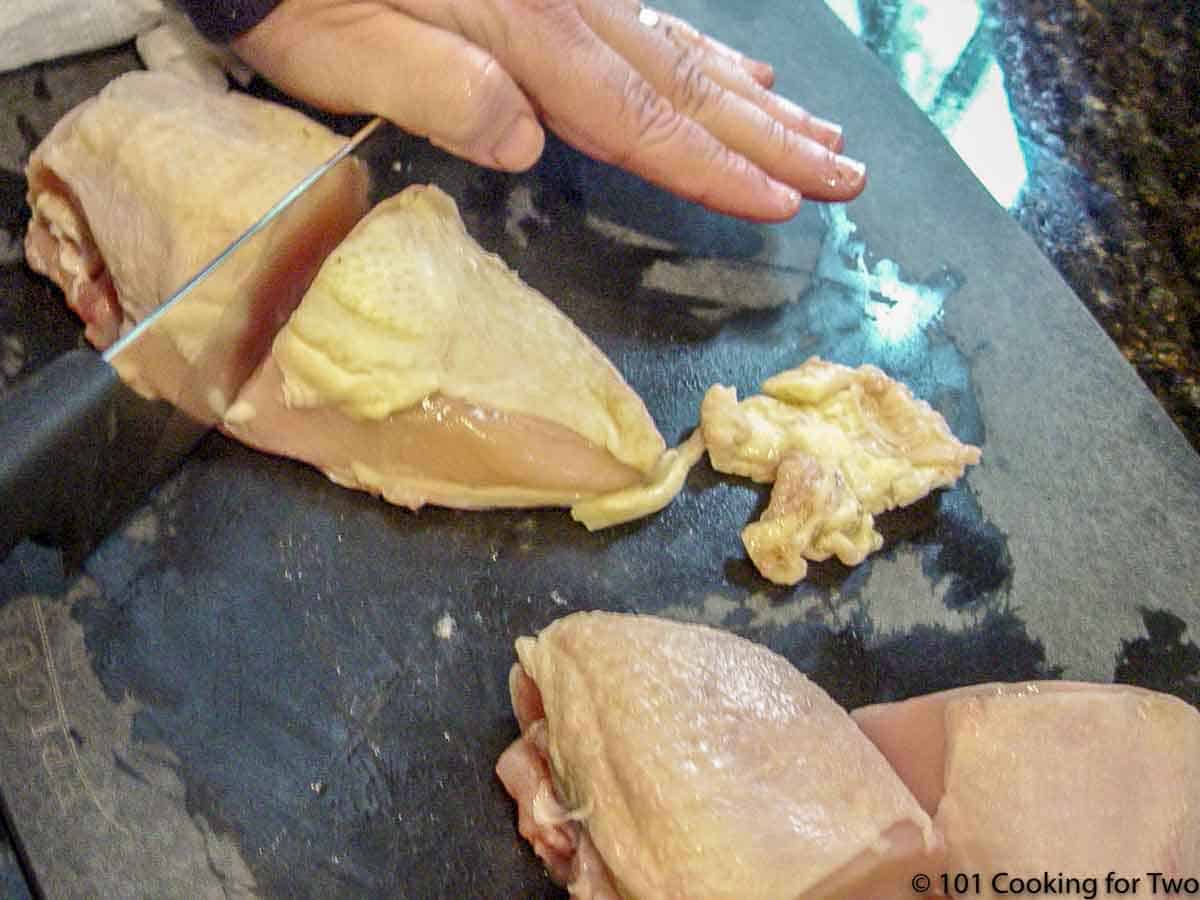
1. Trimming Split Chicken Breasts
Cut off the rib section from the bone-in chicken breasts and divide each into 2–3 serving-size pieces. Pat dry with paper towels.
2. Seasoning
Use your favorite seasoning. For the BBQ version, just brush with olive oil and sprinkle with salt and pepper.
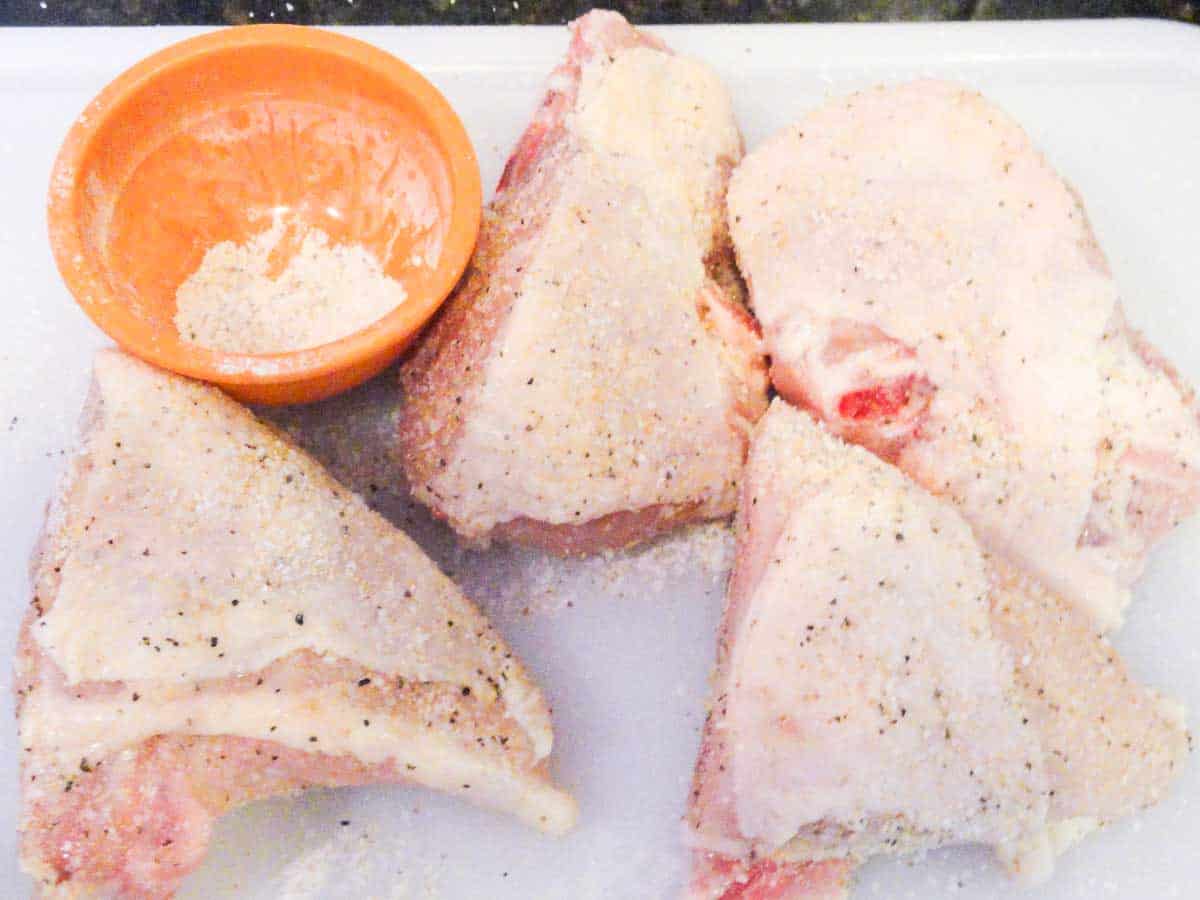
✅ Pro Tip: Add a little baking powder to the rub for crispier skin. Let the chicken rest at room temp for 20–30 minutes before grilling.
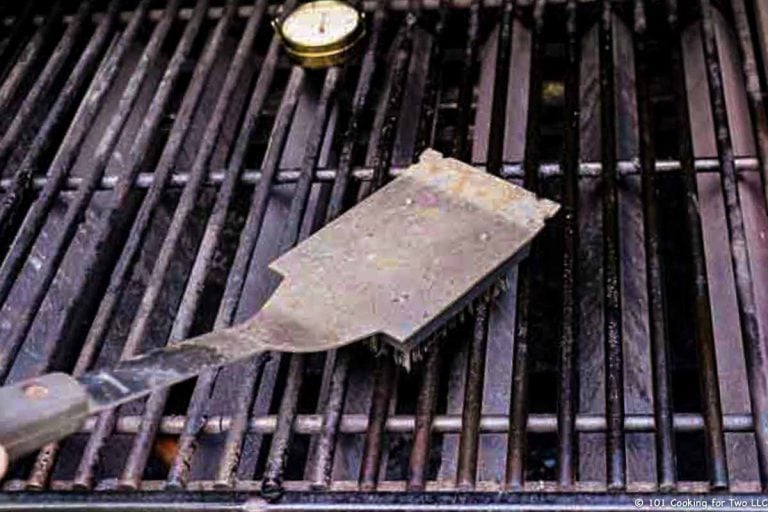
3. Setup the Grill
Clean and oil the grates on a gas grill. While keeping one of the outside burners on low or off to create a cooler zone, preheat the grill’s main cooking area to about 450°F surface temperature—medium-high on most gas grills.

4. Grill
Start skin-side up and grill for 5–6 minutes. Flip skin-side down for about 4 minutes. Keep alternating sides with uneven timing—use the cooler zone if the skin starts to overcook.

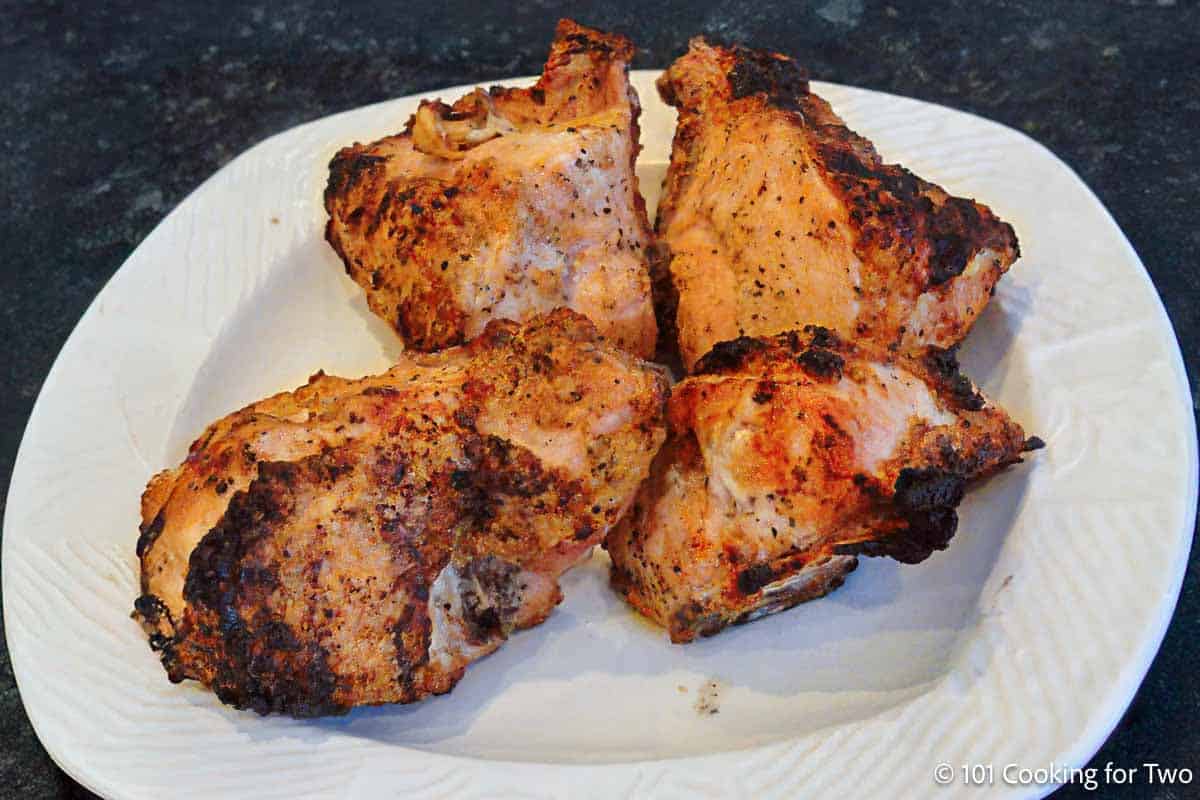
Grill until the internal temperature reaches 165°F, about 30 minutes total depending on your grill and the size of the pieces.
5. 🔥 BBQ Split Chicken Breasts Option
For a sticky finish, brush all sides with BBQ sauce during the last 5 minutes of grilling.
👇 Scroll down for the printable recipe card and full step-by-step photo instructions—or keep reading for tips, veggie options, and serving ideas.
⏱️ How Long to Grill Split Bone-In Chicken Breasts
When properly trimmed, split bone-in chicken breasts take about 30 minutes on a 450°F grill to reach the safe internal temperature of 165°F, measured with an instant-read thermometer.
According to the USDA, 165°F is the minimum safe temperature for all poultry, including bone-in chicken breasts. Always check the thickest part of the meat.
🔥 Pro Tips for Grilling Split Chicken Breasts
- Trim them down first. Large bone-in split breasts won’t cook evenly unless you cut them into smaller pieces. Learn how to trim split chicken breasts.
- Use a surface thermometer. The hood thermometer lies. You want 450°F where the chicken is actually cooking.
- Create a cooler zone. On a gas grill, keep one burner low or off so you have a place to move chicken if the skin starts to burn.
- Pat the skin dry. No rinsing—just blot with paper towels so the seasoning sticks and the skin crisps.
- Use kosher salt. It’s coarse and works better in rubs—but go light if you’re watching sodium.
- Let it rest. Rest seasoned chicken at room temp for 15–20 minutes while the grill preheats.
- Add heat if you want. A bit of cayenne in the rub gives it a little kick.
- Want even crispier skin? Mix a little baking powder into the rub—it helps dry out the skin before grilling.
Save this recipe!
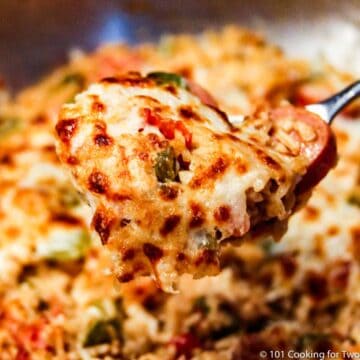
🍽️ Serving Suggestions
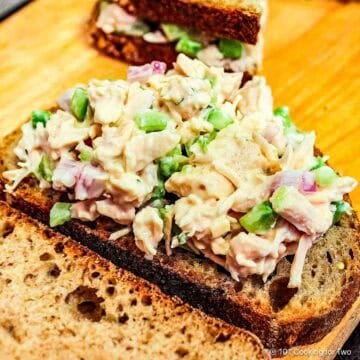
Serve with Grilled Corn on the Cob, Grilled Mixed Vegetables, or Grilled Baby Potatoes. Add Cornmeal Biscuits or Grilled Pineapple Slices for a sweet finish—and don't forget a summer classic Homemade Lemonade.
❓FAQs
Split chicken breasts are bone-in, skin-on chicken breasts. They're called "split" because they’re separated down the breastbone into halves. They include part of the breastbone, a section of ribs, and the skin.
They have more flavor and moisture than skinless chicken, but they're large and cook unevenly unless trimmed properly.
Baking powder helps dry out the chicken skin for extra crispiness. Use aluminum-free baking powder to avoid an off taste. While some recipes suggest hours of resting time, this method gets good results in about 20–30 minutes. Totally optional—skip it if you’d rather not use it.
Properly trimmed split chicken breasts take about 30 minutes on a medium-high gas grill (around 450°F). Always cook to an internal temperature of 165°F in the thickest part for safety.
Yes. Bone-in split chicken breasts stay juicy without marinating. Just trim, season, and grill — the bone helps keep the meat moist, and the skin crisps nicely on its own.
Yes. For a BBQ finish, brush on your favorite sauce during the last 5 minutes of grilling. It gives properly trimmed split chicken breasts a sticky, flavorful glaze.
🔪 How to Trim Split Chicken Breasts
Chicken breasts just keep getting bigger—and harder to cook evenly. Trimming bone-in split breasts down gives you better serving sizes, more even cooking, and crispier skin.
Remove the rib section. It adds bulk but no meat, and it usually burns.
Cut into 2–3 pieces. Smaller pieces cook faster, get seasoned better, and don’t burn on the outside before they’re done inside.
🔁 More Split Chicken Breast Recipes
Looking for more ways to use split chicken breasts? Try these favorites:
📖The Recipe Card

Grilled Split Chicken Breasts—Juicy and Crispy Every Time
Ingredients
- 2 bone-in, skin-on chicken breasts (aka split chicken breasts)
- 1 teaspoon kosher salt
- ½ teaspoon black pepper
- ½ teaspoon garlic powder
- ¼ teaspoon cayenne pepper - optional
- 1 teaspoon aluminum free baking powder - optional
- BBQ sauce, for BBQ option
Step-by-Step Instructions
Trim the chicken
- Trim chicken breasts by removing excess fat, loose skin, and the rib section. Cut each breast in half or thirds depending on size. Pat dry with paper towels.


Seasoning
- Mix the rub ingredients well.
- Apply rub to the skin side and lightly to the cut edges. Shake off excess—don’t try to use all the rub.For the BBQ version, just brush with olive oil and sprinkle with salt and pepper.


Setup the grill
- Clean and oil the grates. While keeping one of the outside burners on low or off to create a cooler zone, preheat the main cooking area to about 450°F surface temperature—medium-high on most gas grills.

Grill
- Place the chicken pieces over direct heat with the skin-side up. Grill for 5–6 minutes, then flip skin-side down for 3–4 minutes. Continue flipping, always keeping the skin-side down time shorter. If the skin is getting too dark, use the cooler zone.
- Grill until the internal temperature reaches 165°F, about 30 minutes total depending on your grill and the size of the pieces.


BBQ option
- For a sticky BBQ finish, brush all sides with BBQ sauce during the last 5 minutes of grilling.

Recipe Notes
Pro Tips
- Trimming and grill setup are the keys to success.
- Preheat the main cooking area of the grill to 450°F, and create a cooler zone by keeping one burner off or on low.
- Let the chicken rest at room temperature for 15–20 minutes after seasoning.
- Flip often during grilling, but keep skin-side down time short to avoid burning.
- Optional: Baking powder helps crisp the skin. Use aluminum-free to avoid aftertaste.
- Pat the skin dry before seasoning.
- Add ¼ teaspoon cayenne for a little heat.
- Always cook to 165°F in the thickest part for safety.
Your Own Private Notes
To adjust the recipe size:
You can adjust the number of servings above; however, only the amount in the ingredient list is adjusted, not the instructions.
Nutrition Estimate (may vary)
Originally Published March 20, 2011. Updated with expanded options, refreshed photos, and a table of contents to help navigation. Also, the method is modified slightly to my current technique.

Ailsa Millar says
Why do the pictures of the recipe not how up on the recipe instructions? I would appreciate being able to see how it is done. Love that your recipes are for two as no need to work out how to reduce the recipe and stop wastage.
Dan Mikesell AKA DrDan says
Hi Ailsa.
Welcome to the blog. Glad you are enjoying the recipes.
I see the images on two Macs and an iPhone. Sometimes the browsers will decide not to load the images. They are in two places, within the blog post, and in the recipe card when you click the "Photos ON' button.
Most of the time, doing a "cold restart" by shutting down completely and then restarting. Not a "warm restart," which is just clicking restart. If that doesn't work, clearing the cache of the browser would be the next step, but that varies by computer/phone type and browser you are using, so you would need to Google how for your setup.
It those things don't help, please let me know.
Dan
PS on this recipe, there are six photos, trimming the chicken, seasoning ingredients, seasoning the chicken, cleaning the grill, chicken on the grill and finally, the cooked chicken.
Jay says
Hello making this recipe as we speak can u tell why u put skin down on grill won't rub fall off or burn first thank u
DrDan says
The rub stays on fine and I wanted to get the skin to start crisping early. I felt it worked well. Start with skin up if you want.
Dan
Dr Dan says
Baking powder... Thanks and the correction is made.