
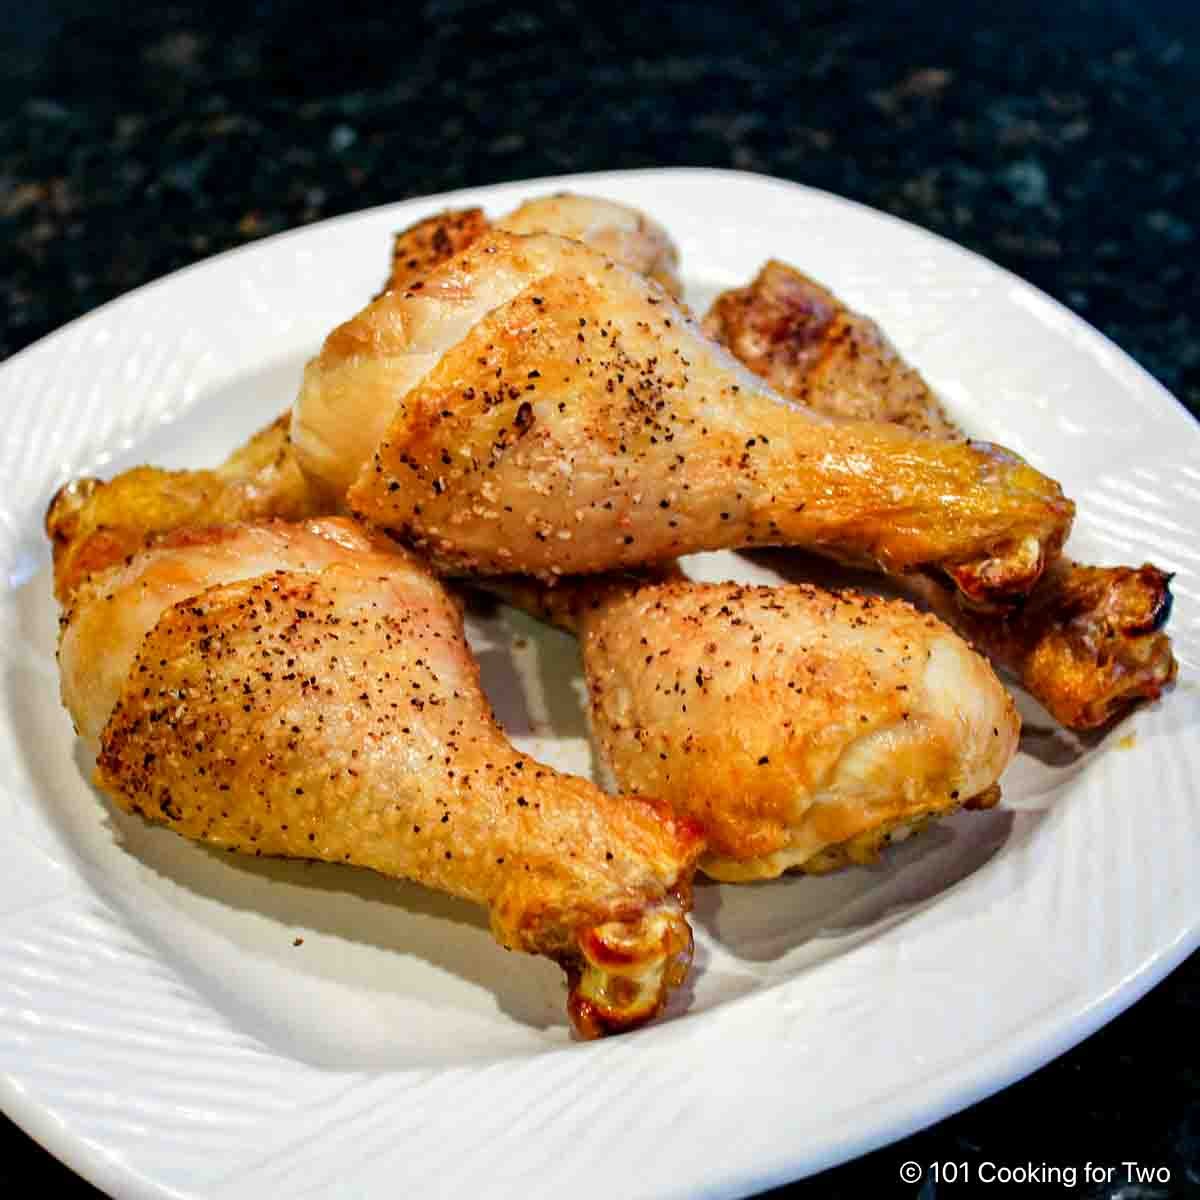
Baked chicken legs (drumsticks) are easy, budget-friendly, and ready in about 35 minutes. Bake hot for crispy skin and juicy meat every time — no flipping, no breading, no guesswork.
This foolproof recipe has been a reader favorite for over a decade. Perfect for beginners, it walks you through how long to bake chicken legs at different oven temps, the best internal temperature for tenderness (185°–195°F), and simple tricks for maximum crisp.
⏱️ Quick Answer: How Long to Cook Chicken Legs in the Oven
Chicken legs are best cooked to 185°F for juicy, tender meat. Here’s how long it takes at common oven temperatures:
- 350°F: 45–55 minutes
- 425°F: 35–40 minutes (recommended for crispy skin)
Cooking time varies by size and whether you use convection — convection ovens run about 5 minutes faster.
Jump To (scroll for more)
- 👍 Why You’ll Love This Recipe
- 🛒 Ingredients for Baked Chicken Legs
- 👨🍳 Quick Overview – How to Bake Chicken Legs
- ⏱️ How Long to Bake Chicken Legs at 350°F, 375°F, 400°F, or 425°F
- 🧂 Seasoning & Flavor Options for Baked Chicken Legs
- 🛠️ Beginner Troubleshooting for Baked Chicken Legs
- 🌡️ Best Internal Temperature for Baked Chicken Legs
- 📋 Other Chicken Recipes
- 🍽️ Serving Suggestions
- ❄️ How to Store Leftovers
- ❓ FAQs
- 📖The Recipe Card

Featured Comment by Tonya:
⭐⭐⭐⭐⭐
"I followed the recipe to the "T" and I usually do my own thing. But this is absolutely the BEST ever drum recipe I have ever had in all my 46 years. Thank you!!!!"
👍 Why You’ll Love This Recipe
- Super simple – No breading or marinades, just trim, season, and bake. No fuss.
- Crispy skin, juicy meat – High heat + optional rack (or a halfway flip) makes it happen.
- Beginner-friendly – Clear steps and tips for consistent results.
- Healthier family favorite – Low-carb, low-calorie, affordable, and a hit with kids and adults.
- Versatile flavors – Works with any seasoning blend or just salt and pepper.
🛒 Ingredients for Baked Chicken Legs
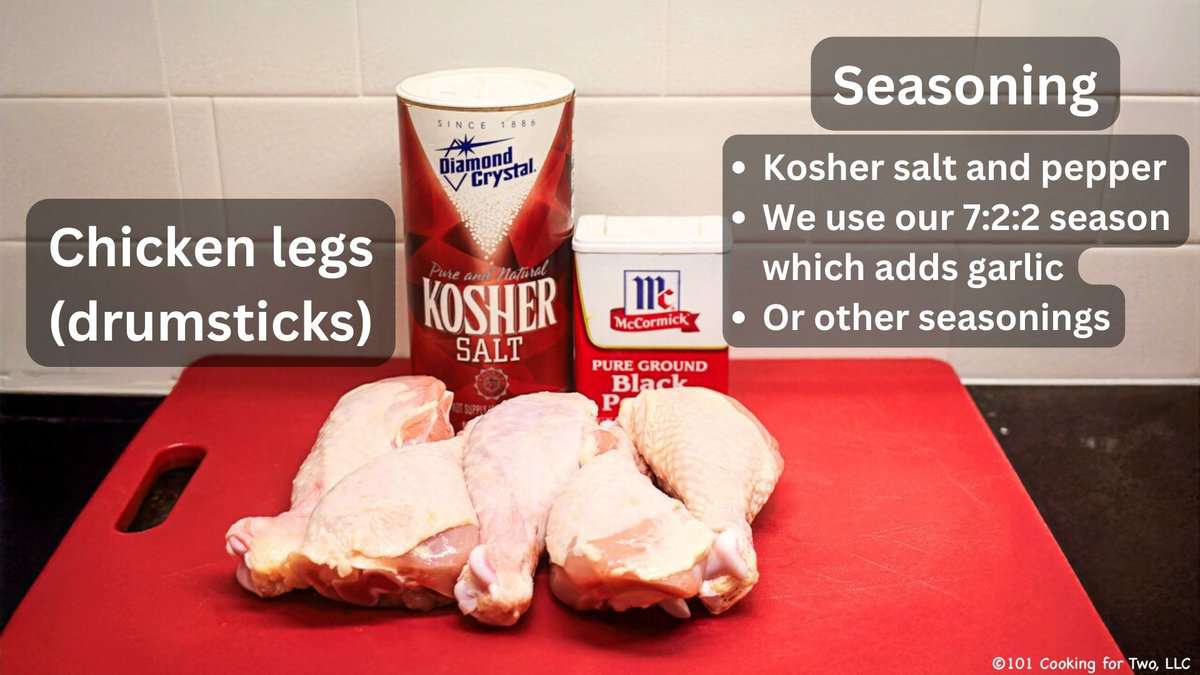
🐓 Chicken Legs (Drumsticks)
Use bone-in, skin-on pieces – don’t confuse them with leg quarters, which include the thigh. Leg quarters are better cooked using my Baked Chicken Thighs recipe.
✅ Trim tip: Check the cut end for loose bone fragments or skin flaps and trim.
🧂 Seasoning
My go-to is kosher salt, black pepper, and garlic powder. You can season any way you like – from simple salt and pepper to your favorite spice blend.
(For more seasoning ideas, BBQ variations, and marinades, see the Seasoning & Flavor Options section below.)
👨🍳 Quick Overview – How to Bake Chicken Legs
1. Preheat and Prep
Preheat oven to 425°F. Line a rimmed sheet pan with foil for easy cleanup. Add a wire rack if you have one.
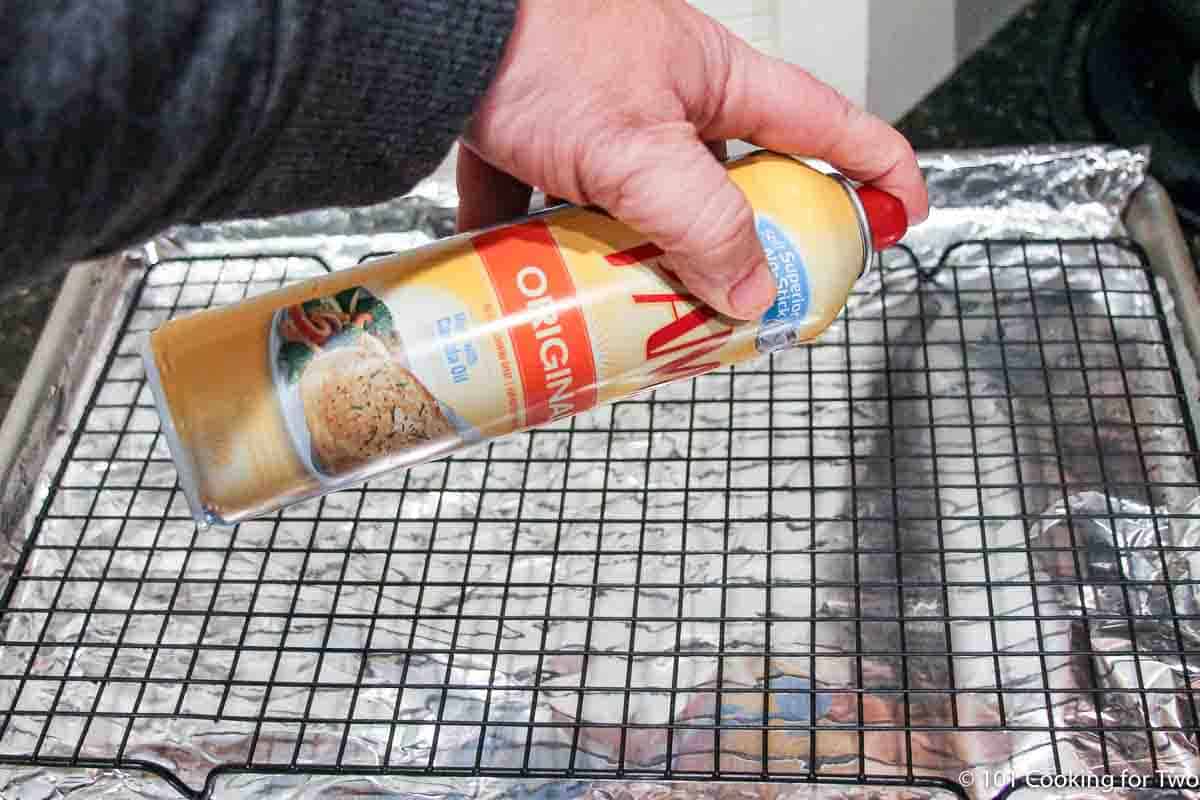
✅ Pro Tip: A rack helps crisp the skin and keeps the legs out of the drippings. No rack? Place legs directly on the foil and flip halfway through baking.
2. Season the Chicken
Pat drumsticks very dry with paper towels – this is key for crisp skin. Trim any loose skin or bone fragments. Season all sides with kosher salt, black pepper, and garlic powder – or your favorite blend.
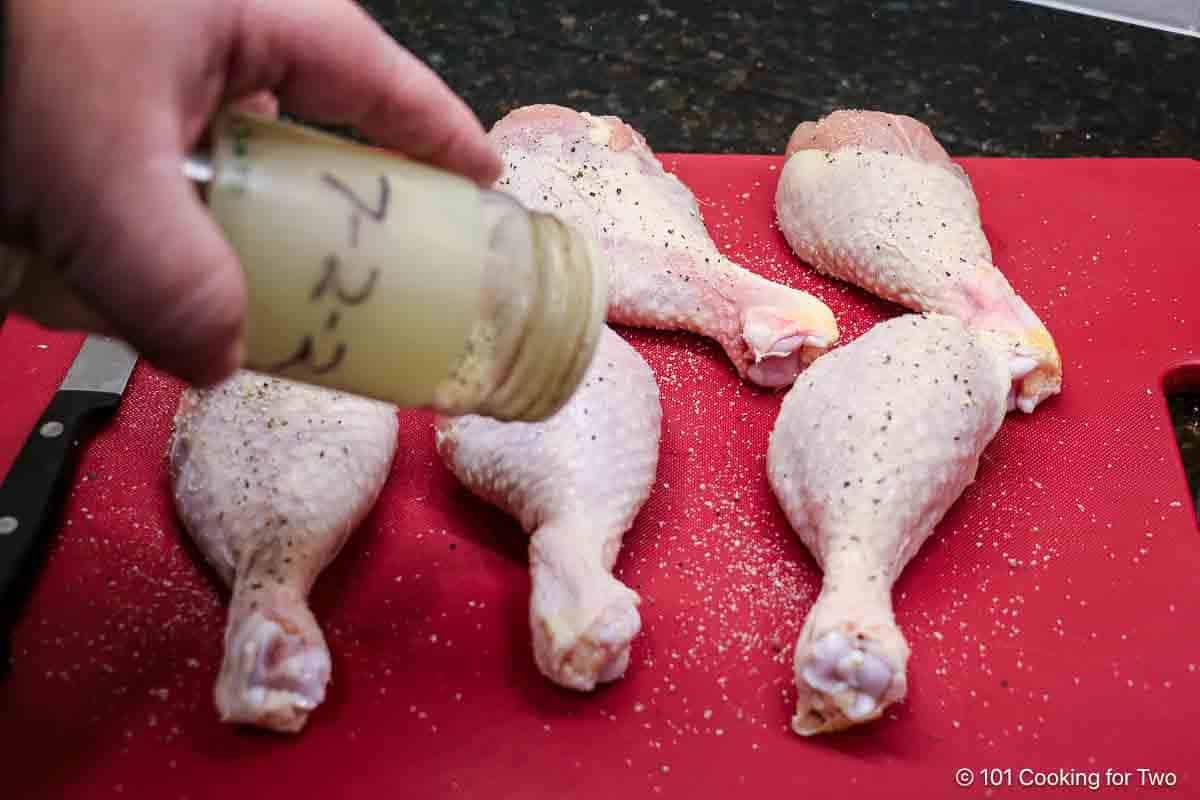
✅ Pro Tip: Moisture is the enemy of crispy skin — don’t skip the drying step.
3. Bake
Place legs on the rack with thicker ends facing out. Bake at 425°F to an internal temp of 185°–195°F, about 35 minutes with convection or a few minutes longer without.
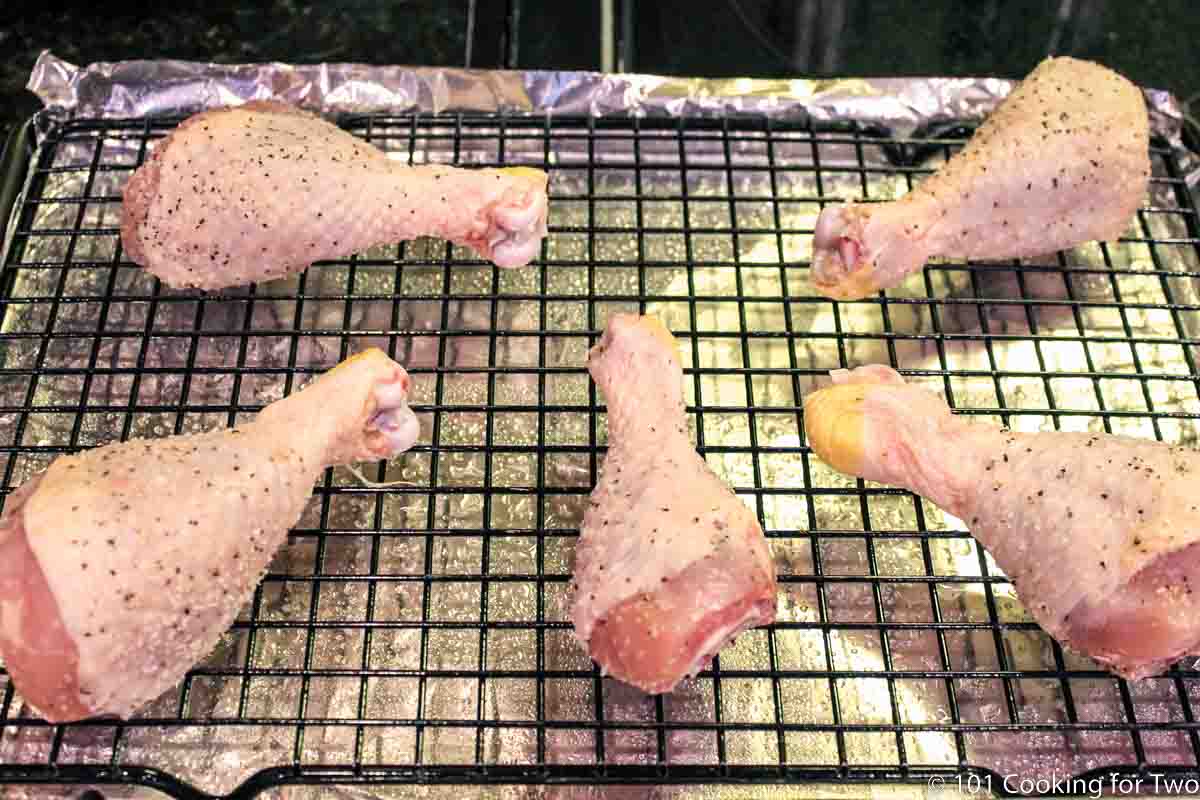
✅ Pro Tip: Use an instant-read thermometer – it’s the only way to know they’re cooked perfectly.
4. Rest and Serve
Let drumsticks rest for 5 minutes before serving so the juices settle and the skin stays crisp.
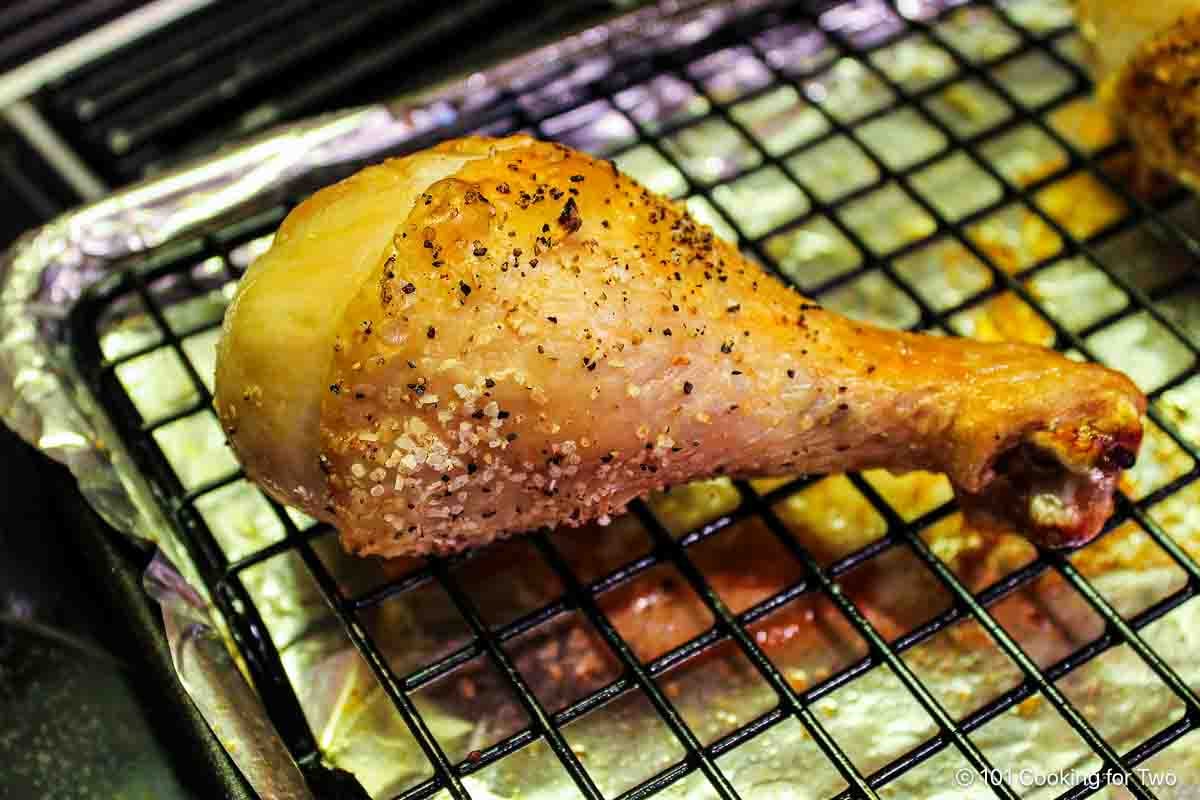
Note: This is a quick overview, not the full recipe. See the printable recipe card below for complete step-by-step instructions, tips, and variations.
⏱️ How Long to Bake Chicken Legs at 350°F, 375°F, 400°F, or 425°F
Here's approximately how long to bake chicken legs at different oven temperatures. Times will also vary depending on the thickness and your oven. Always use an instant-read thermometer.
- 350°F conventional – 50 to 55 minutes
- 350°F convection / 375°F conventional – 45 to 50 minutes
- 375°F convection / 400°F conventional – 40 to 45 minutes
- 400°F convection / 425°F conventional – 35 to 40 minutes – recommended
- 425°F convection – about 35 minutes – recommended
✅ Pro Tip: Chicken legs are best at 185°–195°F — going higher than 165°F makes the meat more tender and juicy.
Save this recipe!
🧂 Seasoning & Flavor Options for Baked Chicken Legs
- Classic: Kosher salt, black pepper, and garlic powder (my go-to).
- BBQ Style: Use a BBQ dry rub instead of salt and pepper. Brush with BBQ sauce in the last 5 minutes of baking.
- Smoky: Add smoked paprika for color and depth of flavor.
- Herb Blend: Try poultry seasoning, Italian seasoning, or fresh rosemary and thyme.
- Marinades: Italian dressing, lemon butter marinade, or teriyaki work well, but you’ll lose the crispy skin.
✅ Pro Tip: A light coat of olive oil can help spices stick, but may make the skin slightly thicker and less crisp. I skip it for drumsticks, but it’s useful for skinless cuts.
🛠️ Beginner Troubleshooting for Baked Chicken Legs
Skin not crisp? The chicken wasn’t dry enough before seasoning, or your oven temperature was too low – is your oven accurate?. Pat thoroughly with paper towels and use the recommended temperature.
Cooking unevenly? Place thicker ends toward the pan edges — those areas cook hotter.
Still underdone? Don’t stop at 165°F. While it’s safe, the meat will be chewy and stringy. Drumsticks are most tender at 185°–195°F — always check with an instant-read thermometer.
🌡️ Best Internal Temperature for Baked Chicken Legs
The sweet spot for tender, juicy drumsticks is 185°–195°F. At this range, the connective tissue breaks down, making the meat moist and easy to eat.
Yes, 165°F is safe (USDA), but drumsticks cooked only to that temp will be chewy and stringy. The extra time to reach 185°–195°F is worth it for the texture alone.
America’s Test Kitchen recommends going even higher – 190°–195°F – for maximum tenderness.
📋 Other Chicken Recipes
If you like baked drumsticks, try these other easy chicken recipes:
- Crispy Oven Baked Chicken Thighs – juicy meat with golden skin.
- Grilled Chicken Thighs – quick, flavorful, and perfect for summer.
- Crispy Baked Chicken Wings – oven-baked but tastes deep-fried.
- Baked Bone-In Chicken Breasts – moist, flavorful, and easy.
- Cooking for a crowd? See How to Cook Chicken for a Group.
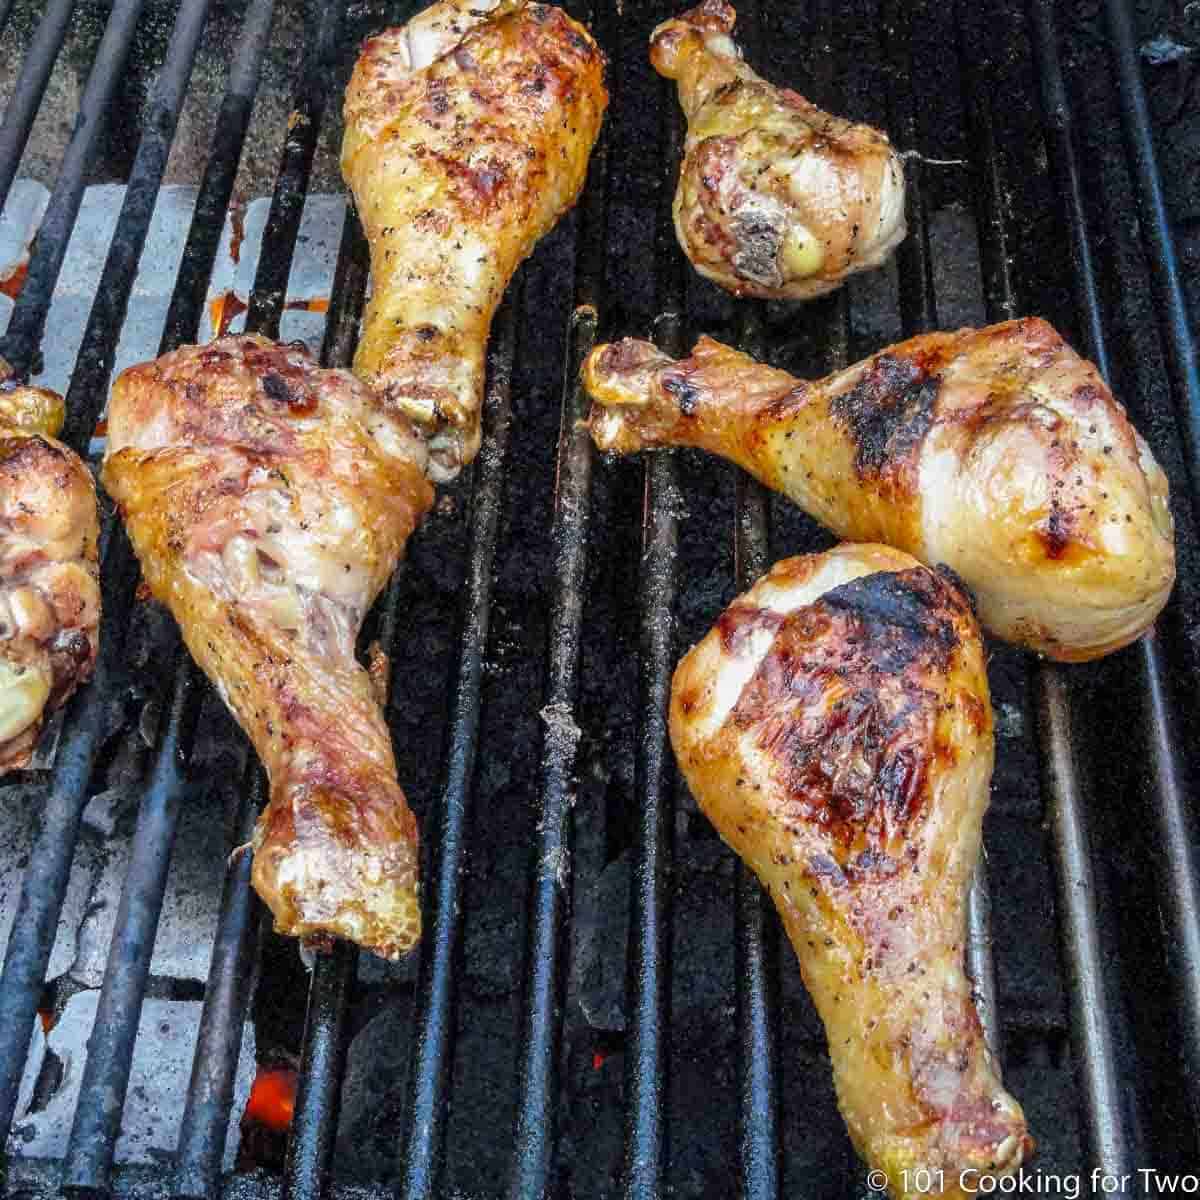
Grilled Chicken Drumsticks
This never-fail recipe makes perfectly grilled chicken drumsticks fast and easy. Tender, flavorful, and budget-friendly, they'll delight everybody, from picky kids to grandma.
🍽️ Serving Suggestions
Serve with a green salad and your favorite sides:
- Oven Baked French Fries
- Baked Rice
- Microwave Corn on the Cob
- Oven Roasted Red Potatoes
- Steamed or roasted broccoli
❄️ How to Store Leftovers
Store leftovers in an airtight container:
- Fridge: Up to 4 days
- Freezer: Up to 4 months
- Reheat: Thaw if frozen, then reheat in the oven or air fryer. The microwave works, but it softens the skin.
❓ FAQs
A rack lifts the chicken, allowing air to circulate underneath, which is especially helpful with convection ovens. It also keeps the legs out of the drippings for crisper skin.
No rack? Place them directly on foil and flip halfway through baking.
With previously frozen drumsticks, bone marrow can release pigment as it thaws and cooks. The meat may look pink, but it’s safe if the internal temperature reaches at least 165°F.
It’s best not to. Baking from frozen causes uneven cooking — the outside can overcook before the inside is done, and the texture suffers. Thaw completely for safety and the best results.
While 165°F is safe, drumsticks will still be chewy and stringy at that point. For tender, juicy meat, keep baking until they reach 185°–195°F so the connective tissue has time to break down.
In a convection oven, about 35 minutes. In a conventional oven, plan for 40–45 minutes. Always check for an internal temperature of 185°–195°F for the best texture.
📖The Recipe Card
Baked Chicken Legs (Drumsticks) – Crispy & Juicy
Video Slideshow
Ingredients
- 6 Chicken legs - (about 1½ lbs) – Scale to as many as you want
- Salt and pepper to taste (or your favorite seasoning)
Step-by-Step Instructions
Preheat and Prep
- Preheat oven to 425°F (with convection if you have it)

- Prep a sheet pan with aluminum foil and a wire rack (optional). Spray with cooking spray. If you don't have a rack, flip the legs halfway through cooking.
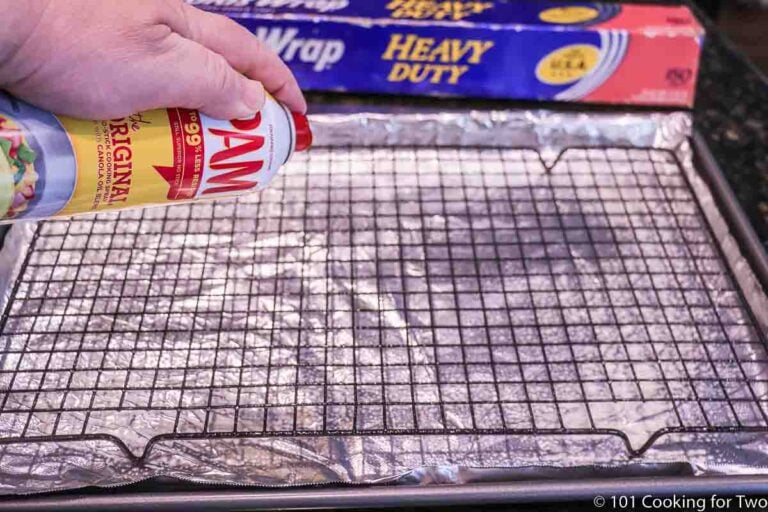
- Pat the drumsticks very dry with paper towels. Trim any loose skin or joint fragments.

Season the Chicken
- Season all sides with salt and pepper (or your preferred seasoning).

Bake
- Place legs on the prepared rack with the thicker ends toward the pan edges. Bake until the internal temperature reaches 185°–195°F, about 35 minutes with convection (a few minutes longer without). Do not stop short of 185°F; use an instant-read thermometer.

Rest and Serve
- Let the cooked drumsticks rest for 5–10 minutes before serving. This allows the juices to redistribute and the skin to stay crisp.

Recipe Notes
Pro Tips:
- Optimal baking temperature: 400°F or 425°F convection. Lower temperatures, like 350°F or 375°F, will yield slightly less crisp skin. Refer to the main post for guidance on time across various temperatures.
- Pat dry: Removing surface moisture is the #1 key to crispy skin.
- Rack or flip: A rack promotes airflow and keeps meat out of drippings. No rack? Flip halfway.
- Seasoning: Adjust spices to your taste (see post for flavor and options).
- Scaling: This recipe can be scaled to any quantity needed.
- BBQ variation: Use a BBQ dry rub instead of salt/pepper; brush with BBQ sauce during the last 5 minutes of baking.
- Storage: Refrigerate leftovers for up to 4 days or freeze for up to 4 months.
Your Own Private Notes
To adjust the recipe size:
You can adjust the number of servings above; however, only the amount in the ingredient list is adjusted, not the instructions.
Nutrition Estimate (may vary)
Editor's Note: This article was originally published on September 9, 2012. It has been updated with discussion and photos to improve the presentation and add more information. The recipe remains the same. Please enjoy the update.


Green Mermaid 22 says
I just made my first drummies! I'm terrible at cooking meat, having been a vegetarian for the majority of my independent adult life, so cooking poultry properly has been somewhat of a mystery to me... AND THEY TURNED OUT AMAZING! So good, and I think next time I'll try your BBQ tip. Thank You!!
Muffin says
Dan - could I use this same method for thighs?
Dan Mikesell says
We are not thigh people so I have never tired it but I'm 99% sure it would be good. The final temp for the thighs should be about the same. If you do thighs, please come back and post the results. Dan
HJD says
Great recipe, Dan. I have made these several times for my drumstick-loving husband and he enjoys them immensely.
Very nice recipe to prepare when you want a quick meal with little clean up. I look forward to trying some of your other recipes!
Thanks,
Helen
Dan Mikesell says
Thanks. That is exactly how we use it. A quick "fill in" meal.
J. Loren says
thanks for giving me peace of mind. I always use my nose and after years of on again, off again cooking typed in the question of "chicken legs how long" the answer I got was wrong. I resorted to using instinct and denoted the time and temp. I naturally had done what you suggested by old intuition. Wish I could make you 1st result. The other one I read said 425 for 25 mins. That's a bad idea!
Dan Mikesell says
You can never go wrong using a thermometer. Remember to cook to the final temperature not the time then your results become what a scientist would call reproducible. Thanks for the comment.
0c116dc2-2580-11e3-8738-000bcdcb8a73 says
This is the greatest recipe on the internet. you are a chicken expert, thank you.
Dan Mikesell says
You may be exaggerating a bit... But I do like it. Thanks for the comment
trisha says
What kind of rack is that and can I use the regular oven rack?
Dan Mikesell says
They are baking racks not cooling racks. So read the label to be sure they are oven safe. I think most people use cooling racks in the oven also and it may be ok depending on the rack. I got mine at Meijer's for about $8 each and they are "oven safe".
I'm not sure what you mean by regular oven rack...
Dan Mikesell says
I don't think this method without the skin would do well. I can see a lot of dryness happening. If you have one of those legs with less skin on the thick end, it seems to get a little dry so taking the skin off and cooking at a high temp just seems to me to be asking for trouble. I have done skinless chicken breast but mostly a will coat with some oil or something to help keep them moist.
T BG says
Curious if you would recommend anything different if there was no skin on the drumsticks? Just not sure how the outside will turn out if the skin has been removed beforehand. Thanks!
christine says
what if i want to use bbq sauce on them?
Dan Mikesell says
Skip the seasoning and brush with sauce about 5 minutes before done.
LunaTechChick says
This is perfect! Did this last week & doing it again tonight. I season with Penzey's Chicago Steak Seasoning & it really gives it a "cooked on the grill" taste, plus the crispy skin....mmmmmmmm! =)
Dan Mikesell says
Good idea on the seasoning. I may try that.
KopPhill says
Usually I rub the drumsticks with olive oil, but I will try your method tomorrow and see how they compare...I imagine I will get a better skin your way!
Dan Mikesell says
Several of my early attempts had oil. I'm happier without.
KopPhill says
Great result! I will stick to your method from now on...perfect and delicious!
Desiree Saliba says
Got them in the oven, wish I would have read about not using oil in the comments first! Thanks!!
Jen M. says
Thanks for the reply...it happens to me every time, so here's what I found out at eggheadforum. "Did you buy your drums frozen (or "previously frozen")? When you freeze chicken, the blood tends to pool at the bone, and when you thaw it, the blood flows out. 2 solutions: buy only fresh chicken, or, soak in 2 Tbsp. non-iodized (aka kosher, pickling and canning, or, sea salt) to 1 gallon water. After 30 minutes, rinse thoroughly, drain and pat dry. This technique is sometimes called "koshering." (The "dead giveaway" to frozen chicken is a red bone, no matter what you do to it.)"
I made drumsticks again this way (kids begged for them!). Same thing, so I just scraped off the brownish ooze and popped them back in for a few more minutes. I'll try using fresh chicken drumsticks next time!
Dan Mikesell says
Thanks for the research. The doctor in my says it is not blood but the bone marrow cell structure breaking down with freezing but it would look like blood. And it wouldn't hurt anything but I'm not sure about the taste...
If you do the salt soak (which is a brine), do not use my seasoning which is already salt heavy.
Again thanks for the follow up.
Jen M. says
What do you do about the blood that oozes out at the cut off joint (turns dark brown and ugly). I tired to remove mine with a spoon and red blood came out under it. I returned them to the oven as I figured they were not fully cooked even though an electric meat thermometer read 180 or above on a bunch of them. Any advice?
Dan Mikesell says
I have never seen anything like that and I have done this 40-50 times. With properly prepared meat (not your prep but the butcher), there should be no blood left to come out. I think it was the meat if it is blood.
Jessica Hodgson says
What kind or rack do you use? Is it like a standard baking rack, or is a special rack designed to go in the oven?
Dan Mikesell says
They are baking racks not cooling racks. So read the label to be sure they are oven safe. I think most people use cooling racks in the oven also and it may be ok depending on the rack. I got mine at Meijer's for about $8 each and they are "oven safe".
Jessica Hodgson says
Ok, thanks! We're making these tonight!
t3hm3l says
Thanks for the post! I'm making a variant of this and your oven french fries for dinner tonight. I keep coming across your website in my journey to learn how to cook, and I just wanted to say I appreciate all your recipes and tips. I'm an engineer so your critical eye resonates quite well with my learning style. (And I'm also cooking for two, and love that I don't end up throwing away leftovers when I use your recipes!)