
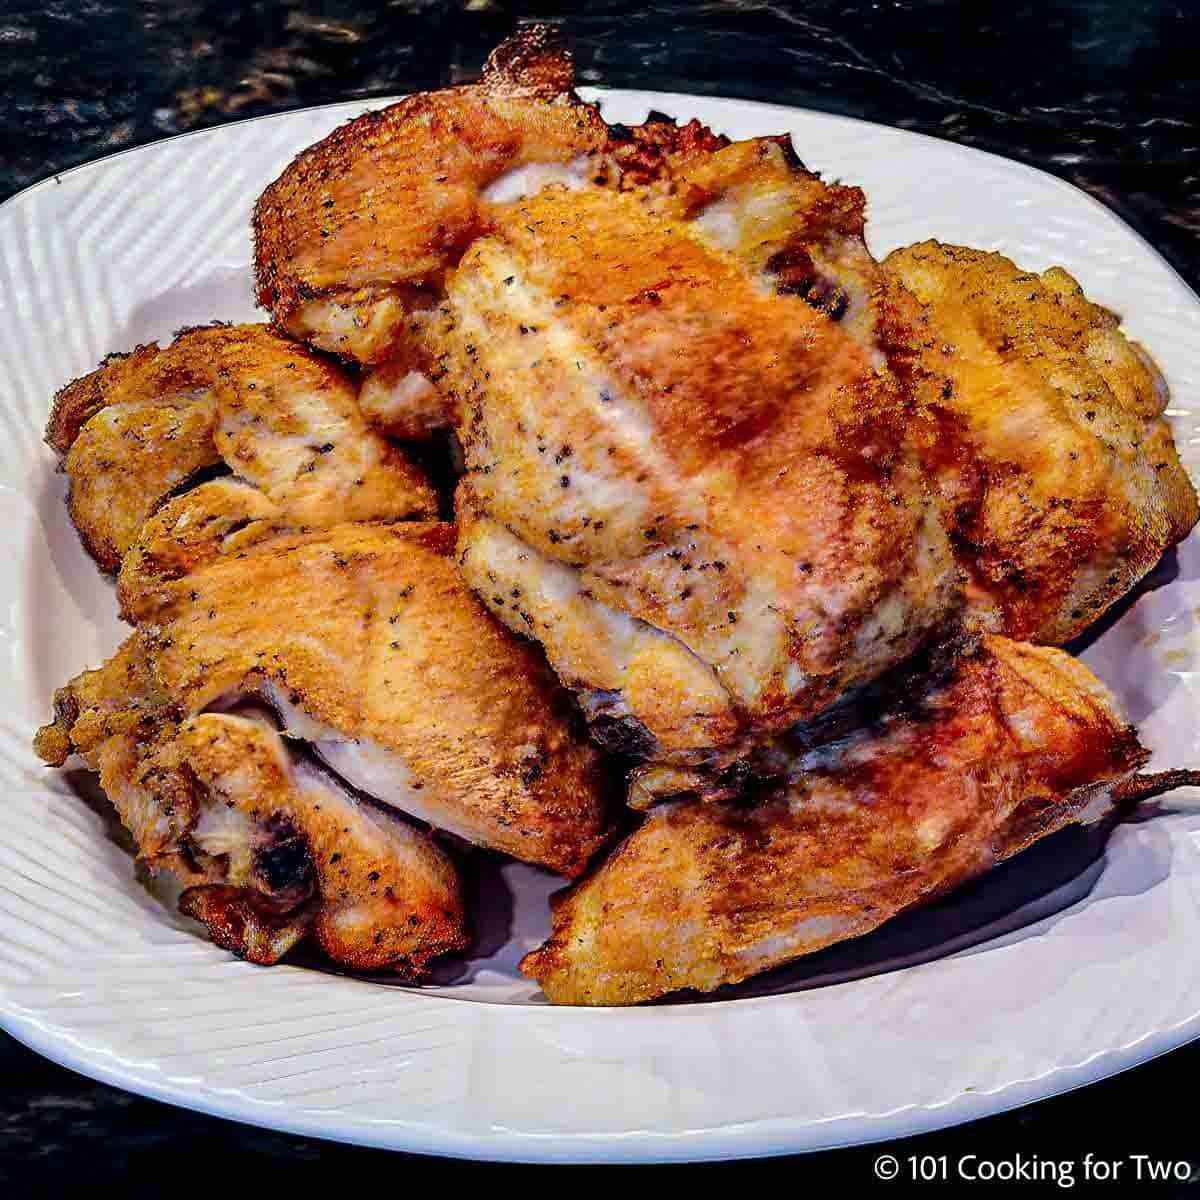
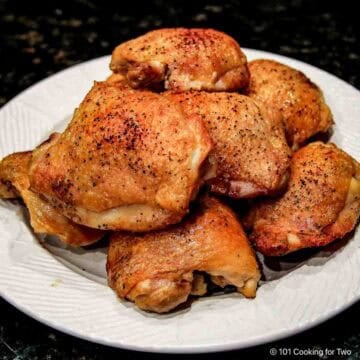
Trim it right, season it well, and bake it hot—that’s the whole secret to juicy, crispy baked split chicken breasts. This simple, foolproof recipe works in any oven for an economical, crave-worthy dinner every time.
How long do you bake split chicken breasts (bone-in)?
Bake trimmed split chicken breasts until the thickest part reaches an internal temperature of 165°F:
• 425°F (400°F convection): 35–40 minutes
• 400°F (375°F convection): 40–45 minutes
• Lower temperatures will work but produce less crispy skin.
Jump To (scroll for more)

Featured Comment by JJ:
⭐⭐⭐⭐⭐
"So delicious, crispy, fast, easy. This one is immediately in my top 3 chicken recipes…"
🧡 Why You’ll Love This Recipe
- Juicy inside, crispy outside: High oven heat plus proper trimming gives you great texture every time.
- Trim it once, cook it evenly: Smaller portions cook faster, season better, and stay juicy.
- Simple seasoning, big flavor: Garlic, onion, and spices do all the heavy lifting—no complicated rubs.
- Foolproof in any oven: Works just as well in convection or a regular oven.
- Economical and satisfying: An affordable cut that eats like a splurge.
🐓 Ingredients

- Split chicken breasts: Also called bone-in or skin-on bone-in chicken breasts. Big, flavorful, and budget-friendly.
- Seasonings: Garlic powder, onion powder, kosher salt, and black pepper—for simple, classic flavor.
- Cayenne pepper (optional): Adds a little kick if you like some heat.
- Celery salt (optional): Brings a subtle, savory bite—grassy and peppery.
- Baking powder (optional): Helps dry the skin for extra crispiness.
✅Pro Tip: Use aluminum-free baking powder. Some people can taste a bitter, metallic flavor in versions that contain aluminum.
👨🍳 Quick Overview: How to Bake Split Chicken Breasts (Bone-in)
This recipe works for a split chicken breast in an oven using either convection or conventional baking.
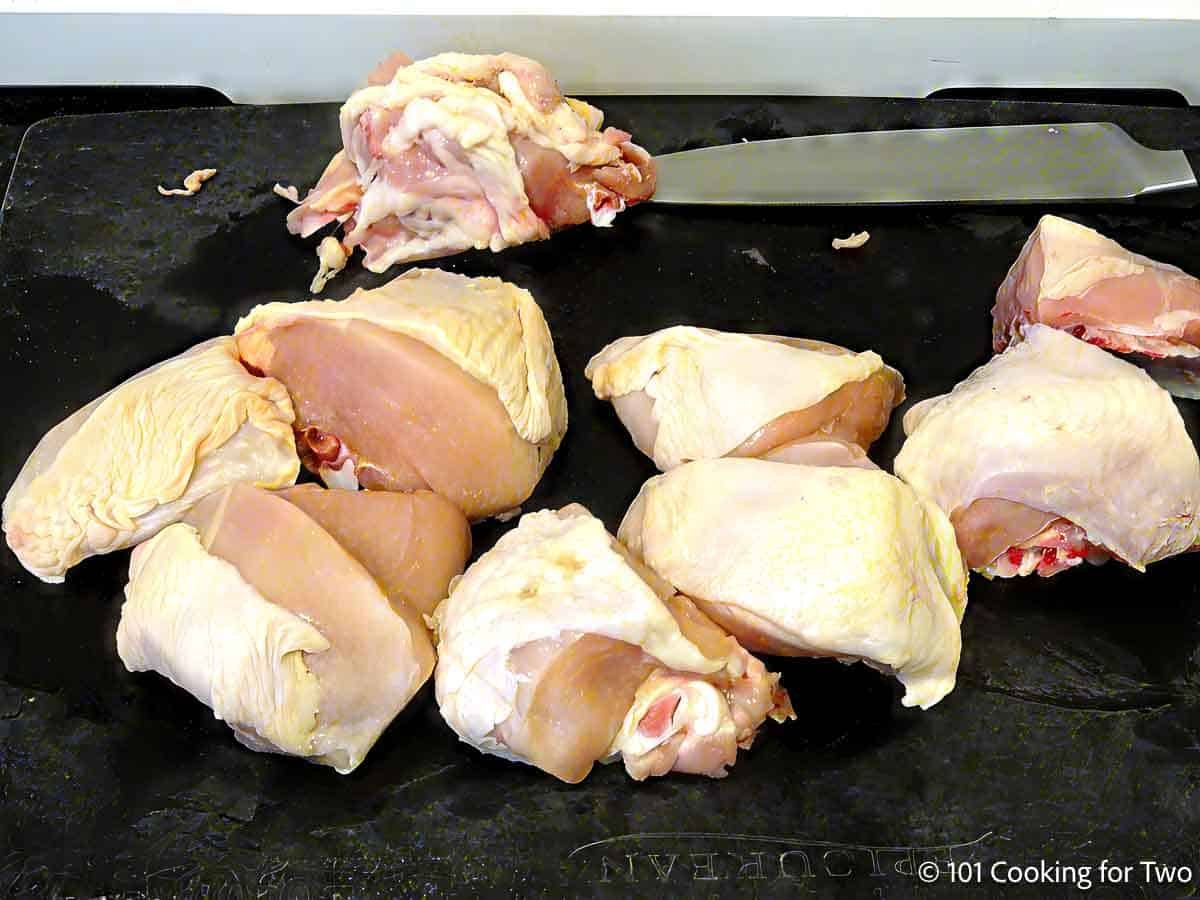
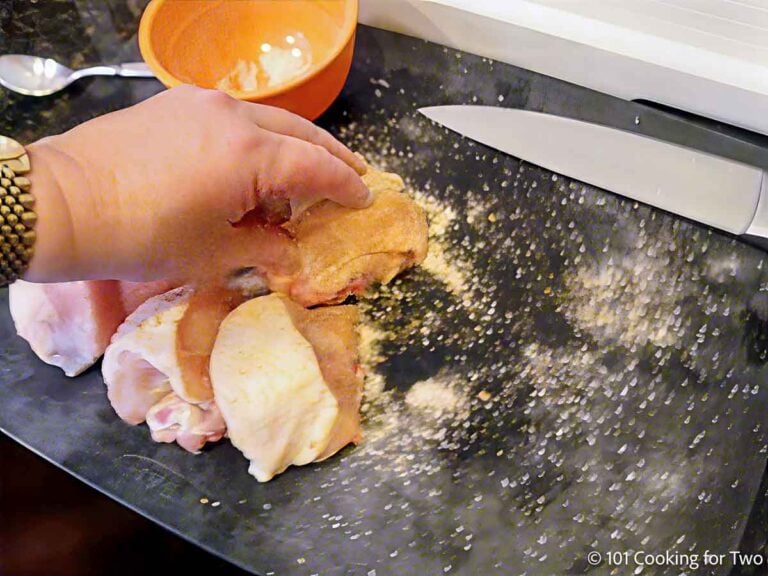
1. Trim the chicken: Pat dry, remove excess fat and the rib section, and cut each breast into 2–3 smaller pieces for even cooking.
2. Season well: Mix the spices (and optional baking powder) and coat all sides generously.

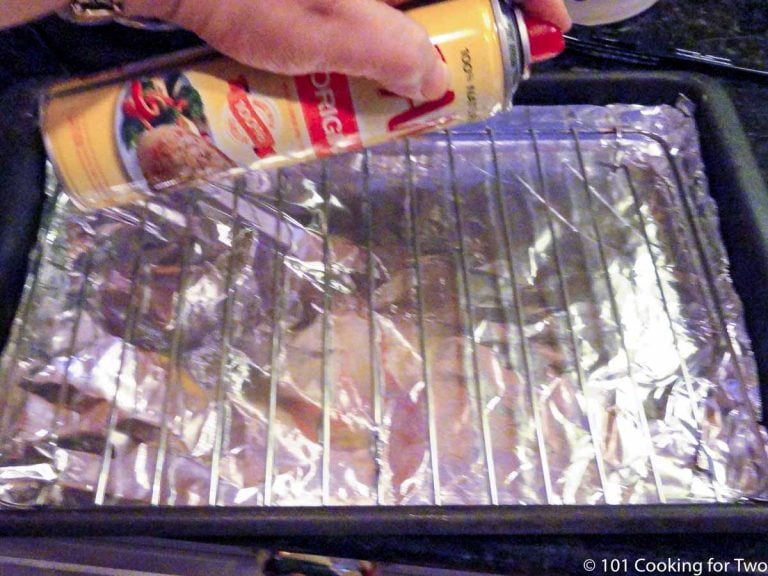
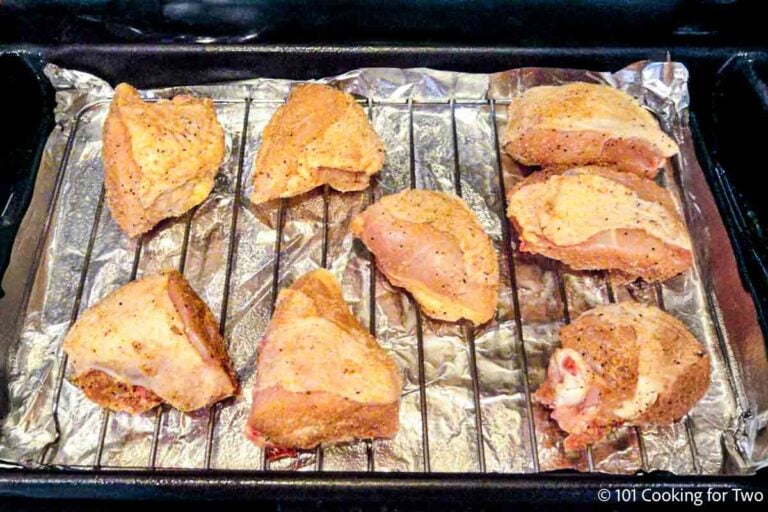
3. Prepare for the oven: Set the chicken on a foil-lined tray with a rack if you have one.

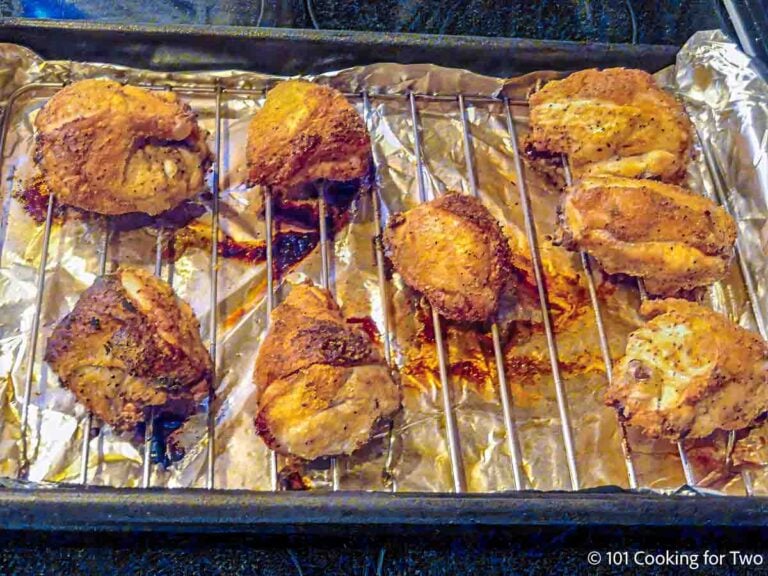
4. Bake hot to 165°F: Bake at 400°F convection or 425°F conventional until the thickest part reaches 165°F, about 35–40 minutes for most trimmed pieces. Rest 5 minutes before serving.

👉For split chicken breast oven cooking times at other temperatures, see the chart below.
✅Pro Tip: According to the USDA, chicken must reach 165°F for safety.
📌For complete step-by-step instructions, scroll down to the printable recipe card or keep reading for tips, flavor options, and serving ideas.
⏰ How Long to Bake Split Chicken Breasts (Bone-In)
Most trimmed split chicken breasts bake in about 35–40 minutes at 400°F convection or 425°F in a regular oven, but the exact time depends on thickness and how evenly they’re trimmed.
The chicken is done when the thickest part reaches an internal temperature of 165°F. Always use an instant-read thermometer—time alone isn’t reliable.
✅ Approximate Cooking Times by Oven Temperature
- 425°F (400°F convection) → 35–40 minutes (best for crisp skin)
- 400°F (375°F convection) → 40–45 minutes
- 375°F regular oven → 45–50 minutes
Lower temperatures will work but produce less crispy skin and require more time.
✅ Pro Tip: Cooking bone-in chicken breasts in a convection oven shaves a few minutes off the bake time and gives even crispier skin. If your oven has convection, use it.
Save this recipe!
✔️ Tips for Perfect Results
- Trim before baking: Cutting large split breasts into smaller pieces helps them cook more evenly, gives better portions, and increases seasoning coverage.
- Save the pan juices: Use them to make gravy—see How to Make Gravy from Scratch.
- Season to taste: The base mix is simple, but you can add herbs like rosemary, thyme, oregano, or basil.
- Rest before serving: Let the chicken sit for 5 minutes after baking. Carryover heat finishes the cooking and helps keep the meat moist.
🍗 More Split Chicken Breast Recipes
Split chicken breast oven baking is simple and reliable, but many home cooks skip it because they’re not sure how to use them.
- Stuffed: Try Garlic Butter Chicken or Chicken Cordon Bleu
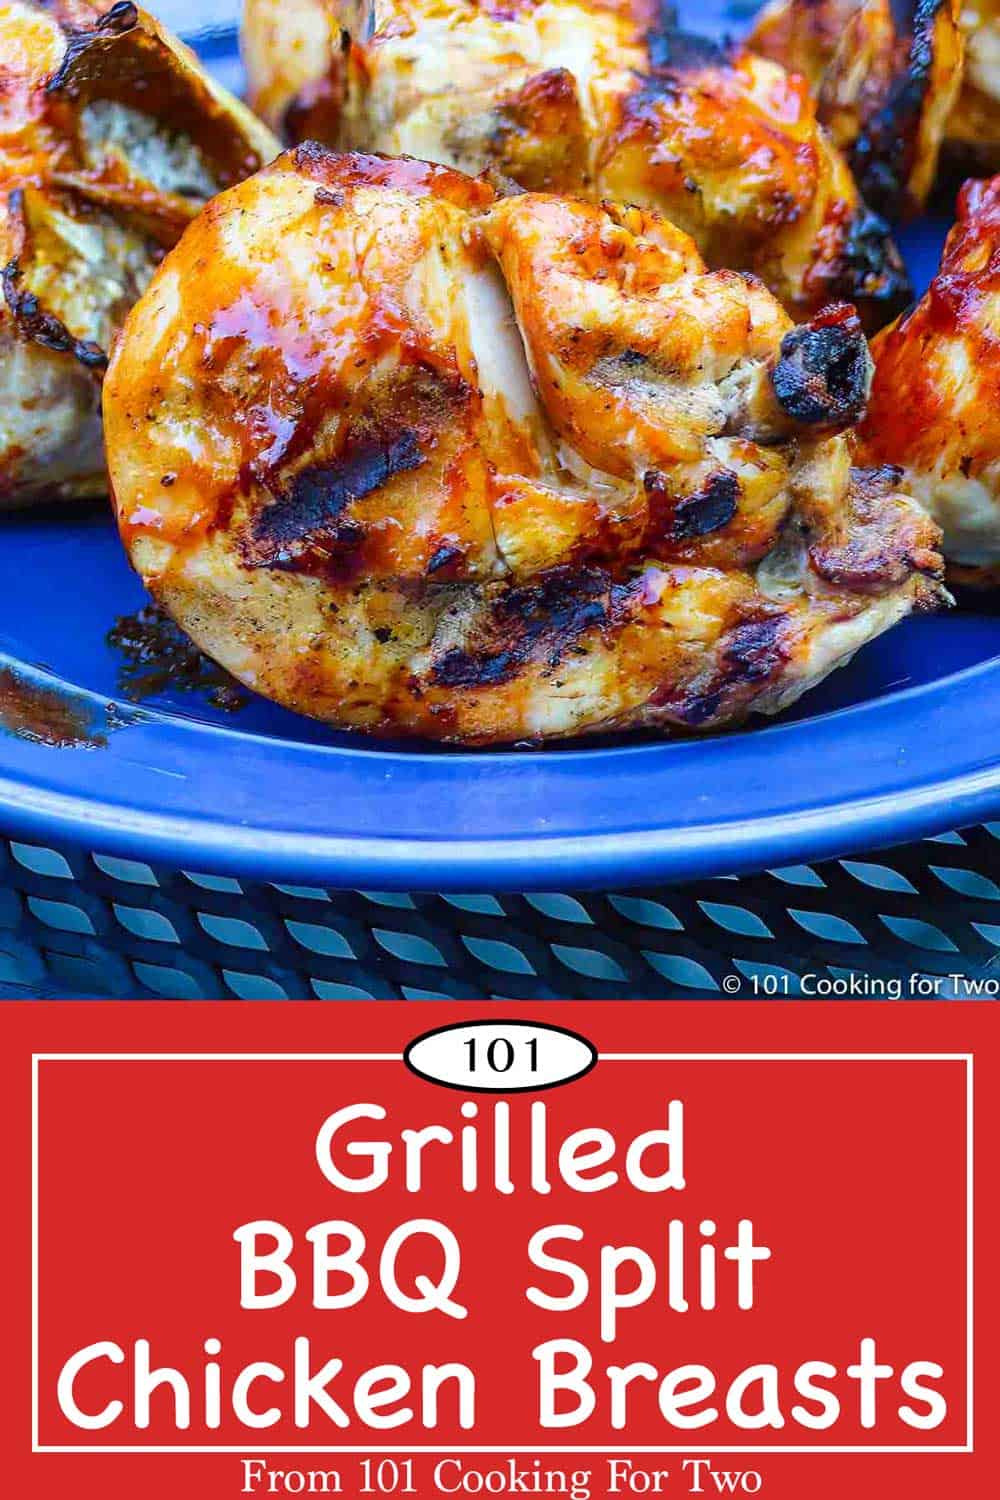
- BBQ-style: Go with Grilled BBQ Split Chicken or Baked BBQ Split Chicken
- Something different: Check out Herbs de Provence Chicken or Baked Mayonnaise Split Chicken
🍽️ Serving Suggestions
Serve with Roasted Small Potatoes, Cheesy Cauliflower Casserole, and green beans. Add yeast dinner rolls and a fresh strawberry jello pie to round out the meal.
❄️ Storing Leftovers
Leftovers should be stored in an airtight container in the refrigerator for 3–4 days. The skin will lose its crispness, but the meat stays moist and flavorful for reheating or repurposing. You can also freeze for 3 months.
For best results, reheat in a covered dish in the oven. The microwave works, but it will soften the texture. Leftover chicken is also excellent for garden salads, basic chicken salad, or Waldorf Chicken Salad.
❓FAQs
They’re bone-in chicken breasts with the breastbone split during processing—hence “split.” Most are skin-on and much larger than a standard serving, which makes trimming them before cooking a smart move. That also helps them cook more evenly and season better. Many people find them more flavorful and moist than boneless breasts.
Absolutely. A regular oven works great for split chicken breasts—just follow the same temperature and timing guidance. You’ll get crispy skin and juicy meat without needing convection.
No, but it helps. A rack keeps the bottom from getting soggy and promotes even crisping. If you don’t have one, coat the tray well with cooking spray or oil to help prevent sticking.
It draws moisture from the skin, helping it crisp in the oven. Even a short rest with the rub improves results. Use aluminum-free baking powder to avoid any off flavors. You’ll still get good chicken without it—just not quite as crispy.
Rinsing spreads bacteria and doesn’t help crisp the skin. Just pat the chicken dry with paper towels before seasoning. See Chicken... To Rinse or Not To Rinse? for a detailed discussion.
📖The Recipe Card

Juicy Oven-Baked Split Chicken Breasts (Bone-In & Crispy)
Ingredients
- 3 split chicken breasts (bone-in) - Scale to what you need
- 1 teaspoon garlic powder
- ½ teaspoon onion powder
- ½ teaspoon kosher salt
- ¼ teaspoon black pepper
- ¼ teaspoon cayenne pepper - optional
- ⅓ teaspoon celery salt - optional
- 1 teaspoon baking powder - optional Aluminum-free
Step-by-Step Instructions
- Preheat oven to 400°F convection or 425°F conventional oven.

Preparing the chicken
- Pat dry the chicken, trim the chicken off any trimmable fat and remove the rib area.
- Cut the chicken into pieces—the normal-size ones in half and the huge ones into thirds.

- Prepare a baking sheet with aluminum foil and a baking rack—coat with PAM cooking spray.
Seasoning the chicken
- Combine spices and baking powder (if using) in a small bowl. Sprinkle and rub on all surfaces, but you may not need all of the spice mixture; just season to your taste.
Baking the chicken
- Place on a rack skin side up with larger pieces in the corners—and thinner edges to the center. If you used baking powder and have time, let it set for 30 minutes to help dry the skin.
- Bake until internal temp of 165°. It takes about 35 minutes, depending on your oven and the thickness of the chicken. Let the chicken rest for 5 to 10 minutes before serving.
Recipe Notes
Pro Tips:
- Scale to the amount you want. I suggest a serving size of 4 to 5 oz.
- Proper trimming makes all the difference—smaller portions cook more evenly, season better, and make for easier serving.
- The celery salt adds some taste, but skip it if you don't have it.
- The cayenne pepper is also optional, to taste. ¼ teaspoon has a 2 or 3/10 heat level. kip it if feeding kids.
- I like cooking chicken on racks, but it is not that important here.
- Keep the thicker parts of the chicken towards the outside of the baking tray.
- Be sure to check for a final internal temperature of 165°. Do not guess or cook by time alone. Use an instant-read thermometer.
- Leftovers are great in the refrigerator for 3-4 days and can be frozen for 3 months.
Your Own Private Notes
To adjust the recipe size:
You can adjust the number of servings above; however, only the amount in the ingredient list is adjusted, not the instructions.
Nutrition Estimate (may vary)
Editor's Note: Originally Published May 25, 2011. Updated with expanded options, refreshed photos, and a table of contents to help navigation. Please enjoy one of our easiest, most flavorful chicken recipes.

Jerry says
Thanks for the spice mixture. I made it in a conventional oven took about 45 minutes at 450 degrees baking because I turned the meat over when I saw the top had browned and browned the bottom side as well. Used leftover meat next day to make a chicken salad, couldv'e shredded some and made chicken tacos or enchiladas it was delicious.
amy says
This was really good and easy. I thought it was a little bit too spicy for me even after cutting down on the cayenne. Still would make it again for sure. My hubby gave it a 4.5 out of 5. Thanks for a great recipe!
Tammy Hazen says
I am always looking for good chicken recipes. So thrilled to have found this one. My husband, who is always complimentary blew me away with his "I've never had better tasting chicken in my life" comment. This is already in recipe book and will be on the menu repeatedly. THANKS!
Barbara Weiss says
What if the chicken is not completely defrosted? Will this still work? Would you just adjust the cooking time? Thanks in advance! This sounds great & I'd love to try it tonight if I get an answer quickly enough....
DrDan says
The more frozen it is, the harder to get the meat to 165 without burning the skin. If you must then cut in smaller pieces so the centers can cook faster.
DrDan
Ben says
You have another similar recipe that calls for baking powder but after you season the chicken, you refrigerate it for a time. Would that be prudent here to dry out the skin more?
DrDan says
Hi Ben,
You are right. I took the idea from Cooks Illustrated (or Test Kitchen) and was copying their technique. I repeated it a number of times and came to the conclusion that it works also as good ( I can't tell the difference) without the 1 hour uncovered. So I now skip that. I think the baking soda pulls out the moisture out fairly quickly and then the heat of cooking evaporates it.
DrDan
AlisaLange says
I have never been moved to post a comment on a recipe but this one really is a winner! For once in my life I didn't tinker at all as I was pressed for time...had a bunch of chicken breasts and unexpected company coming. I searched and found this one. It was perfection....just the right amount of spice, the baking powder creates a nice crispy skin (I learned this trick for fried chicken but never thought to use for baked!), and the instructions were easy to follow. Will definitely check other recipes on this site. Thanks....everyone commented on the juicy inside and super spice rub.
Alisa
DrDan says
Thanks for the note. This is one of my favorites.
Welcome to the site.
DrDan
Candace Ziegler says
This chicken is amazing! So glad I stumbled upon it today. Thanks so much.
Castilleja says
Forgive my ignorance.. maybe I'm way more clueless than I thought. Or maybe more tired..
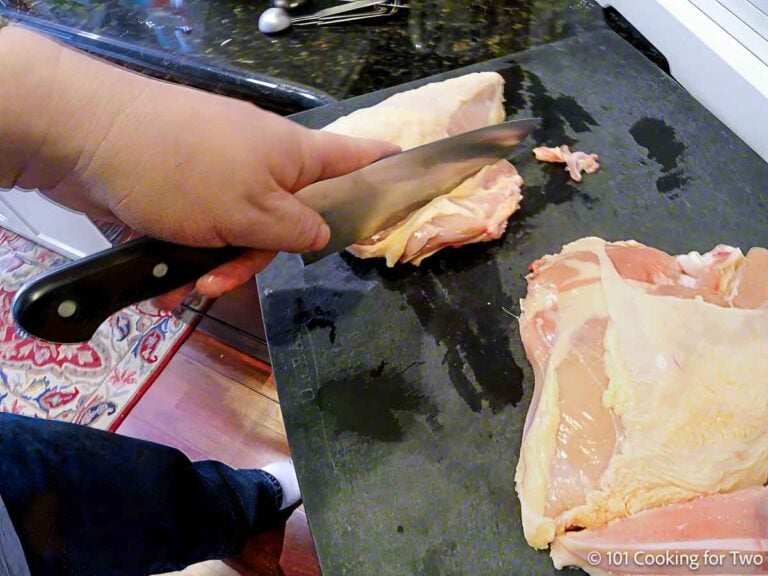
Could you please explain to me what you mean by "remove the rib area?" For some reason, I'm not wrapping my head around that :-/
DrDan says
There is a thin area to the side of the meaty part that is bones (some ribs really) with minimal meat covered by skin. There is no reason to cook it since you probably will not eat it and it will over cook. Just cut it off. I tried to show it in the picture but maybe could have gotten a better shot. Or you can leave it on if you want.
Hope that helps
DrDan
Jill says
I have been looking for a new chicken recipe especially for on the bone! I was a little hesitant of this one because of the cayenne pepper (don't like too spicy),BUT this was absolutely delicious and I have to say the cayenne was the hero! My husband is the real food critic and I wasn't sure what he would think BUT he loved it as well! It was my first meal in our new oven which has convection and boy did that make a difference - It cooked quicker and more even - crispy skin - juicy meat on the inside and full of flavor! Definitely a WINNER!!!!!!!!! Thanks so much - I wouldn't change a thing!
Shirley Rodnitzky says
Looks good, will make today but I think you mean a baking rack not a rake unless rake is another name for that item which I am not familiar with.
DrDan says
Ohhhhh shucks. 4 spots fixed. I have got to stop depending on spell check and proof better.
Thanks for the note.
DrDan
Anna says
Really excellent. I made full breasts with this rub and they had lovely brown skin with just a hint of kick from the cayenne. Still juicy as well. I cut out the celery salt and lessened the kosher for a great, healthy, simple chicken recipe.
DrDan says
Thanks for the note. The celery salt is not really that necessary but I do like the pinch of cayenne.
DrDan
kelsey says
what's the baking powder for?
DrDan says
It pulls some moisture out of the skin to allow it to crisp more...
DrDan
Amy says
Loved it except a bit salty" so be aware!! Thanks!
DrDan says
Thanks for the note.
DrDan
Helen Blank says
I made this last evening and it was amazingly delicious! I love the spice combination. The leftover white meat made really good sandwiches today.
DrDan says
This is one of my favorite "older" recipes. I do it without even thinking that it is on the web site...
Thanks for the comment
DrDan
jolee says
your reply was not only very helpful but very quick! thank you so much
jolee says
My husband came home from his deployment yesterday! When he left my chef skills ended with a grilled cheese. With practice and this recipe I want to impress him (and our daughter) tonight .However, I do not have a convection oven :( can I make this in my conventional oven? if so, what cooking time&temp would you suggest?
thank you!
Jolee
DrDan says
Either a little longer (like 5+ minutes longer) or 450 regular oven. Be sure to check internal temp for the end point.
Good luck
Dan
jim says
i don't have a convection oven. what temp and time changes need to be done?
DrDan says
Either a little longer (like 5+ minutes longer) or 450 regular oven. Be sure to check internal temp for the end point.
DrDan
Jan says
Too much cutting! I will go back to Barefoot Contessa's oven roasted chicken.
Christina says
Made this recipe tonight but I brined it first thinking I would have more tender flavorful meat but then it ended up being too salty so don’t brine it and FYI the cayenne was a little much and I’m pretty good with the heat but I do love this recipe and will try again without the brine that probably messed it up. But just want to let others know.