The best way to cook thick pork chops is a brief pan searing followed by baking to 145°. Use 1 ½ to 2-inch chops seasoned to your taste, and I love to add the easy homemade gravy for a delicious comfort food dinner.
🐖Ingredients
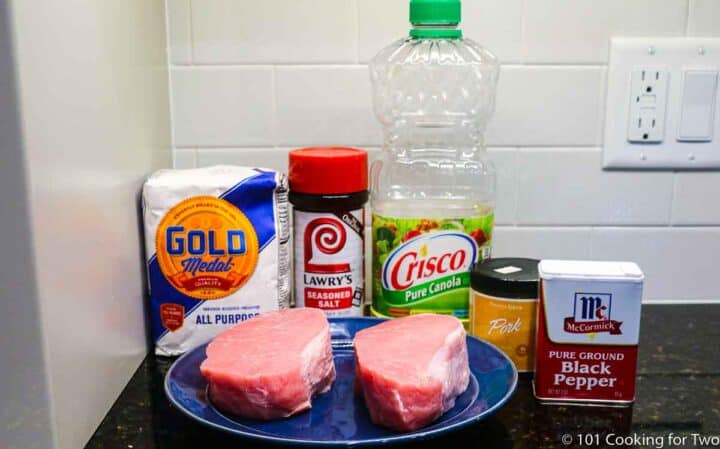
Thick pork chops—1½ to 2 inch thick, boneless or bone-in
Seasoning salt—Lawry's or similar
Black Pepper
For Gravy—broth, flour, water
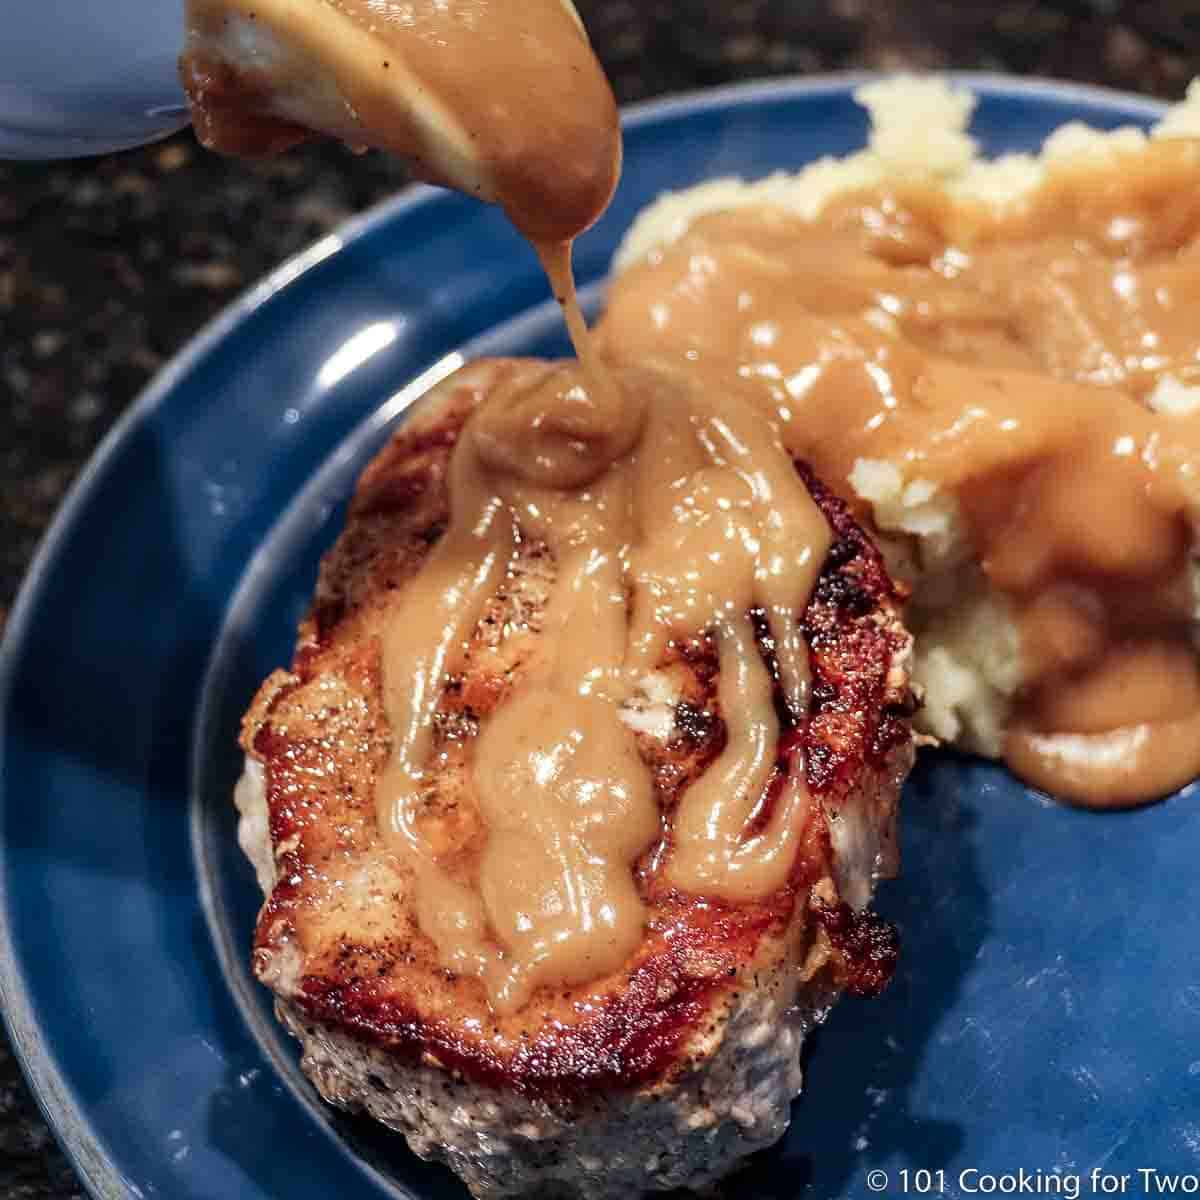
TABLE OF CONTENTS
- 🐖Ingredients
- 👨🍳How to Cook Thick-Cut Pork Chops—Step-by-Step Photo Instructions
- ⏰How long to cook thick pork chops
- 🌡️Levels of cooked pork doneness
- 🧂Seasoning
- ✔️Get it right every time
- 👨🍳Cooking pork chops 2 ½ inches or thicker
- 🧂Should I brine thick pork chops
- 🔥Grilling thick pork chops
- 🥣Making the optional gravy
- 🍴Serving
- ❄️Storing leftovers
- ❓FAQs
- 🐖About Pork Chops
- 📖 Recipe

Featured Comment by Debbie:
⭐⭐⭐⭐⭐
"I tried your recipe tonight. I am not a big fan of pork chops, they always end up a bit dry. I followed your recipe, including the brine…THEY WERE THE BEST CHOPS I HAVE EVER EATEN!! I will never cook them any other way."
Cooking thick-cut pork chops can be intimidating to home cooks, but this easy sear-and-bake recipe will yield incredibly juicy and tender chops. You can also step it up with a marinade or optional brine.
Today's pork is not yesterday's pork. It is now lean, healthy meat and can be delicious protein for a healthy, balanced diet.
Do you need a recipe for 1-inch-thick pork chops? For inside cooking, check out Fried Pork Chops with Gravy, Breaded Pork Chops, or Pan Seared Oven Roasted Pork Chops. For the grill see How to Grill Pork Chops on a Gas Grill.
👨🍳How to Cook Thick-Cut Pork Chops—Step-by-Step Photo Instructions

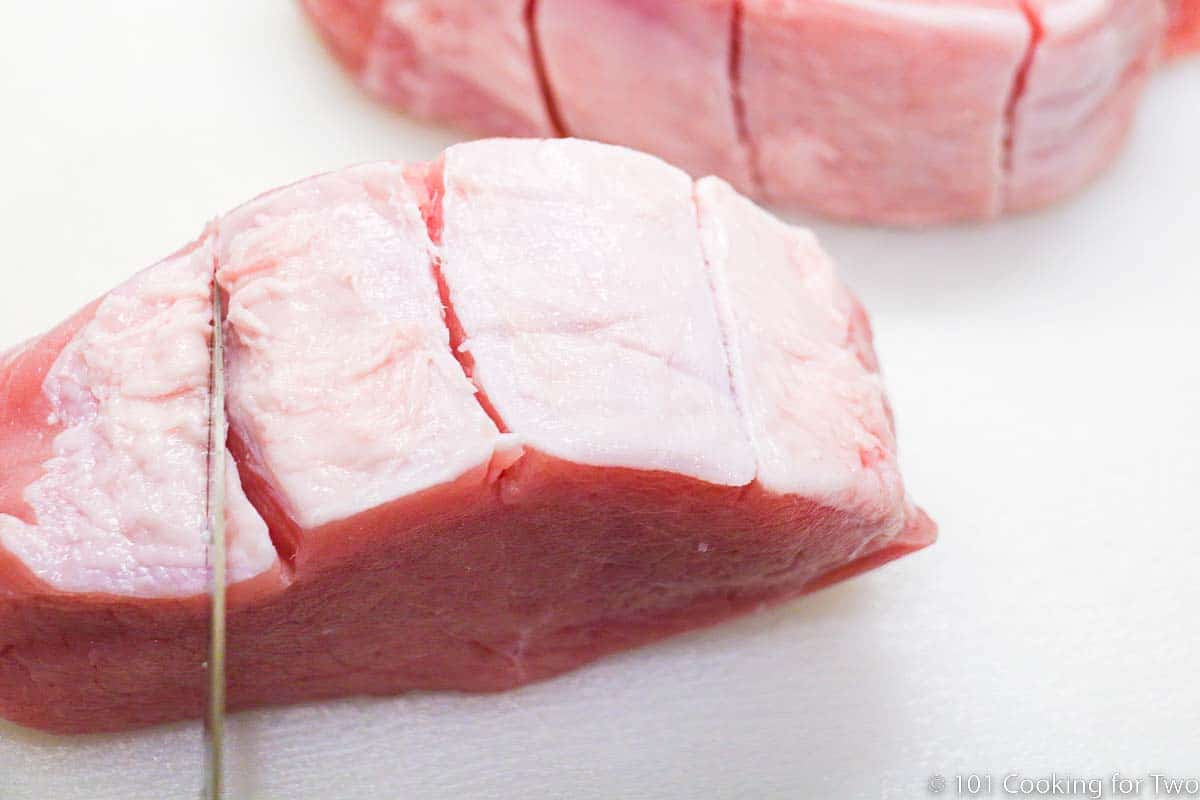
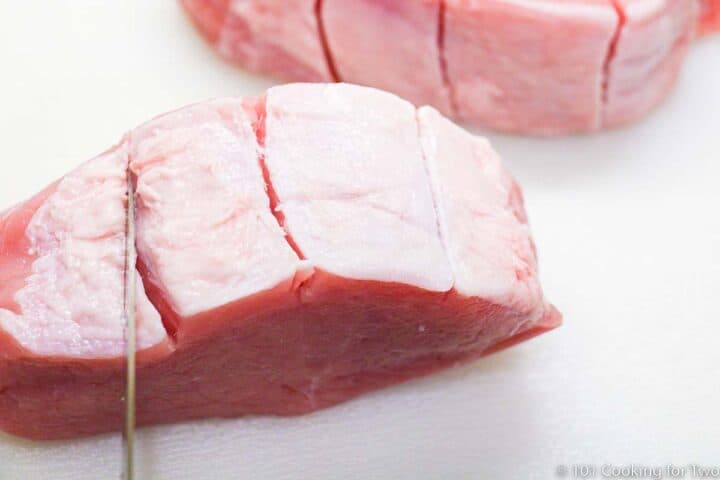
1. I prefer boneless, 2-inch center-cut pork chops. Trim the fat ring and slice relief cuts. Rest at room temperature.
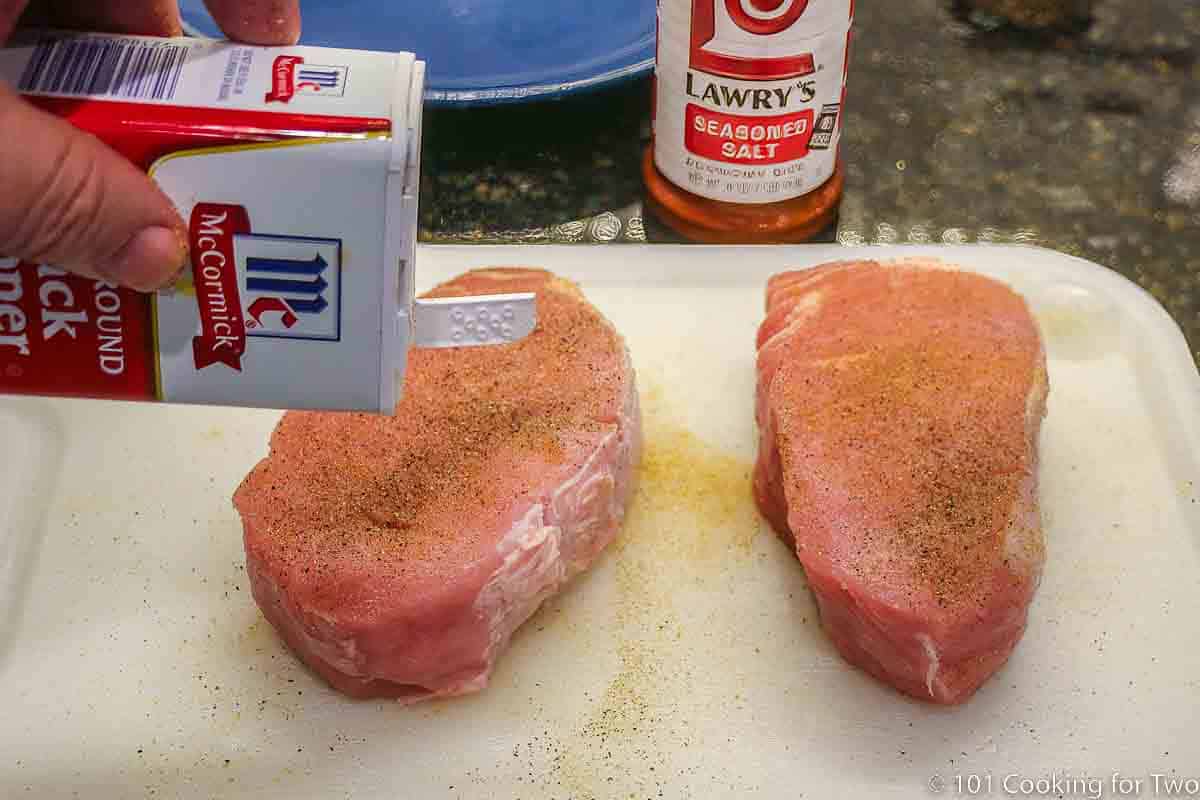
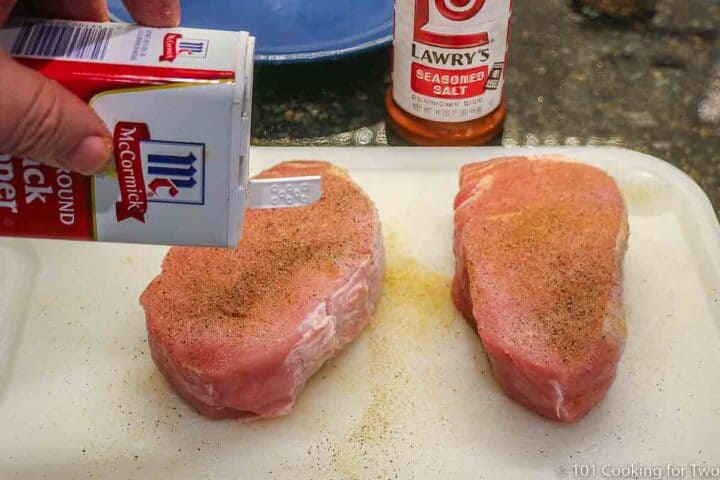
2. Pat dry with paper towels and season to taste with seasoning salt and pepper.
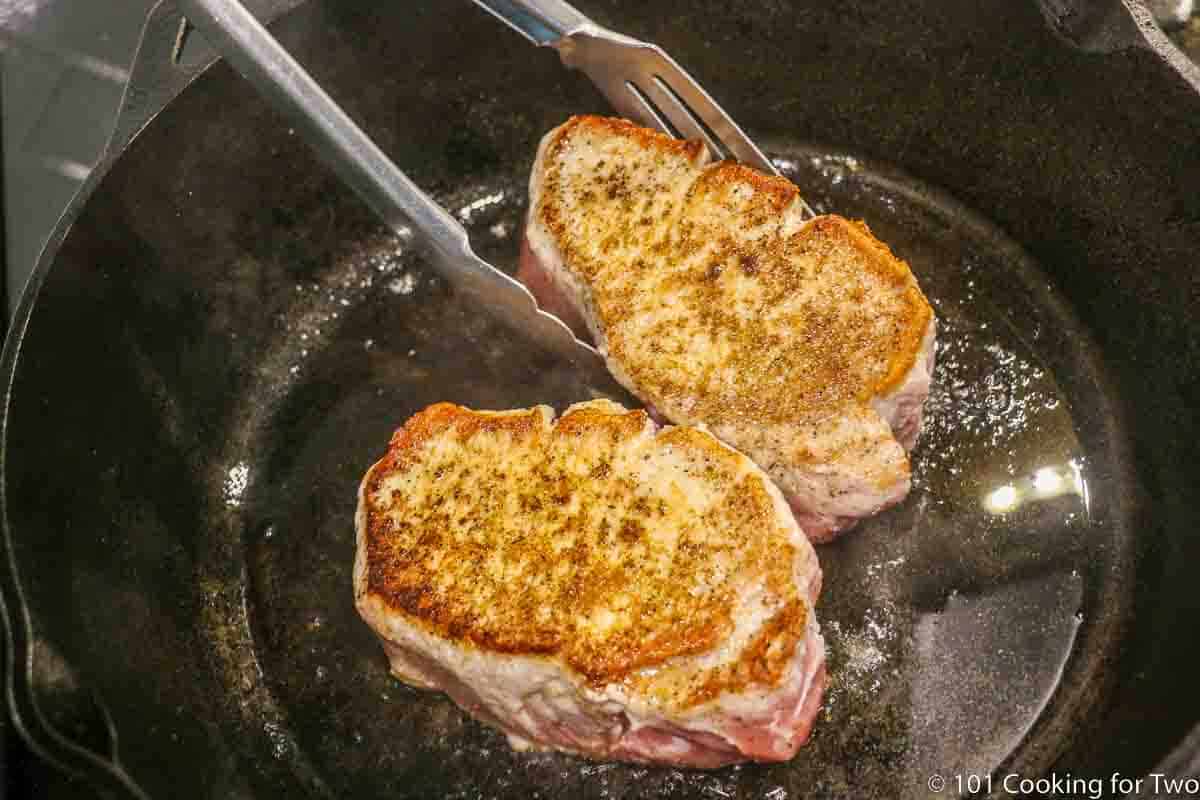
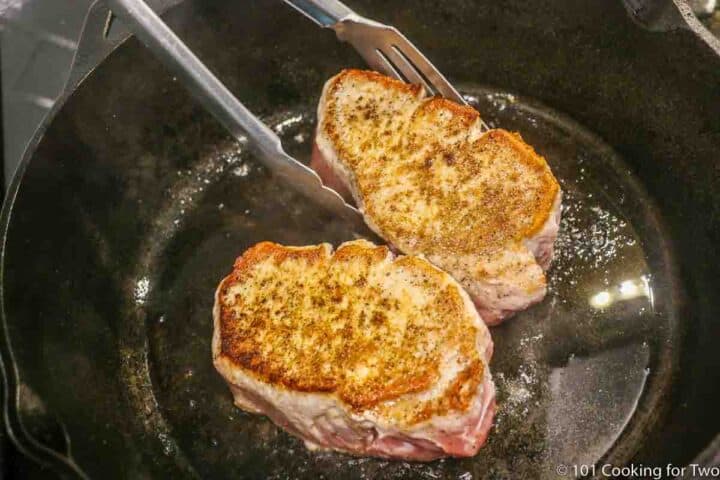
3. Heat oil over medium-high heat. Sear both sides of the chops for 2-3 minutes until gettings some nice browning.
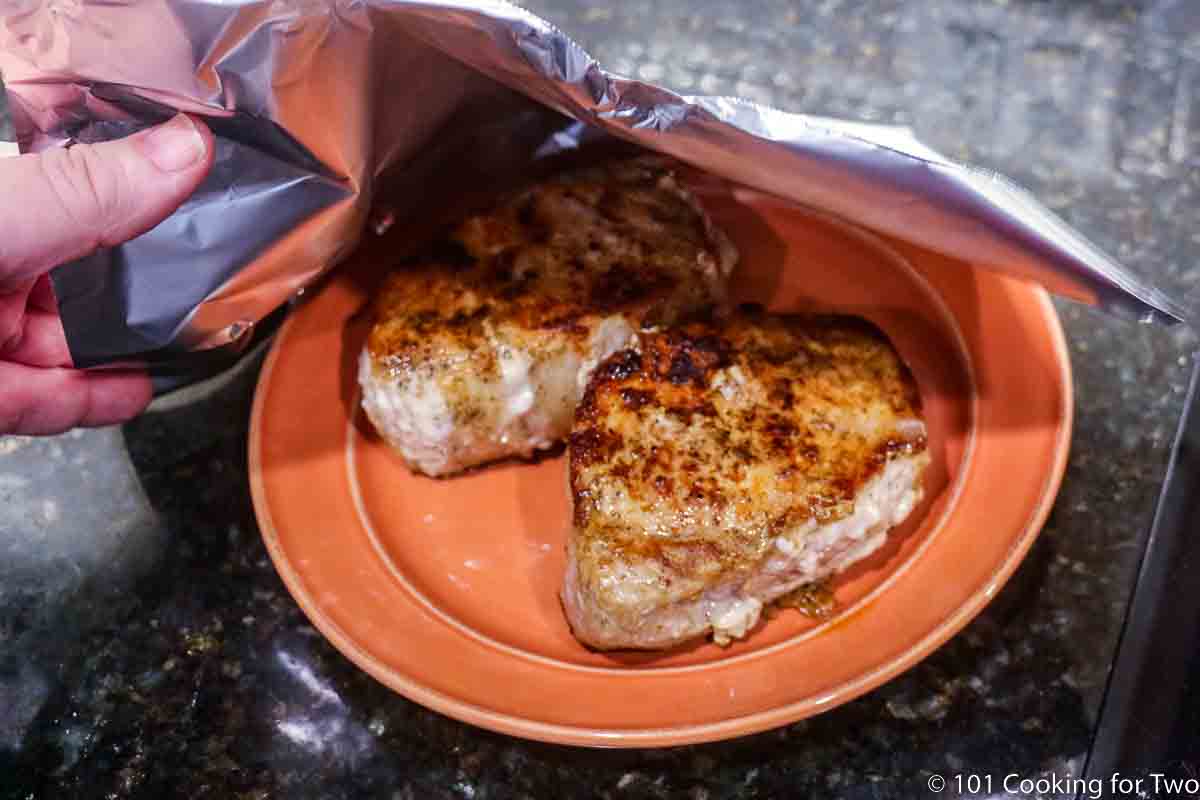
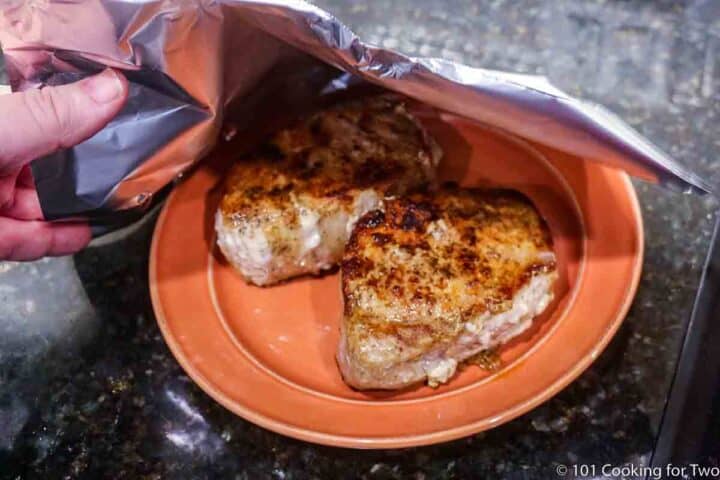
4. Transfer to 375° convection or 400° conventional and cook until an internal temperature of 145°-150°—about 20-25 minutes. Bone-in chops will take a few minutes longer. Remove and tent with foil.
Optional Gravy
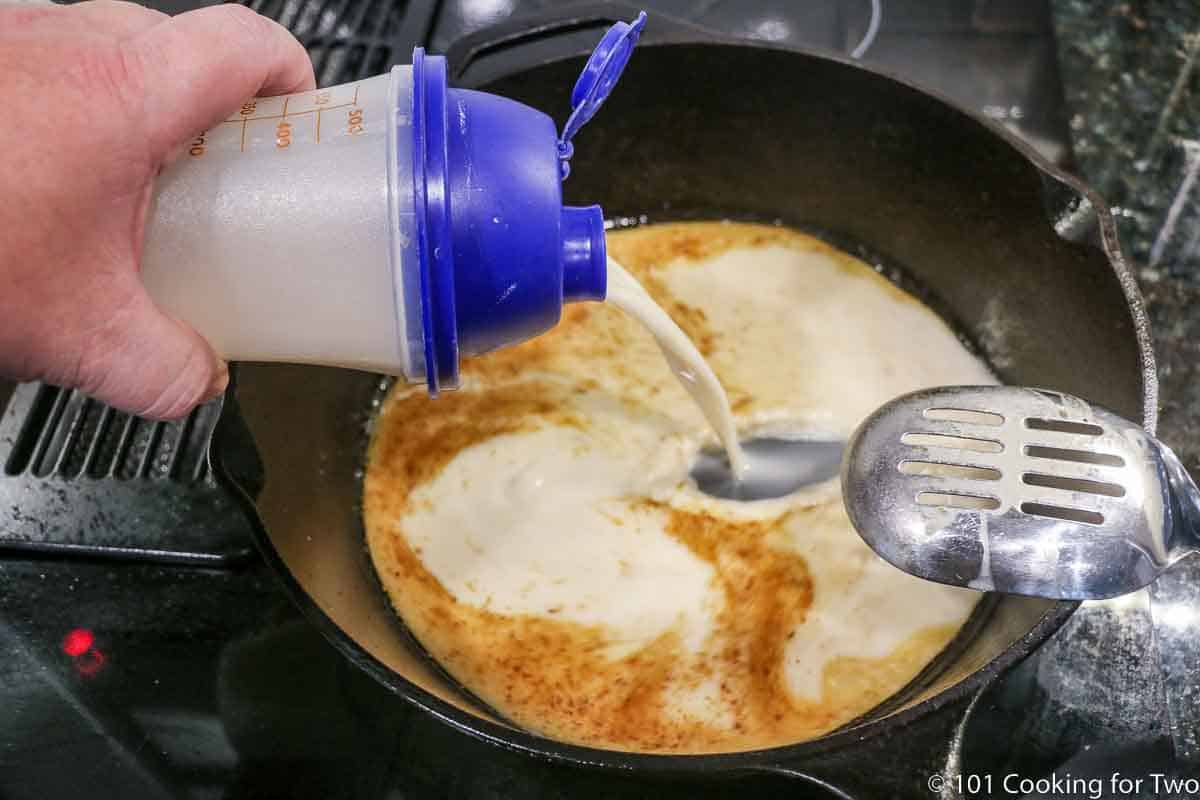
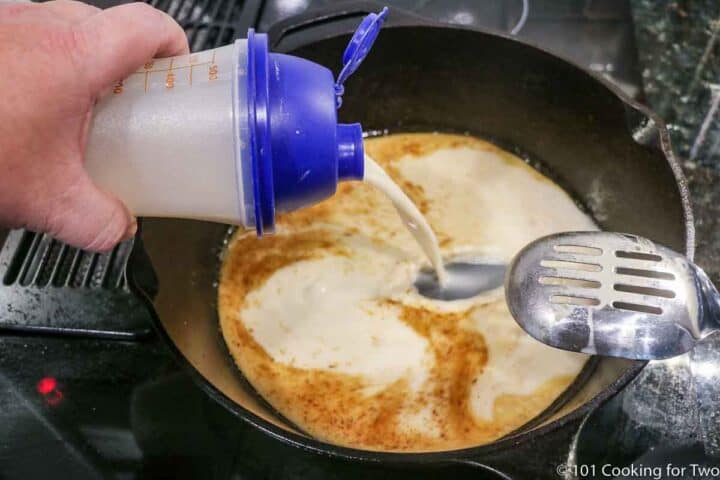
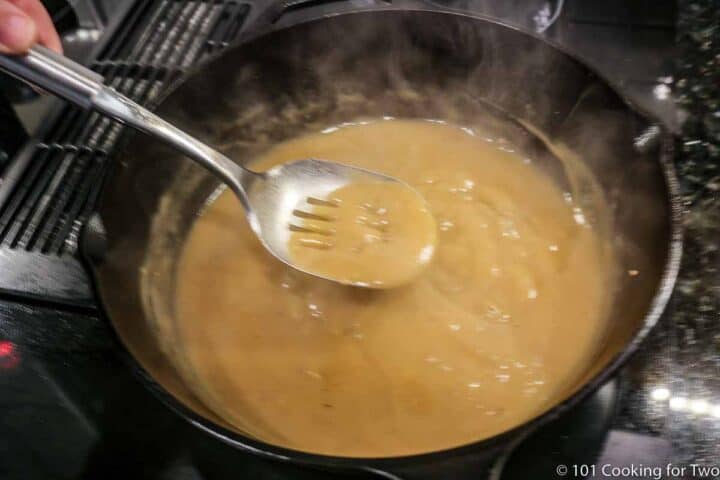
5. Whisk flour into half of the broth. Bring the remaining broth to a boil. Slowly add the broth/flour mixture while continuously whisking.
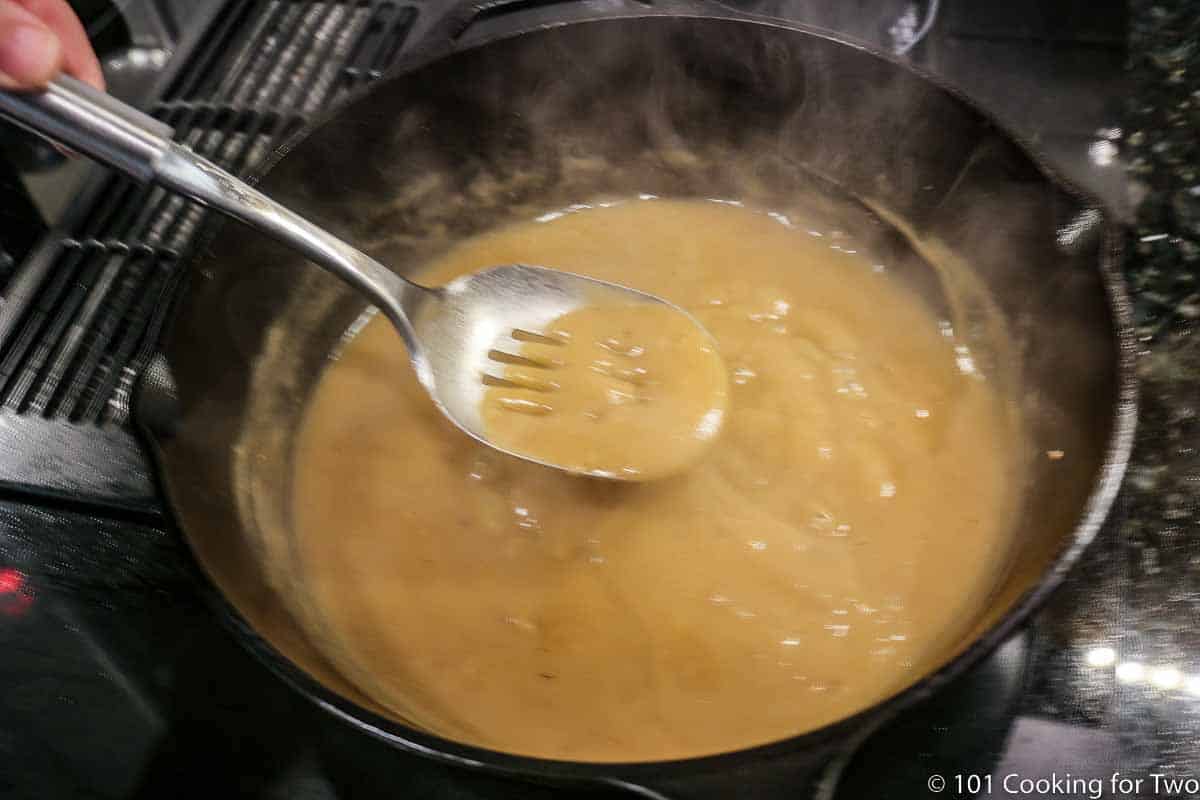
6. Continue to whisk until thickened, about 2-3 minutes.
For more details, keep reading. See the Recipe Card below for complete instructions and to print.
⏰How long to cook thick pork chops
The total cooking time for a 2-inch thick boneless pork chop will be about 30 minutes. This includes 4 to 5 minutes of searing time plus about 20-25 minutes in a 375° convection or 400° conventional oven to reach 145° internal temperature. A bone-in chop will take a few minutes more.
Several variables will affect the cooking time of thick-cut pork chops: the thickness, the duration of searing, the temperature of both the meat and oven and the searing time.
The pan-searing is needed to create a Maillard reaction which is the browning that adds lots of taste. Skipping searing will add a few minutes to the total cooking time and decrease the quality of the results without the Maillard reaction.
🌡️Levels of cooked pork doneness
The USDA recommends a 145° minimum internal temperature with a 3-minute rest for safety. Remember, the final temperature may rise a few degrees after removal from the oven.
Rare—less than 145° is not recommended due to USDA safety recommendations.
Medium-Rare is 145°-150° with a touch of pink.
Medium is 150°-155° with the pink disappearing and a little dryer.
Medium-Well is 155°-160° is starting to dry significantly.
Well Done is 160°+ not recommended due to dryness.
🧂Seasoning
I recommend keeping it simple with your favorite seasoning, salt, and pepper, but you can use any seasoning you wish. You should not add salt if you brine, so I recommend some paprika with black pepper.
A marinade will add a lot of flavor. My steak marinade recipe also works well on pork chops.
✔️Get it right every time
Choose the pork chops you want. I like to use boneless 2-inch thick center-cut pork chops. But chops may be between 1 ½ to 2 ½ inches thick, with or without bones. 2 ½ inches or above needs some adjustment to the technique discussed below.
Resting at room temperature is the first secret to all thick-cut pork chop recipes. An old trick but a goodie, let room temperature get you a 30° jump on getting to chops fully cooked. Your cooking will be much faster and easier. So rest for at least 30 minutes but an hour is better.
Start looking at the temperature of the meat after about 12-15 minutes in the oven since it will cook faster. Remember you are cooking to a final temperature and not by time.
👨🍳Cooking pork chops 2 ½ inches or thicker
Many people will assume with thicker meat; you should use a higher temperature. The truth is the opposite. There must be time to cook the center of thick meat while not overcooking and drying the surface.
Decrease the oven temperature by 25° to 350° convection or 375° conventional. Be careful not to over-sear and cook to a final internal temperature. It will take 5 to 10 minutes more.
Another option would be to use a reverse searing method: bake to 140° in the oven, then sear on the stovetop as the last step to bring the temperature to a minimum of 145°.
🧂Should I brine thick pork chops
I recommend brining it if you have the time, but I have excellent results without brining.
To brine pork chops:
- Combine 2 tablespoons of salt and 2 tablespoons of sugar (brown or white) with 2 cups of water.
- Add the chops and refrigerate for 30 minutes to a few hours. After brining, rinse well to remove extra salt.
- You have already salted the chops, so do not use seasoning salt. Just some pepper and a sprinkle of paprika would be good.
🔥Grilling thick pork chops
While I prefer to cook thick chops by the sear and oven-bake method, grilling does add some unique flavor.
- Follow the sear and bake instructions for trimming, resting at room temperature, optional brining, and seasoning, but do not sear.
- Preheat the grill to 350° to 400° surface temperature.
- Grill the chops, flipping every 5 minutes, until they reach an internal temperature of 145°—about 20-25 minutes, but it's variable.
- Remove and tent for 5 minutes before serving.
🥣Making the optional gravy
Everybody loves gravy, so let's make some great quick, and easy gravy.
I like to use a pork gravy base from Penzeys to make "pork broth." You can use chicken or vegetable broth if you don't have the gravy base.
There are two basic ways to make gravy. You can make a roux by mixing flour with the grease in the pan and cooking for a few minutes. Or our simple way of mixing flour in some liquid and adding that to boiling fluid.
Please visit How To Make Gravy at Home for more information on gravy.
🍴Serving
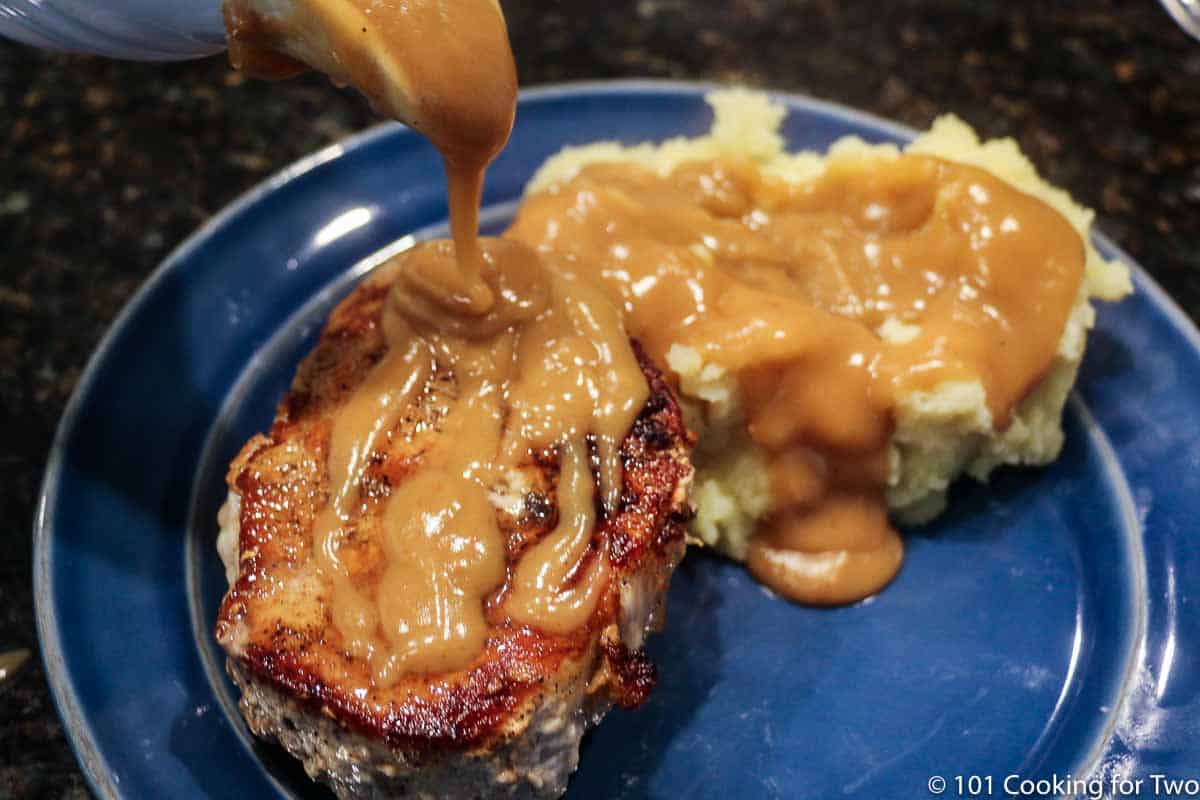
I love to serve pork chops with mashed potatoes, but try Oven Roasted Little Red Potatoes or Baked French Fries. A hot vegetable like oven-roasted asparagus, baked green beans with bacon, or baked cauliflower is a great addition.
End the meal with an easy apple crisp or blueberry cumble pie.
❄️Storing leftovers
Leftover pork chops should be stored in an airtight container, refrigerated for 4 days, or frozen for 4 months. Since gravy is made with flour, it can be stored in the same way as pork chops.
❓FAQs
Yes. There are too many variables to cook by time or color and expect acceptable results.
I buy a pork gravy base from Penzeys Spices and make my broth. You can also use other pork gravy bases or bouillon cubes. Otherwise, you can make gravy using just the pan drippings combined with vegetable or chicken broth.
No, any oven-safe pan can work, but cast iron is perfect for searing any meat. It transfers heat perfectly, leading to even heat across the entire surface without hot spots. It also holds the heat well and is excellent for moving from the stovetop to the oven.
Cast iron is cheap, durable, and will last generations. Every home cook should have a skillet or two.
The USDA minimum safe internal temperature for pork is 145°.
🐖About Pork Chops
The pork chops we are talking about in this recipe will be one of the middle three in the above diagram. Usually, the "extra thick pork chops" will be a boneless slice of a whole pork loin at least 1 ½ to 2 inches thick or more.
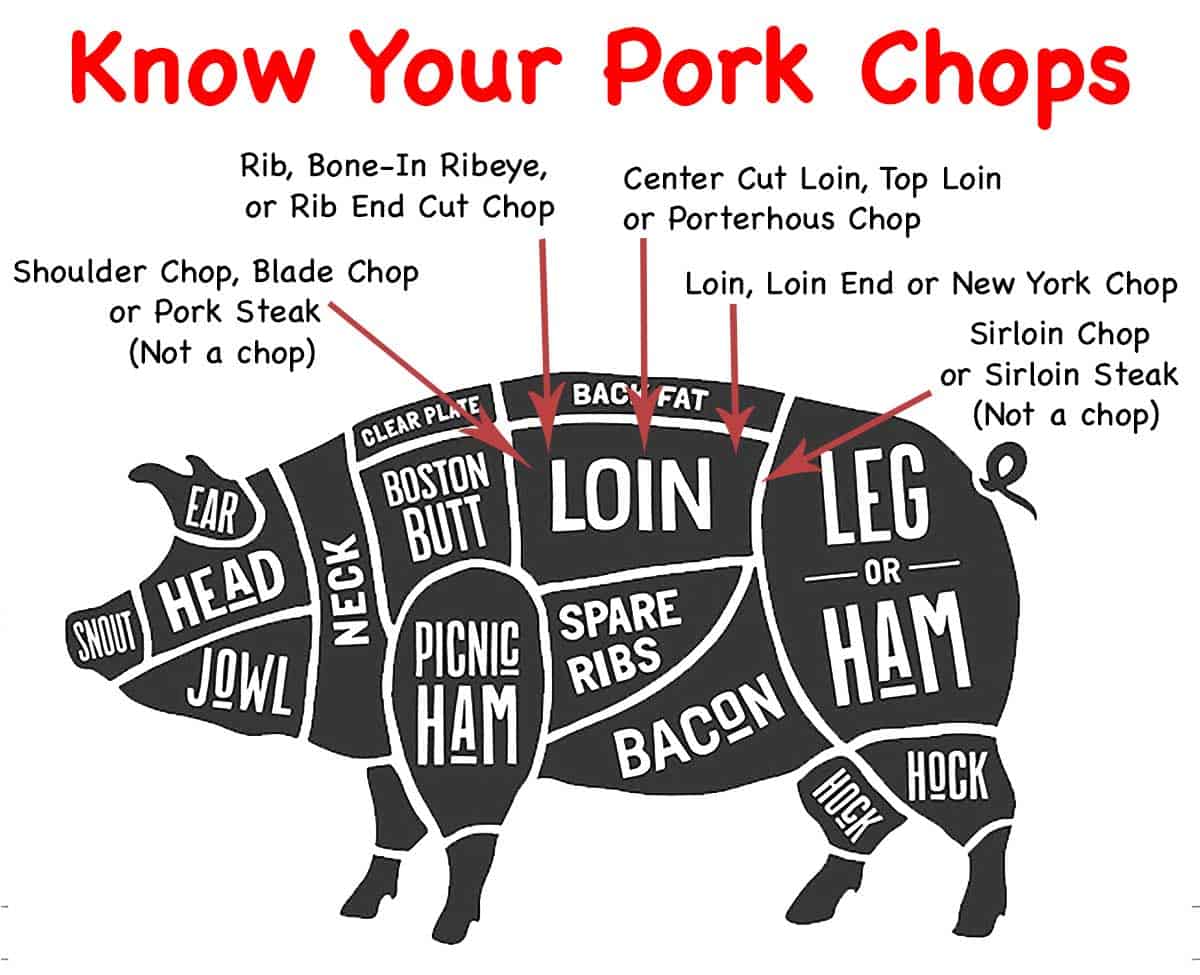
If you enjoy these thicker chops, pick up a whole pork loin when it is on sale and cut it yourself. It's half the price, and they will freeze great for 3-4 months.
Some thick chops will come with bone-in. This is fine but will take a few more minutes to cook since the bone will absorb more heat.
📖 Recipe
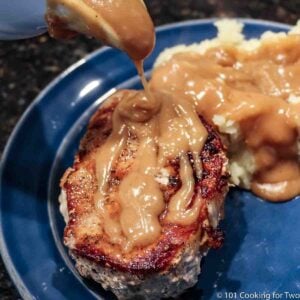
How to Cook Thick Pork Chops
Ingredients
- 2 pork chops - 1 ½ to 2 inches thick or more
- 2 tablespoons oil
- Lawry's Seasoning salt - to taste
- pepper - to taste
For Gravy
- 2 teaspoons Broth—pork, chicken or vegetable.
- 4 tablespoons flour
- 2 cups water
Instructions
- Allow the pork chops to rest at room temperature for 30-60 minutes—preheat oven to 375° convection or 400° conventional.
- Use 1 ½ to 2-inch thick boneless or bone in pork chops. If there is a fat ring, trim it to ½ inch thick and slice it at about 1-inch intervals.
- Pat dry with paper towels and season to taste with seasoning salt and pepper.
- Heat 2 tablespoons oil over medium-high heat. When shimmering, add the seasoned pork chops. Sear both sides of the chops for 2-3 minutes until gettings some nice browning.
- Transfer to the preheated oven and cook until an internal temperature of 145°—about 20-25 minutes. Total cooking time will be variable due to the pork's thickness and the chops' start temperature. Remove from pan and tent lightly with foil while doing the gravy phase.
Gravy Option
- Using pork gravy base, mix 2 cups of pork broth. You can also use chicken or vegetable broth. Whisk 4 tablespoons flour into one cup of broth.
- Add the other one cup of your broth to the pan over medium heat. When boiling, slowly add the broth/flour mixture while continuously whisking.
- Continue to whisk until thickened, about 2-3 minutes.
Want to save this recipe for later?
Recipe Notes
Pro Tips:
- This is a recipe for thick pork chops which are at least 1 ½ inches thick. If less then use Pan Seared Oven Roasted Pork Chops.
- Use an oven-safe pan like cast iron.
- This recipe is for 1 ½ to 2-inch thick pork chops. Use boneless center cut pork chops or bone-in which will need a few more minutes.
- Adjustments for 2 ½ inches thick or more are covered in the post.
- Brine, if you have time. A suggested brine is 2 cups of water with 2 tablespoons salt and 2 tablespoons brown sugar for 30 minutes to 2 hours. Be sure to refrigerate. If you brine, do not use any seasoning with salt.
- The most important tip for thick pork chops is to rest to room temperature for at least 30 minutes before starting to cook.
- Sear for almost the final color you want.
- Never cook by time alone. Cook to the final temperature you want. Remember it will increase a few degrees after removed from the oven.
- The gravy is optional but very nice. I like to use pork gravy base but if you don't have that, use chicken or vegetable broth.
- Instructions for grilling thick pork chops are in the recipe post.
Your Own Private Notes
To adjust the recipe size:
You may adjust the number of servings in this recipe card under servings. This does the math for the ingredients for you. BUT it does NOT adjust the text of the instructions. So you need to do that yourself.
Nutrition Estimate
© 101 Cooking for Two, LLC. All content and photographs are copyright protected by us or our vendors. While we appreciate your sharing our recipes, please realize copying, pasting, or duplicating full recipes to any social media, website, or electronic/printed media is strictly prohibited and a violation of our copyrights.
Editor's Note: Originally published July 17, 2016. Updated with expanded options, refreshed photos, and a table of contents to help navigation.


Celesti
My family enjoys thick Bone-in pork chops on the grill. With the weather getting cooler I love cooking inside and keeping my kitchen warm.
What do you recommend for the cooking time once I place the bone-in pork chops in the preheated 400 degree oven ? Your recipes are easy to follow and my family enjoys many of your recipes. I am anxious to try this pork chop recipe.
Thank you !
Dan Mikesell AKA DrDan
Hi Celesti,
What thickness?
Dam
Celesti
The chops were about 2.5 inches thick, but I used your idea and left them sit an extra 10 mins and they were delicious. I love your recipes. Thanks.
Carol Dilgard
Sorry, but this looks like a lot of work to cook two thick pork chops and gravy. I've been preparing pork chops with gravy, stovetop, for 50 years and can tell you that it's so simple to pan-fry chops or chicken with little more than flour, salt, pepper and Crisco, using pan drippings to make a simple, delicious gravy.
Dan Mikesell AKA DrDan
Hi Carol,
Welcome to the blog.
I basically agree with you, but you can not do that with the thick ones. If you look at the core of the recipe, it is not that much work. Our "everyday pork chop recipe" for a much thinner chop is https://www.101cookingfortwo.com/30-minute-fried-pork-chops-with-gravy/
Dan
Dan Mikesell AKA DrDan
Hi Sherrod,
Welcome to the blog. Sorry, you found it confusing. The only 200 on the page is in the discussion about the final internal temperature of various cuts of pork. 200 is used to refer to pulled pork from pork butt. That is a different section from the oven temperature discussion.
If you just look at the step-by-step pictures with instruction or the recipe card, I think you will be fine.
Dan
Coral
Amazing! I got some 2" chops last week marked down and started looking for recipes. I found this one, and am so glad I did.
I made exactly as written including the brine. I ordered pork bullion cubes from Amazon for the gravy. I seared them a few minutes longer than it calls for and they were done in about 18 or 19 minutes.
Tamera
Best. Chops. Ever. I used nearly 2” thick bone-in chops from Sam’s Club. At 18 minutes, had the juiciest, most flavorful chop I have ever tasted! I didn’t even bother with gravy- lol! I didn’t brine, but simply salted (kosher salt) while resting to room temp. So freaking delicious!!!
Coral
If you make them again, definitely make the gravy, it's really good.